

Growing Melons at Home might seem like a challenge reserved for seasoned farmers, but I’m here to tell you it’s totally achievable, even in your own backyard! Imagine biting into a juicy, sun-ripened melon that you nurtured from seed to fruit – the taste is simply unmatched. For centuries, melons have been cultivated across various cultures, from the ancient Egyptians who depicted them in their art to the Romans who prized them as delicacies.
But why should you bother with the effort of growing melons at home? Well, store-bought melons often lack the intense flavor and sweetness of homegrown varieties. Plus, you have complete control over the growing process, ensuring your melons are free from harmful pesticides and chemicals. In this DIY guide, I’ll share my favorite tricks and hacks to help you successfully cultivate these delicious fruits, regardless of your gardening experience. From choosing the right varieties to optimizing your soil and providing the perfect amount of sunlight, I’ll walk you through every step of the process. Get ready to impress your friends and family with your amazing homegrown melons!
Growing Melons at Home: A Sweet DIY Project
Okay, melon lovers, let’s get down to business! I’m going to walk you through everything you need to know to grow juicy, delicious melons right in your own backyard. It might seem intimidating, but trust me, with a little planning and effort, you’ll be enjoying homegrown melons in no time.
Choosing Your Melon Variety
First things first, you need to decide what kind of melon you want to grow. There are so many options! Here’s a quick rundown of some popular choices:
* Watermelon: The classic summer treat! Watermelons need a lot of space and sunshine. Consider smaller “icebox” varieties if you’re short on room.
* Cantaloupe: Sweet and fragrant, cantaloupes are a relatively easy melon to grow.
* Honeydew: Similar to cantaloupe, honeydew melons have a smooth, pale green skin and a mild, sweet flavor.
* Galia Melon: A cross between cantaloupe and honeydew, Galia melons have a distinctive netted rind and a sweet, aromatic flesh.
* Casaba Melon: These melons have a smooth, yellow rind and a mild, slightly tangy flavor.
Think about your climate, available space, and personal preferences when making your decision. I personally love growing cantaloupe because they are relatively easy and the taste of a homegrown cantaloupe is unbeatable!
Preparing Your Melon Patch
Melons are sun-worshippers and heavy feeders, so proper preparation is key.
* Sunlight: Melons need at least 6-8 hours of direct sunlight per day. Choose a spot in your yard that gets plenty of sunshine.
* Soil: Melons thrive in well-drained, fertile soil. Amend your soil with plenty of compost or well-rotted manure before planting. This will improve drainage, add nutrients, and help retain moisture.
* Space: Melons need a lot of space to sprawl. Watermelons especially need a lot of room. Check the seed packet for specific spacing recommendations for your chosen variety. If you’re short on space, consider growing melons vertically on a trellis.
* pH: Melons prefer a slightly acidic soil pH of around 6.0 to 6.8. You can test your soil pH with a soil testing kit and amend it accordingly.
Starting Your Melon Seeds
You can either start your melon seeds indoors or direct sow them in the garden. Starting indoors gives you a head start, especially in cooler climates.
* Starting Indoors:
* Start your seeds about 4-6 weeks before the last expected frost.
* Use seed starting trays or small pots filled with seed starting mix.
* Sow the seeds about 1/2 inch deep.
* Keep the soil moist but not soggy.
* Provide warmth and light. A heat mat and grow lights can be helpful.
* Once the seedlings have a few true leaves, you can transplant them into larger pots.
* Harden off the seedlings before transplanting them into the garden. This means gradually exposing them to outdoor conditions over a period of a week or two.
* Direct Sowing:
* Wait until the soil has warmed up to at least 70°F (21°C).
* Sow the seeds about 1 inch deep.
* Space the seeds according to the seed packet instructions.
* Keep the soil moist until the seeds germinate.
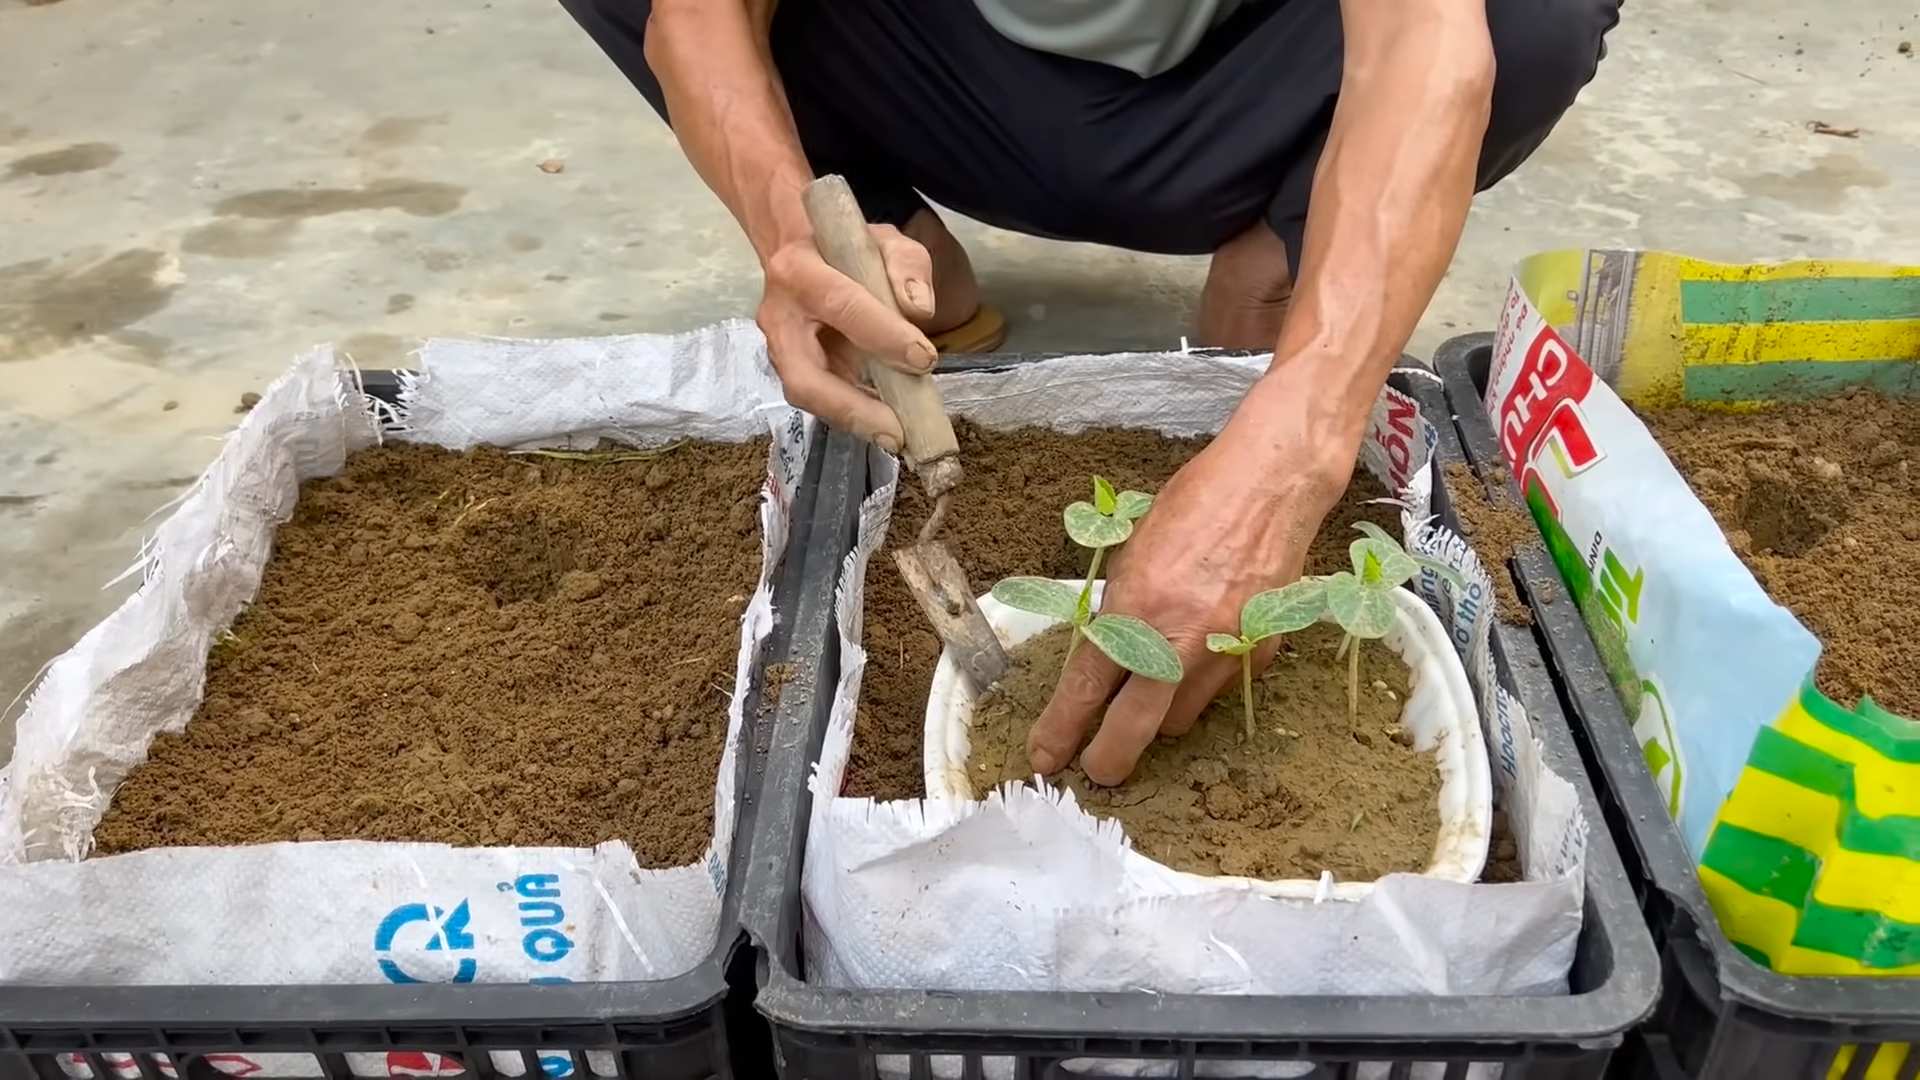
Transplanting Your Melon Seedlings
Once your seedlings are ready, it’s time to transplant them into the garden.
1. Prepare the planting holes: Dig holes that are slightly larger than the root balls of your seedlings.
2. Add compost: Add a handful of compost to each planting hole.
3. Gently remove the seedlings: Carefully remove the seedlings from their pots, being careful not to damage the roots.
4. Place the seedlings in the holes: Place the seedlings in the holes, making sure the top of the root ball is level with the surrounding soil.
5. Backfill with soil: Backfill the holes with soil and gently firm the soil around the seedlings.
6. Water thoroughly: Water the seedlings thoroughly after planting.
7. Mulch: Apply a layer of mulch around the plants to help retain moisture, suppress weeds, and regulate soil temperature. I like to use straw or shredded leaves.
Caring for Your Melon Plants
Now that your melon plants are in the ground, it’s time to give them the care they need to thrive.
* Watering: Melons need consistent watering, especially during hot, dry weather. Water deeply and regularly, aiming for about 1-2 inches of water per week. Avoid overhead watering, as this can promote fungal diseases. Drip irrigation or soaker hoses are ideal.
* Fertilizing: Melons are heavy feeders, so they need regular fertilization. Use a balanced fertilizer, such as 10-10-10, according to the package instructions. You can also side-dress your plants with compost or well-rotted manure.
* Weeding: Keep your melon patch free of weeds. Weeds compete with your melon plants for water and nutrients.
* Pest Control: Keep an eye out for pests, such as aphids, squash bugs, and cucumber beetles. Handpick pests off the plants or use insecticidal soap or neem oil.
* Disease Control: Melons can be susceptible to fungal diseases, such as powdery mildew and downy mildew. Prevent these diseases by providing good air circulation, avoiding overhead watering, and applying a fungicide if necessary.
* Pollination: Melons need to be pollinated in order to produce fruit. If you’re not seeing any fruit set, you may need to hand-pollinate the flowers. To hand-pollinate, use a small paintbrush to transfer pollen from the male flowers to the female flowers. Female flowers have a small fruit at the base of the flower.
Training Melons on a Trellis (Optional)
If you’re short on space, you can train your melons to grow vertically on a trellis. This is especially effective for smaller melon varieties.
1. Choose a sturdy trellis: Make sure your trellis is strong enough to support the weight of the melons.
2. Plant your melon seedlings near the trellis: Plant your melon seedlings close to the base of the trellis.
3. Train the vines: As the vines grow, gently train them to climb the trellis. You can use twine or plant clips to secure the vines to the trellis.
4. Support the fruit: As the melons develop, you may need to provide additional support to prevent them from falling off the vine. You can use slings made from pantyhose or netting to support the fruit.
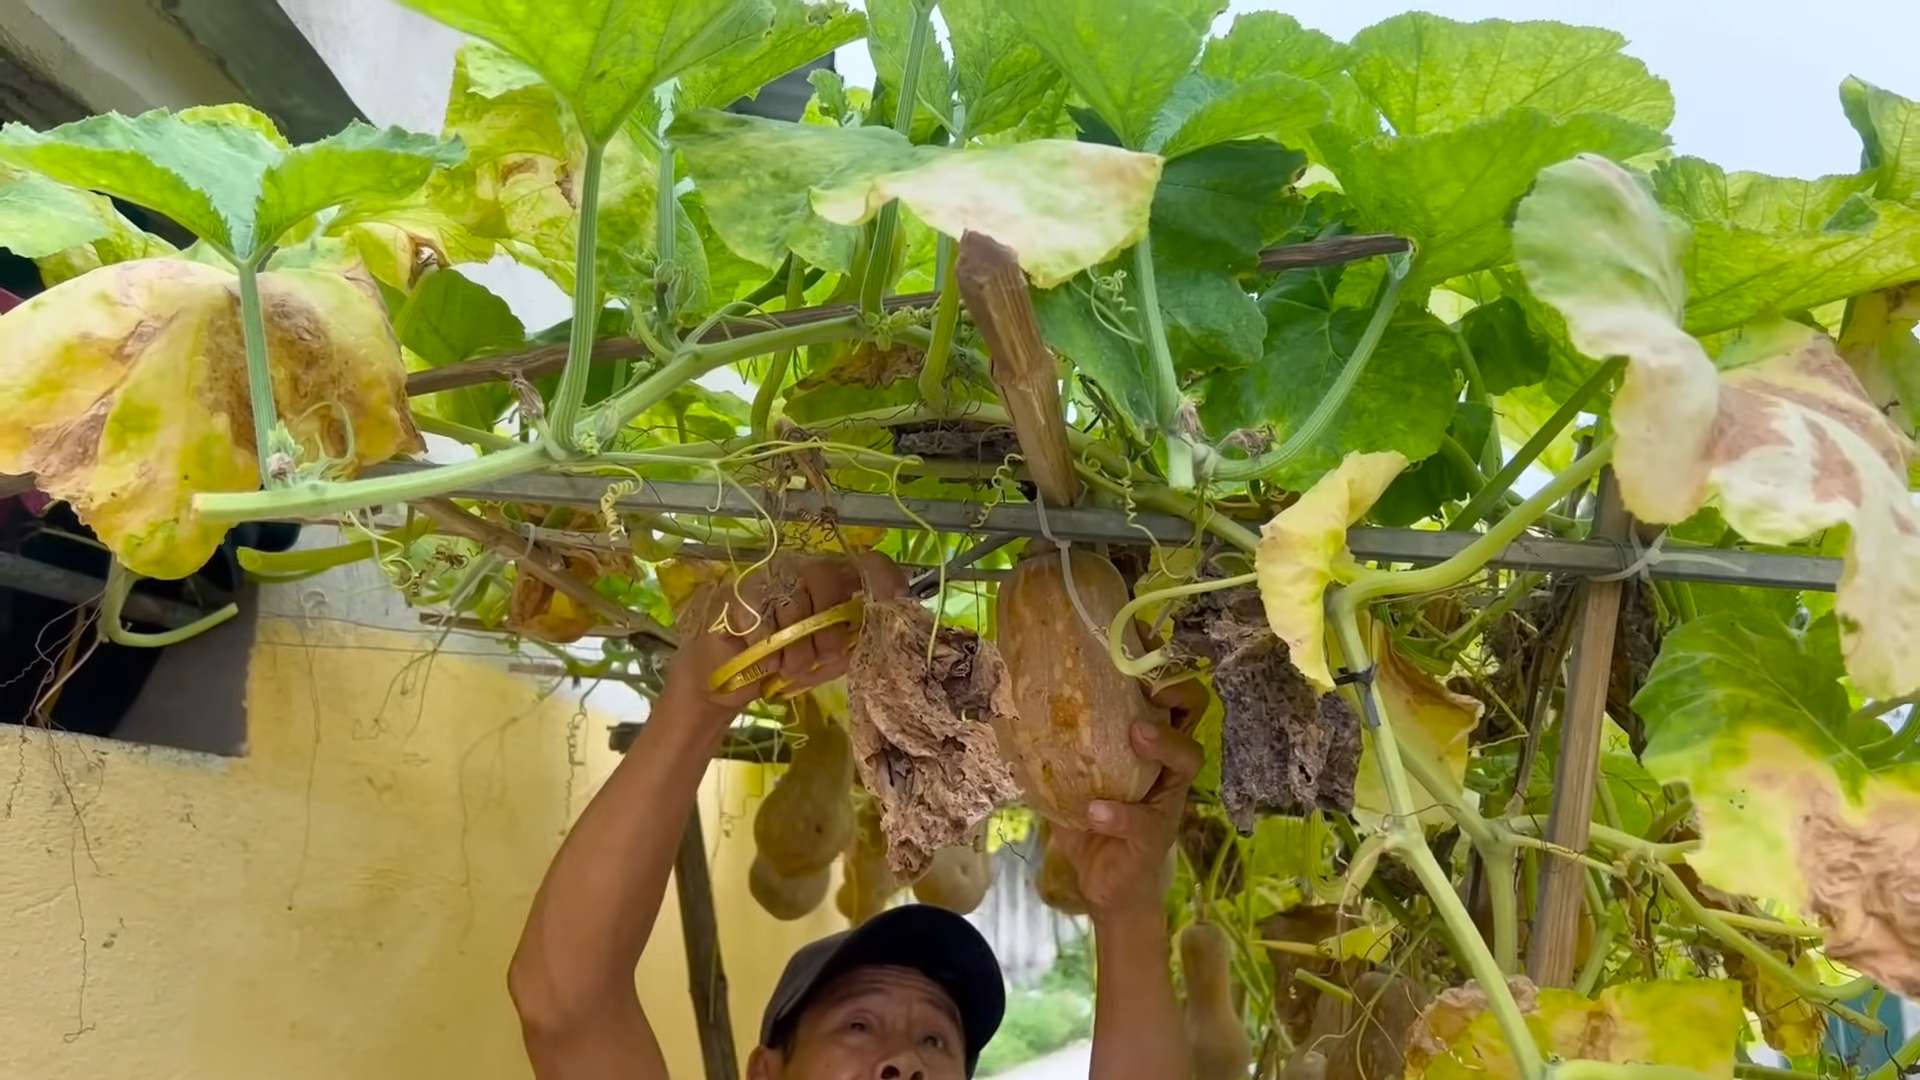
Harvesting Your Melons
The moment you’ve been waiting for! Knowing when to harvest your melons is crucial for getting the best flavor.
* Watermelon: Look for a dull rind, a dried tendril near the stem, and a yellow spot on the bottom where the melon rested on the ground. You can also thump the melon. A ripe watermelon will sound hollow.
* Cantaloupe: A ripe cantaloupe will have a fragrant aroma and the stem will slip easily from the fruit.
* Honeydew: A ripe honeydew melon will have a slightly soft rind and a sweet aroma.
* Galia Melon: A ripe Galia melon will have a fragrant aroma and the rind will turn a golden color.
* Casaba Melon: A ripe Casaba melon will have a slightly soft rind and a yellow color.
Once you’ve determined that your melon is ripe, use a sharp knife to cut it from the vine.
Enjoying Your Homegrown Melons
Congratulations! You’ve successfully grown your own melons. Now it’s time to enjoy the fruits (or rather, melons) of your labor.
* Eat them fresh: There’s nothing like biting into a juicy, homegrown melon on a hot summer day.
* Make melon salads: Melon salads are a refreshing and delicious way to enjoy your harvest.
* Blend them into smoothies: Melon smoothies are a healthy and refreshing treat.
* Grill them: Grilled melon is a surprisingly delicious and unique dish.
* Make melon sorbet: Melon sorbet is a refreshing and light dessert.
Troubleshooting Common Melon Problems
Even with the best care, you may encounter some problems while growing melons. Here are some common issues and how to address them:
* Poor fruit set: This can be caused by a lack of pollination, poor weather conditions, or nutrient deficiencies. Hand-pollinate the flowers, provide adequate water and fertilizer, and protect the plants from extreme weather.
* Cracked fruit: This can be caused by inconsistent watering or rapid changes in temperature. Water
Conclusion
So, there you have it! Growing melons at home, while it might seem daunting at first, is an incredibly rewarding experience that brings the sweet taste of summer directly to your table. We’ve walked through the essential steps, from selecting the right varieties and preparing your garden to nurturing your plants and harvesting your delicious bounty. But why is this DIY trick a must-try?
Simply put, the flavor of a homegrown melon, ripened on the vine under the warm sun, is unparalleled. Store-bought melons, often picked before they’re fully ripe to withstand shipping, simply can’t compare to the intense sweetness and juicy texture of a melon you’ve nurtured yourself. Beyond the superior taste, growing your own melons allows you to control the entire process, ensuring that your fruit is free from harmful pesticides and chemicals. You know exactly what went into growing your food, providing peace of mind and a healthier option for you and your family.
Furthermore, the act of gardening itself is incredibly therapeutic. Spending time outdoors, connecting with nature, and watching your plants grow is a fantastic way to relieve stress and improve your overall well-being. The satisfaction of harvesting your first melon is a feeling that’s hard to beat!
Don’t be afraid to experiment with different varieties to find your favorites. Try growing smaller, personal-sized melons like Sugar Baby watermelons or Charentais cantaloupes if you have limited space. For a unique twist, consider grafting your melon plants onto squash rootstock for increased disease resistance and vigor. You can also explore different trellising methods to maximize space and improve air circulation around your plants. Vertical gardening is a great option for smaller gardens.
We encourage you to take the plunge and try growing melons at home this season. It’s an investment in your health, your taste buds, and your well-being. Don’t be discouraged if your first attempt isn’t perfect. Gardening is a learning process, and each season brings new opportunities to improve your skills.
Most importantly, we want to hear about your experiences! Share your photos, tips, and challenges in the comments below. Let’s build a community of home melon growers and learn from each other. What varieties did you try? What challenges did you face? What successes did you celebrate? Your insights can help others embark on their own melon-growing adventures. So, get your hands dirty, embrace the challenge, and enjoy the sweet rewards of growing melons at home!
Frequently Asked Questions (FAQ)
What are the best melon varieties to grow for beginners?
For beginners, some of the easiest and most rewarding melon varieties to grow include:
* **Watermelon:** Sugar Baby (small, early maturing), Blacktail Mountain (cold-hardy), Jubilee (classic striped watermelon)
* **Cantaloupe:** Hale’s Best Jumbo (reliable and flavorful), Athena (disease-resistant), Charentais (French cantaloupe with intense aroma)
* **Honeydew:** Honey Dew Green Flesh (classic honeydew flavor), Temptation (early maturing)
These varieties are generally more forgiving and less prone to common melon diseases, making them a great starting point for new gardeners.
How much space do I need to grow melons?
Melons require a significant amount of space, especially sprawling varieties like watermelons. As a general rule, allow at least 3-4 feet between plants for smaller varieties and 6-8 feet for larger varieties. If you have limited space, consider growing smaller, personal-sized melons or using trellises to grow your melons vertically. Trellising can significantly reduce the footprint required for melon cultivation.
What kind of soil is best for growing melons?
Melons thrive in well-drained, fertile soil that is rich in organic matter. The ideal soil pH is between 6.0 and 6.8. Before planting, amend your soil with compost, aged manure, or other organic materials to improve drainage, fertility, and water retention. Avoid heavy clay soils, as they can become waterlogged and hinder root development.
How often should I water my melon plants?
Melons need consistent moisture, especially during fruit development. Water deeply and regularly, aiming for about 1-2 inches of water per week. Avoid overhead watering, as this can promote fungal diseases. Drip irrigation or soaker hoses are ideal for delivering water directly to the roots. Reduce watering as the fruits begin to ripen to concentrate the sugars and improve flavor.
How do I know when my melons are ripe?
Determining ripeness varies slightly depending on the melon variety, but here are some general guidelines:
* **Watermelon:** Look for a dull rind, a yellowish or creamy spot on the underside where the melon rested on the ground (the “ground spot”), and a hollow sound when you thump the melon. The tendril closest to the melon should also be brown and dry.
* **Cantaloupe:** The melon should slip easily from the vine with a gentle tug. The rind should also have a noticeable aroma and a slightly softened texture.
* **Honeydew:** The rind should turn from a pale green to a creamy yellow color. The end opposite the stem should also feel slightly soft and give slightly to pressure.
What are some common pests and diseases that affect melon plants?
Common pests that affect melon plants include aphids, squash bugs, cucumber beetles, and vine borers. Common diseases include powdery mildew, downy mildew, and fusarium wilt. To prevent pest and disease problems, practice good garden hygiene, such as removing plant debris and weeds. Use row covers to protect young plants from pests. Choose disease-resistant varieties whenever possible. If you encounter pest or disease problems, treat them promptly with appropriate organic or chemical controls.
Can I grow melons in containers?
Yes, you can grow melons in containers, but you’ll need to choose a large container (at least 20 gallons) and select smaller, bush-type varieties. Make sure the container has good drainage and use a high-quality potting mix. Container-grown melons will require more frequent watering and fertilization than those grown in the ground.
How do I fertilize my melon plants?
Melons are heavy feeders and benefit from regular fertilization. Apply a balanced fertilizer (e.g., 10-10-10) at planting time and then side-dress with a nitrogen-rich fertilizer when the plants begin to vine. Once the fruits begin to develop, switch to a fertilizer that is higher in phosphorus and potassium to promote fruit development and sweetness. Follow the instructions on the fertilizer label carefully.
How can I improve the sweetness of my melons?
Several factors can influence the sweetness of your melons, including variety, soil fertility, sunlight, and watering practices. Choose varieties known for their sweetness. Ensure your soil is rich in potassium, which is essential for sugar production. Provide your plants with at least 6-8 hours of sunlight per day. Reduce watering as the fruits begin to ripen to concentrate the sugars.
What if my melon plants are not producing fruit?
There are several reasons why your melon plants might not be producing fruit. Insufficient pollination is a common cause. Melons require bees or other pollinators to transfer pollen from male to female flowers. If you’re not seeing many bees in your garden, you can hand-pollinate the flowers yourself. Other potential causes include poor soil fertility, insufficient sunlight, and stress from pests or diseases.

Leave a Comment