

Growing pineapples at home might sound like an exotic dream reserved for tropical climates, but I’m here to tell you it’s more achievable than you think! Forget those expensive grocery store pineapples – imagine plucking a sweet, juicy pineapple straight from your own backyard (or even your windowsill!). For centuries, pineapples have symbolized hospitality and luxury, a tradition stemming from their rarity and the effort required to cultivate them in non-tropical regions. In fact, in 17th and 18th century Europe, pineapples were so prized that they were often rented out as status symbols for parties!
But times have changed, and with a few clever DIY tricks, you can bring a touch of the tropics to your own home. Why should you bother? Well, besides the sheer satisfaction of nurturing your own food, growing pineapples at home is a fantastic way to reduce your carbon footprint, avoid pesticides, and enjoy a truly fresh, flavorful fruit. Plus, it’s a fun and rewarding project that anyone can tackle, regardless of their gardening experience. So, are you ready to ditch the store-bought fruit and embark on a pineapple-growing adventure with me? Let’s dive into some easy DIY hacks that will have you harvesting your own homegrown pineapples in no time!
Growing Pineapples at Home: A Tropical Treat You Can DIY!
Hey there, fellow plant enthusiasts! Ever dreamt of harvesting your own juicy pineapple right from your backyard (or even your balcony)? Well, dream no more! Growing pineapples at home is surprisingly achievable, and I’m here to guide you through the entire process. It might seem intimidating, but trust me, with a little patience and the right know-how, you’ll be enjoying homegrown pineapple in no time.
What You’ll Need:
Before we dive in, let’s gather our supplies. This is a pretty straightforward project, so you probably have a lot of these items already!
* A Fresh Pineapple: This is the most important ingredient! Look for a ripe pineapple with healthy-looking green leaves. Avoid pineapples with brown, wilted, or damaged leaves.
* A Sharp Knife: A good, sharp knife will make the process of removing the crown much easier and safer.
* A Pot or Container: Choose a pot that’s at least 6 inches in diameter. Terra cotta pots are great because they allow for good drainage.
* Potting Mix: Use a well-draining potting mix. A mix specifically formulated for cacti and succulents works well.
* Watering Can or Hose: For watering your pineapple plant.
* Rooting Hormone (Optional): This can help speed up the rooting process, but it’s not essential.
* Gloves (Optional): To protect your hands from the pineapple’s prickly leaves.
Section 1: Preparing the Pineapple Crown
This is where the magic begins! We’re going to carefully separate the crown (the leafy top) from the fruit.
1. Twist and Pull (or Cut): The easiest method is to firmly grasp the leaves of the pineapple crown and twist it off the fruit. If it doesn’t come off easily, don’t force it. Instead, use your sharp knife to carefully cut the crown off, leaving about an inch of fruit attached.
2. Remove the Excess Fruit: Using your knife, carefully trim away all the remaining fruit from the base of the crown. This is crucial because any leftover fruit can rot and cause the crown to fail. I like to make sure I can see the little root buds starting to form around the base.
3. Peel Back the Lower Leaves: Gently peel back a few layers of the lower leaves from the base of the crown. This will expose the stem and encourage root growth. You should be able to see small brown bumps – these are the root primordia, where the roots will eventually emerge.
4. Let it Dry (Cure): This is a really important step! Place the crown in a dry, well-ventilated area for 2-3 days. This allows the cut end to callous over, which helps prevent rot. I usually just leave mine on a paper towel on my kitchen counter.
Section 2: Rooting the Pineapple Crown
Now that we’ve prepped the crown, it’s time to get those roots growing! There are two main methods you can use: rooting in water or planting directly in soil. I’ll explain both.
Method 1: Rooting in Water
This method allows you to visually monitor the root growth, which can be very satisfying!
1. Prepare a Container: Choose a glass or jar that’s wide enough to hold the pineapple crown without the leaves touching the sides.
2. Add Water: Fill the container with enough water to cover the base of the crown, where you peeled back the leaves. Make sure the leaves themselves aren’t submerged, as this can lead to rot.
3. Place the Crown: Carefully place the pineapple crown in the water, ensuring that only the base is submerged.
4. Find a Sunny Spot: Place the container in a warm, sunny location. A windowsill is ideal.
5. Change the Water Regularly: Change the water every 2-3 days to keep it fresh and prevent algae growth.
6. Wait for Roots: Be patient! It can take several weeks (sometimes even a month or two) for roots to develop. You’re looking for roots that are at least 1-2 inches long before transplanting to soil.
Method 2: Planting Directly in Soil
This method is a bit more direct, but you won’t be able to see the roots growing.
1. Prepare the Pot: Fill your pot with well-draining potting mix, leaving about an inch of space at the top.
2. Make a Hole: Create a hole in the center of the potting mix that’s large enough to accommodate the base of the pineapple crown.
3. Plant the Crown: Carefully place the pineapple crown in the hole, ensuring that the base is buried but the leaves are above the soil.
4. Firm the Soil: Gently firm the soil around the base of the crown to secure it in place.
5. Water Thoroughly: Water the soil thoroughly until water drains out of the bottom of the pot.
6. Find a Sunny Spot: Place the pot in a warm, sunny location.
Section 3: Caring for Your Pineapple Plant
Whether you rooted in water or planted directly in soil, the care routine is pretty much the same from here on out.
1. Watering: Pineapples like to be kept consistently moist, but not soggy. Water thoroughly when the top inch of soil feels dry to the touch. Avoid overwatering, as this can lead to root rot. During the winter months, you can reduce watering frequency.
2. Sunlight: Pineapples need plenty of sunlight to thrive. Aim for at least 6 hours of direct sunlight per day. If you’re growing your pineapple indoors, place it near a sunny window or supplement with a grow light.
3. Temperature: Pineapples prefer warm temperatures between 65°F and 85°F (18°C and 29°C). They are not frost-tolerant, so if you live in a colder climate, you’ll need to bring your plant indoors during the winter.
4. Fertilizing: Feed your pineapple plant with a balanced liquid fertilizer every 2-3 months during the growing season (spring and summer). Follow the instructions on the fertilizer label.
5. Repotting: As your pineapple plant grows, it will eventually need to be repotted into a larger container. Repot when the roots start to outgrow the pot, usually every 1-2 years.
6. Pest Control: Keep an eye out for common pests like mealybugs and scale. If you spot any pests, treat them with insecticidal soap or neem oil.
Section 4: Encouraging Fruiting
This is the part everyone’s waiting for! It can take anywhere from 2 to 3 years for a pineapple plant to produce fruit. Here are a few tips to encourage fruiting:
1. Ethylene Gas: Pineapples are stimulated to fruit by ethylene gas. You can encourage fruiting by placing a ripe apple near the plant and covering both with a plastic bag for a few days. The apple will release ethylene gas, which can trigger flowering. Be careful not to leave the bag on for too long, as this can create a humid environment that promotes fungal growth.
2. Magnesium Sulfate (Epsom Salts): Some growers recommend applying magnesium sulfate (Epsom salts) to the soil to encourage flowering. Dissolve 1 tablespoon of Epsom salts in 1 gallon of water and apply it to the soil every few months.
3. Patience: The most important ingredient is patience! Just keep providing your pineapple plant with the right care, and eventually, it will reward you with a delicious fruit.
Section 5: Harvesting Your Pineapple
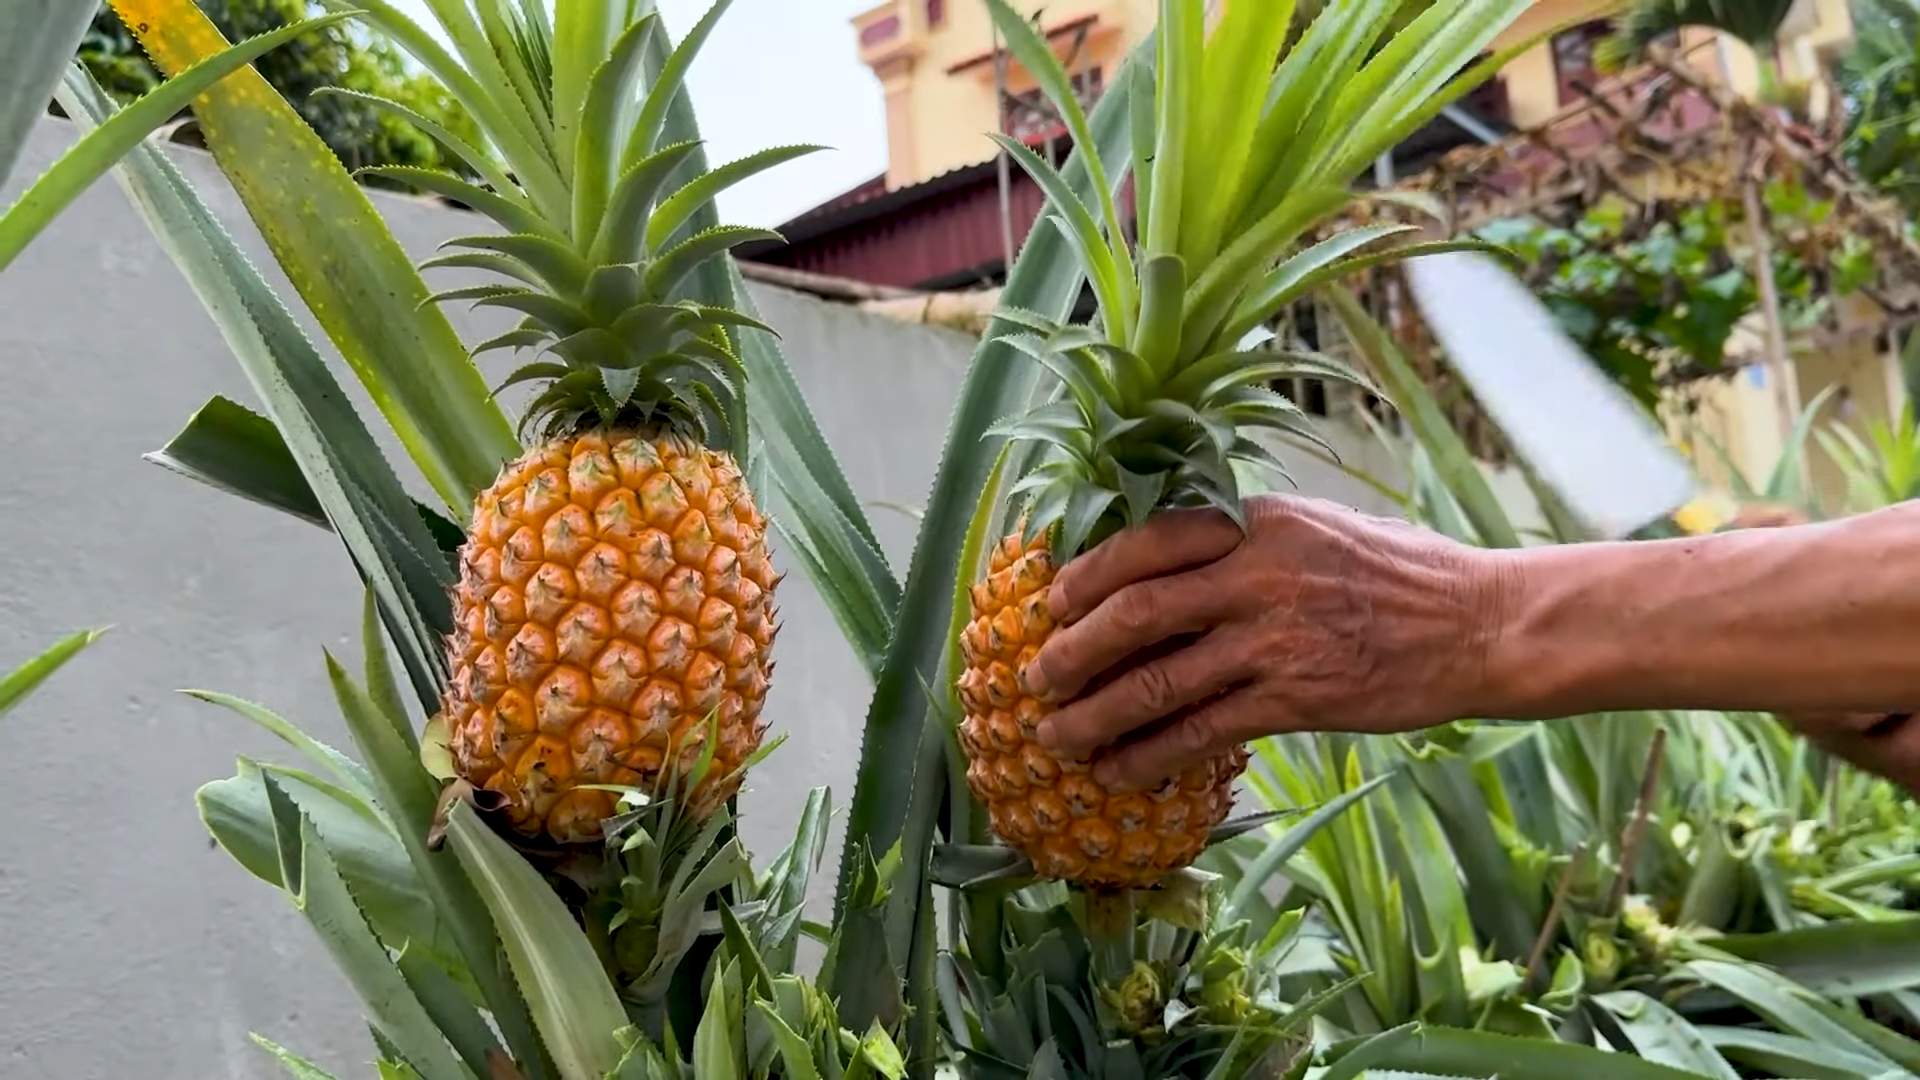
Finally, the moment you’ve been waiting for! You’ll know your pineapple is ripe when it turns a golden-yellow color and has a sweet, fragrant aroma.
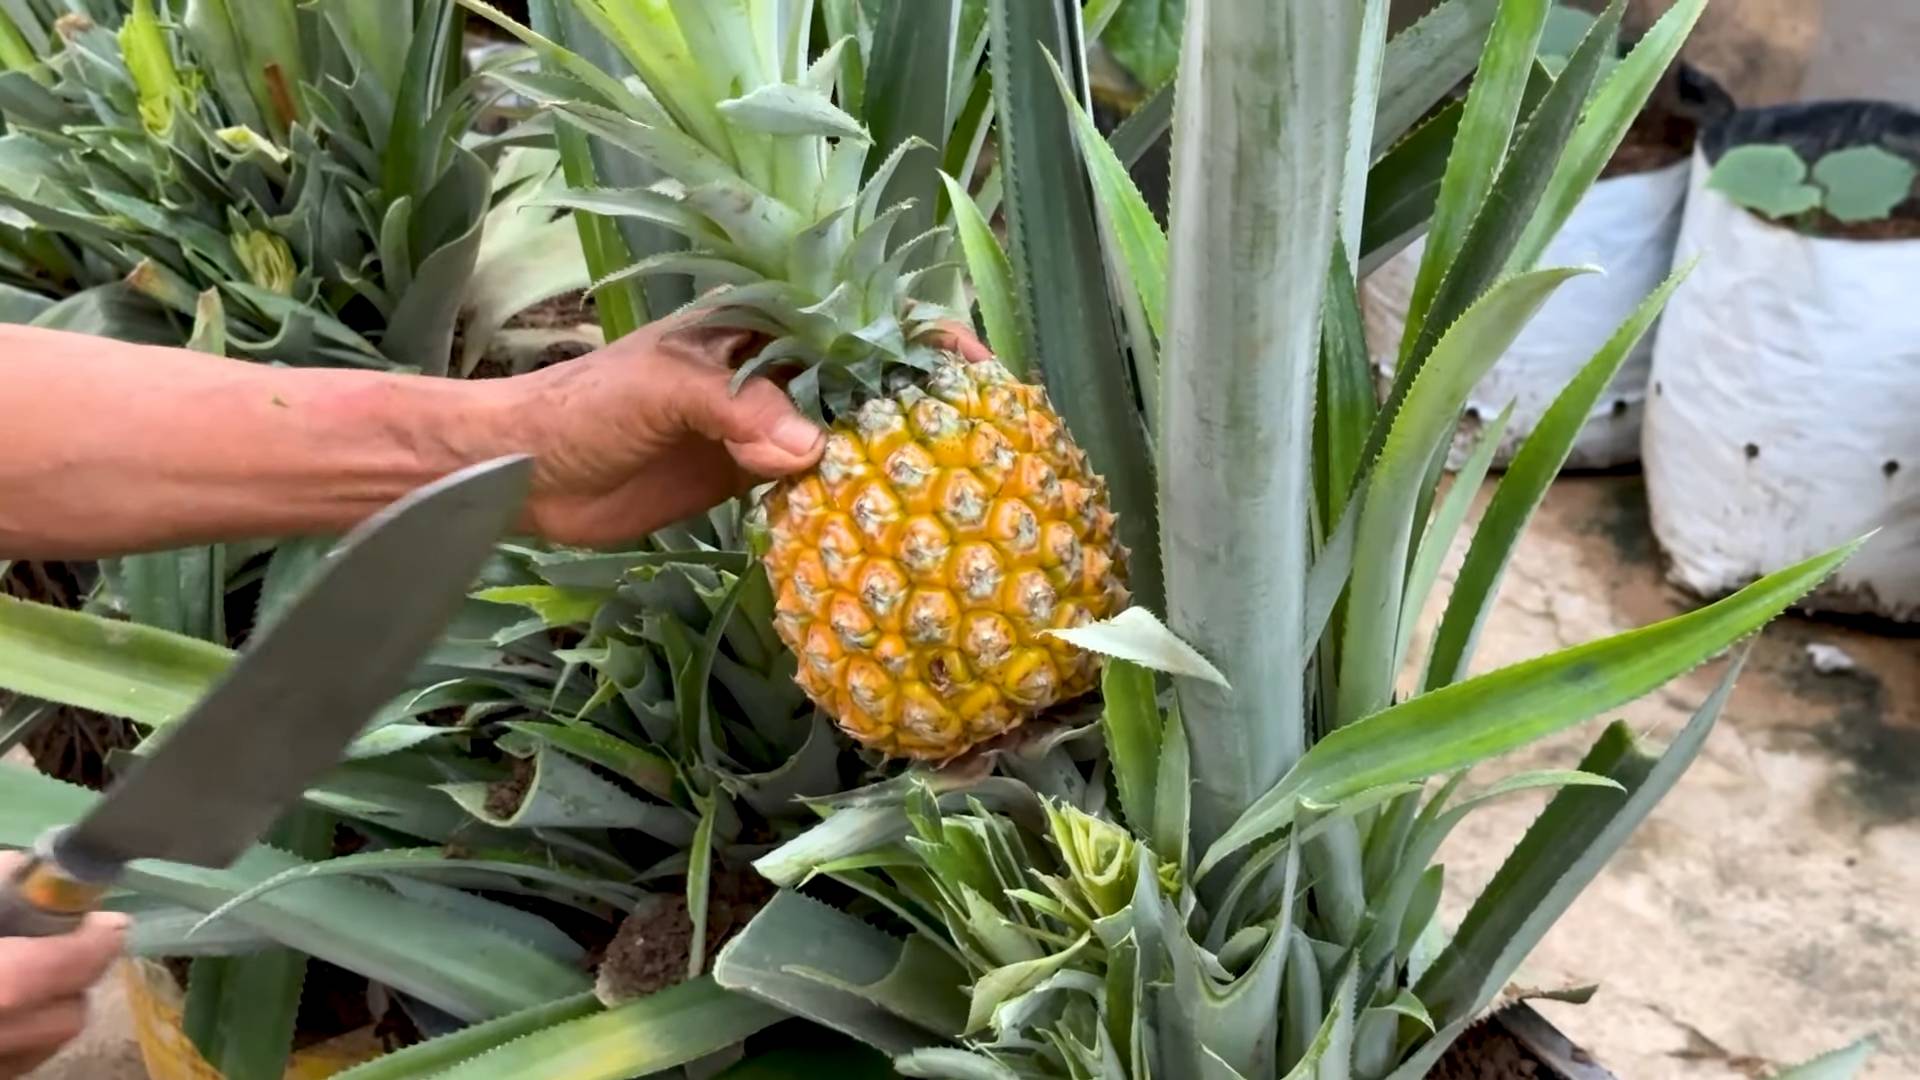
1. Check for Ripeness: Gently tug on one of the leaves. If it comes off easily, the pineapple is likely ripe.
2. Cut the Pineapple: Use a sharp knife to cut the pineapple from the plant, leaving a few inches of stem attached.
3. Enjoy! Let your pineapple sit at room temperature for a day or two to ripen further, then enjoy the fruits of your labor!
Growing pineapples at home is a rewarding experience. It takes time and patience, but the satisfaction of harvesting your own homegrown pineapple is well worth the effort. Happy growing!
Conclusion
So, there you have it! Growing pineapples at home, while it might seem like a tropical dream reserved for expert gardeners, is surprisingly achievable with this simple DIY trick. We’ve walked you through the process, from selecting the perfect pineapple to nurturing its growth, and hopefully, dispelled any doubts you might have had.
Why is this a must-try? Because beyond the sheer satisfaction of cultivating your own food, growing pineapples at home offers a unique connection to nature. It’s a rewarding project that transforms a kitchen scrap into a beautiful, ornamental plant, and eventually, a delicious, homegrown pineapple. Imagine the bragging rights when you serve a dessert featuring a pineapple you nurtured from start to finish! Plus, it’s an incredibly sustainable practice, reducing food waste and minimizing your carbon footprint.
But the fun doesn’t stop there! Feel free to experiment with different varieties of pineapples. While the smooth cayenne is a popular choice, explore other options like the sugarloaf or the red Spanish pineapple, each offering a unique flavor profile. You can also play around with different potting mixes. While the recommended blend works wonders, try adding some extra perlite for enhanced drainage or incorporating compost for added nutrients.
Consider the presentation too! Plant your pineapple in a decorative pot to add a touch of tropical flair to your home. You can even create a mini pineapple garden by grouping several plants together. For those living in colder climates, consider growing your pineapple in a container that can be easily moved indoors during the winter months. This ensures your pineapple plant thrives year-round, regardless of the weather outside.
Don’t be afraid to get creative and personalize the process to suit your preferences and environment. The key is to provide your pineapple plant with plenty of sunlight, well-draining soil, and consistent moisture. With a little patience and care, you’ll be enjoying the sweet taste of success in no time.
We wholeheartedly encourage you to give this DIY trick a try. It’s an incredibly rewarding experience that will not only enhance your gardening skills but also provide you with a delicious and sustainable source of fruit.
And most importantly, we want to hear about your experience! Share your pineapple growing journey with us. Post pictures of your pineapple plants on social media using #HomegrownPineapple and tag us so we can see your progress. Let us know what challenges you faced, what successes you celebrated, and any tips you discovered along the way. Your insights will help other aspiring pineapple growers and contribute to a thriving community of home gardeners. Let’s spread the joy of growing pineapples at home, one delicious fruit at a time! This DIY trick is a game changer.
Frequently Asked Questions (FAQ)
How long does it take to grow a pineapple from a top?
Patience is key when growing pineapples at home! It typically takes anywhere from 2 to 3 years for a pineapple plant to mature and produce fruit. The exact timeframe depends on several factors, including the variety of pineapple, the climate, and the growing conditions. Don’t be discouraged if it takes longer than expected. Just keep providing your plant with the care it needs, and eventually, you’ll be rewarded with a delicious, homegrown pineapple. Remember, the journey is just as rewarding as the destination!
What kind of soil is best for growing pineapples?
Pineapples thrive in well-draining, slightly acidic soil. A good potting mix for pineapples consists of equal parts potting soil, perlite, and peat moss. The perlite ensures proper drainage, preventing root rot, while the peat moss helps retain moisture and provides a slightly acidic environment. You can also add some compost to the mix for added nutrients. Avoid using heavy clay soil, as it can retain too much water and suffocate the roots.
How much sunlight does a pineapple plant need?
Pineapples are sun-loving plants and require at least 6 hours of direct sunlight per day. If you’re growing your pineapple indoors, place it near a sunny window or supplement with a grow light. Insufficient sunlight can lead to stunted growth and reduced fruit production. If you live in a particularly hot climate, you may need to provide some afternoon shade to prevent the leaves from scorching.
How often should I water my pineapple plant?
Water your pineapple plant regularly, especially during the growing season (spring and summer). Allow the soil to dry out slightly between waterings. Overwatering can lead to root rot, so it’s important to ensure proper drainage. In the winter, reduce watering frequency as the plant’s growth slows down. A good rule of thumb is to water when the top inch of soil feels dry to the touch.
How do I fertilize my pineapple plant?
Fertilize your pineapple plant every 2-3 months during the growing season with a balanced, water-soluble fertilizer. Follow the instructions on the fertilizer package carefully. Avoid over-fertilizing, as this can damage the plant. You can also use organic fertilizers like compost tea or fish emulsion.
My pineapple plant is growing, but it’s not producing fruit. What can I do?
There are several reasons why your pineapple plant might not be producing fruit. First, ensure it’s getting enough sunlight and water. Second, check the soil pH. Pineapples prefer slightly acidic soil. You can test the soil pH with a soil testing kit and amend it if necessary. Third, you can try forcing your pineapple plant to fruit by exposing it to ethylene gas. To do this, place a ripe apple or banana near the plant and cover it with a plastic bag for a few days. The ethylene gas released by the fruit will stimulate flowering.
Can I grow a pineapple indoors?
Yes, you can definitely grow a pineapple indoors, especially if you live in a colder climate. Choose a pot that is large enough to accommodate the plant’s root system and ensure it has drainage holes. Place the pot near a sunny window or supplement with a grow light. Water regularly and fertilize every 2-3 months. You may need to hand-pollinate the flowers to ensure fruit production.
What are some common pests and diseases that affect pineapple plants?
Pineapple plants are relatively resistant to pests and diseases, but they can be susceptible to mealybugs, scale, and root rot. Mealybugs and scale can be controlled with insecticidal soap or neem oil. Root rot is caused by overwatering and can be prevented by ensuring proper drainage. If you notice any signs of pests or diseases, treat them promptly to prevent them from spreading.
Can I grow a pineapple from a store-bought pineapple?
Yes, you can absolutely grow a pineapple from a store-bought pineapple. Just make sure the pineapple is ripe and healthy. Follow the instructions in the article for removing the top and preparing it for planting.
What do I do with the pineapple fruit once it’s ripe?
Once your pineapple fruit is ripe, it will have a sweet aroma and the skin will turn a golden-yellow color. To harvest the pineapple, simply twist it off the plant. You can then enjoy it fresh, grilled, or in your favorite recipes. The possibilities are endless!


Leave a Comment