

Growing Rutabaga and Swede might sound like an old-fashioned endeavor, conjuring images of hearty root vegetables sustaining families through long winters. And you know what? That image isn’t far off! These nutritional powerhouses have been cultivated for centuries, with roots (pun intended!) tracing back to Scandinavia and beyond. Historically, they were vital staples, offering essential vitamins and minerals when other fresh produce was scarce.
But let’s be honest, in today’s world of readily available groceries, why bother with growing rutabaga and swede yourself? Well, imagine biting into a rutabaga you’ve nurtured from seed, its flavor bursting with a freshness you simply can’t find in the supermarket. Plus, there’s the sheer satisfaction of knowing you’ve grown your own food, connecting with nature and reducing your carbon footprint.
This DIY guide is your key to unlocking the secrets of successfully cultivating these often-overlooked vegetables. We’ll walk you through everything from seed selection to harvesting, sharing insider tips and tricks to ensure a bountiful crop. Whether you’re a seasoned gardener or just starting out, get ready to discover the joy (and deliciousness!) of growing your own rutabaga and swede. Let’s get our hands dirty!
Growing Rutabaga and Swede: A Comprehensive DIY Guide
Rutabagas and swedes, often confused, are hardy root vegetables perfect for adding a nutritious and flavorful punch to your autumn and winter meals. I’ve always found them incredibly rewarding to grow, and with this guide, you can too! They’re surprisingly easy to cultivate, even if you’re a beginner gardener. Let’s dive in!
Understanding Rutabagas and Swedes
Before we get started, let’s clear up the confusion. Rutabagas (Brassica napobrassica) and swedes are essentially the same thing! The name “swede” is more common in the UK and some other parts of the world, while “rutabaga” is more prevalent in North America. They’re a cross between a cabbage and a turnip, resulting in a slightly sweeter and less pungent flavor than turnips. They are packed with vitamins, minerals, and fiber, making them a healthy addition to your diet.
Choosing the Right Variety
Selecting the right variety is crucial for success. Here are a few popular and reliable choices:
* **American Purple Top:** A classic variety known for its large size and excellent storage capabilities. It has a purple top and a yellow flesh.
* **Laurentian:** A Canadian heirloom variety that is very cold-hardy and disease-resistant. It has a smooth, yellow skin and flesh.
* **Joan:** A modern variety that is known for its uniform size and good flavor. It has a purple top and a yellow flesh.
* **Marian:** Another modern variety that is known for its high yields and good storage capabilities. It has a purple top and a yellow flesh.
I recommend checking with your local garden center or seed supplier to see which varieties perform best in your specific climate.
Preparing the Soil
Rutabagas and swedes thrive in well-drained, fertile soil with a pH between 6.0 and 7.0. Proper soil preparation is key to preventing common problems like clubroot. Here’s how I prepare my soil:
1. **Clear the Area:** Remove any weeds, rocks, and debris from the planting area.
2. **Amend the Soil:** Incorporate plenty of organic matter, such as compost or well-rotted manure. This will improve drainage, fertility, and water retention. I usually add about 2-3 inches of compost to the topsoil.
3. **Loosen the Soil:** Use a garden fork or tiller to loosen the soil to a depth of at least 12 inches. This will allow the roots to penetrate easily.
4. **Add Fertilizer (Optional):** If your soil is particularly poor, you can add a balanced fertilizer (e.g., 10-10-10) according to the package instructions. However, I usually find that compost is sufficient.
5. **Rake Smooth:** Rake the soil smooth to create a level planting surface.
Sowing the Seeds
Rutabagas and swedes are typically sown directly into the garden in mid to late summer, about 90-100 days before the first expected frost. This gives them enough time to mature before the cold weather sets in.
1. **Create Rows:** Create shallow rows about 1/2 inch deep and 18-24 inches apart.
2. **Sow the Seeds:** Sow the seeds thinly along the rows, spacing them about 1-2 inches apart.
3. **Cover the Seeds:** Gently cover the seeds with soil and pat down lightly.
4. **Water Thoroughly:** Water the area thoroughly with a gentle spray to avoid washing away the seeds.
5. **Mark the Rows:** Label the rows with the variety and date of planting. This will help you keep track of your crops.
Thinning the Seedlings
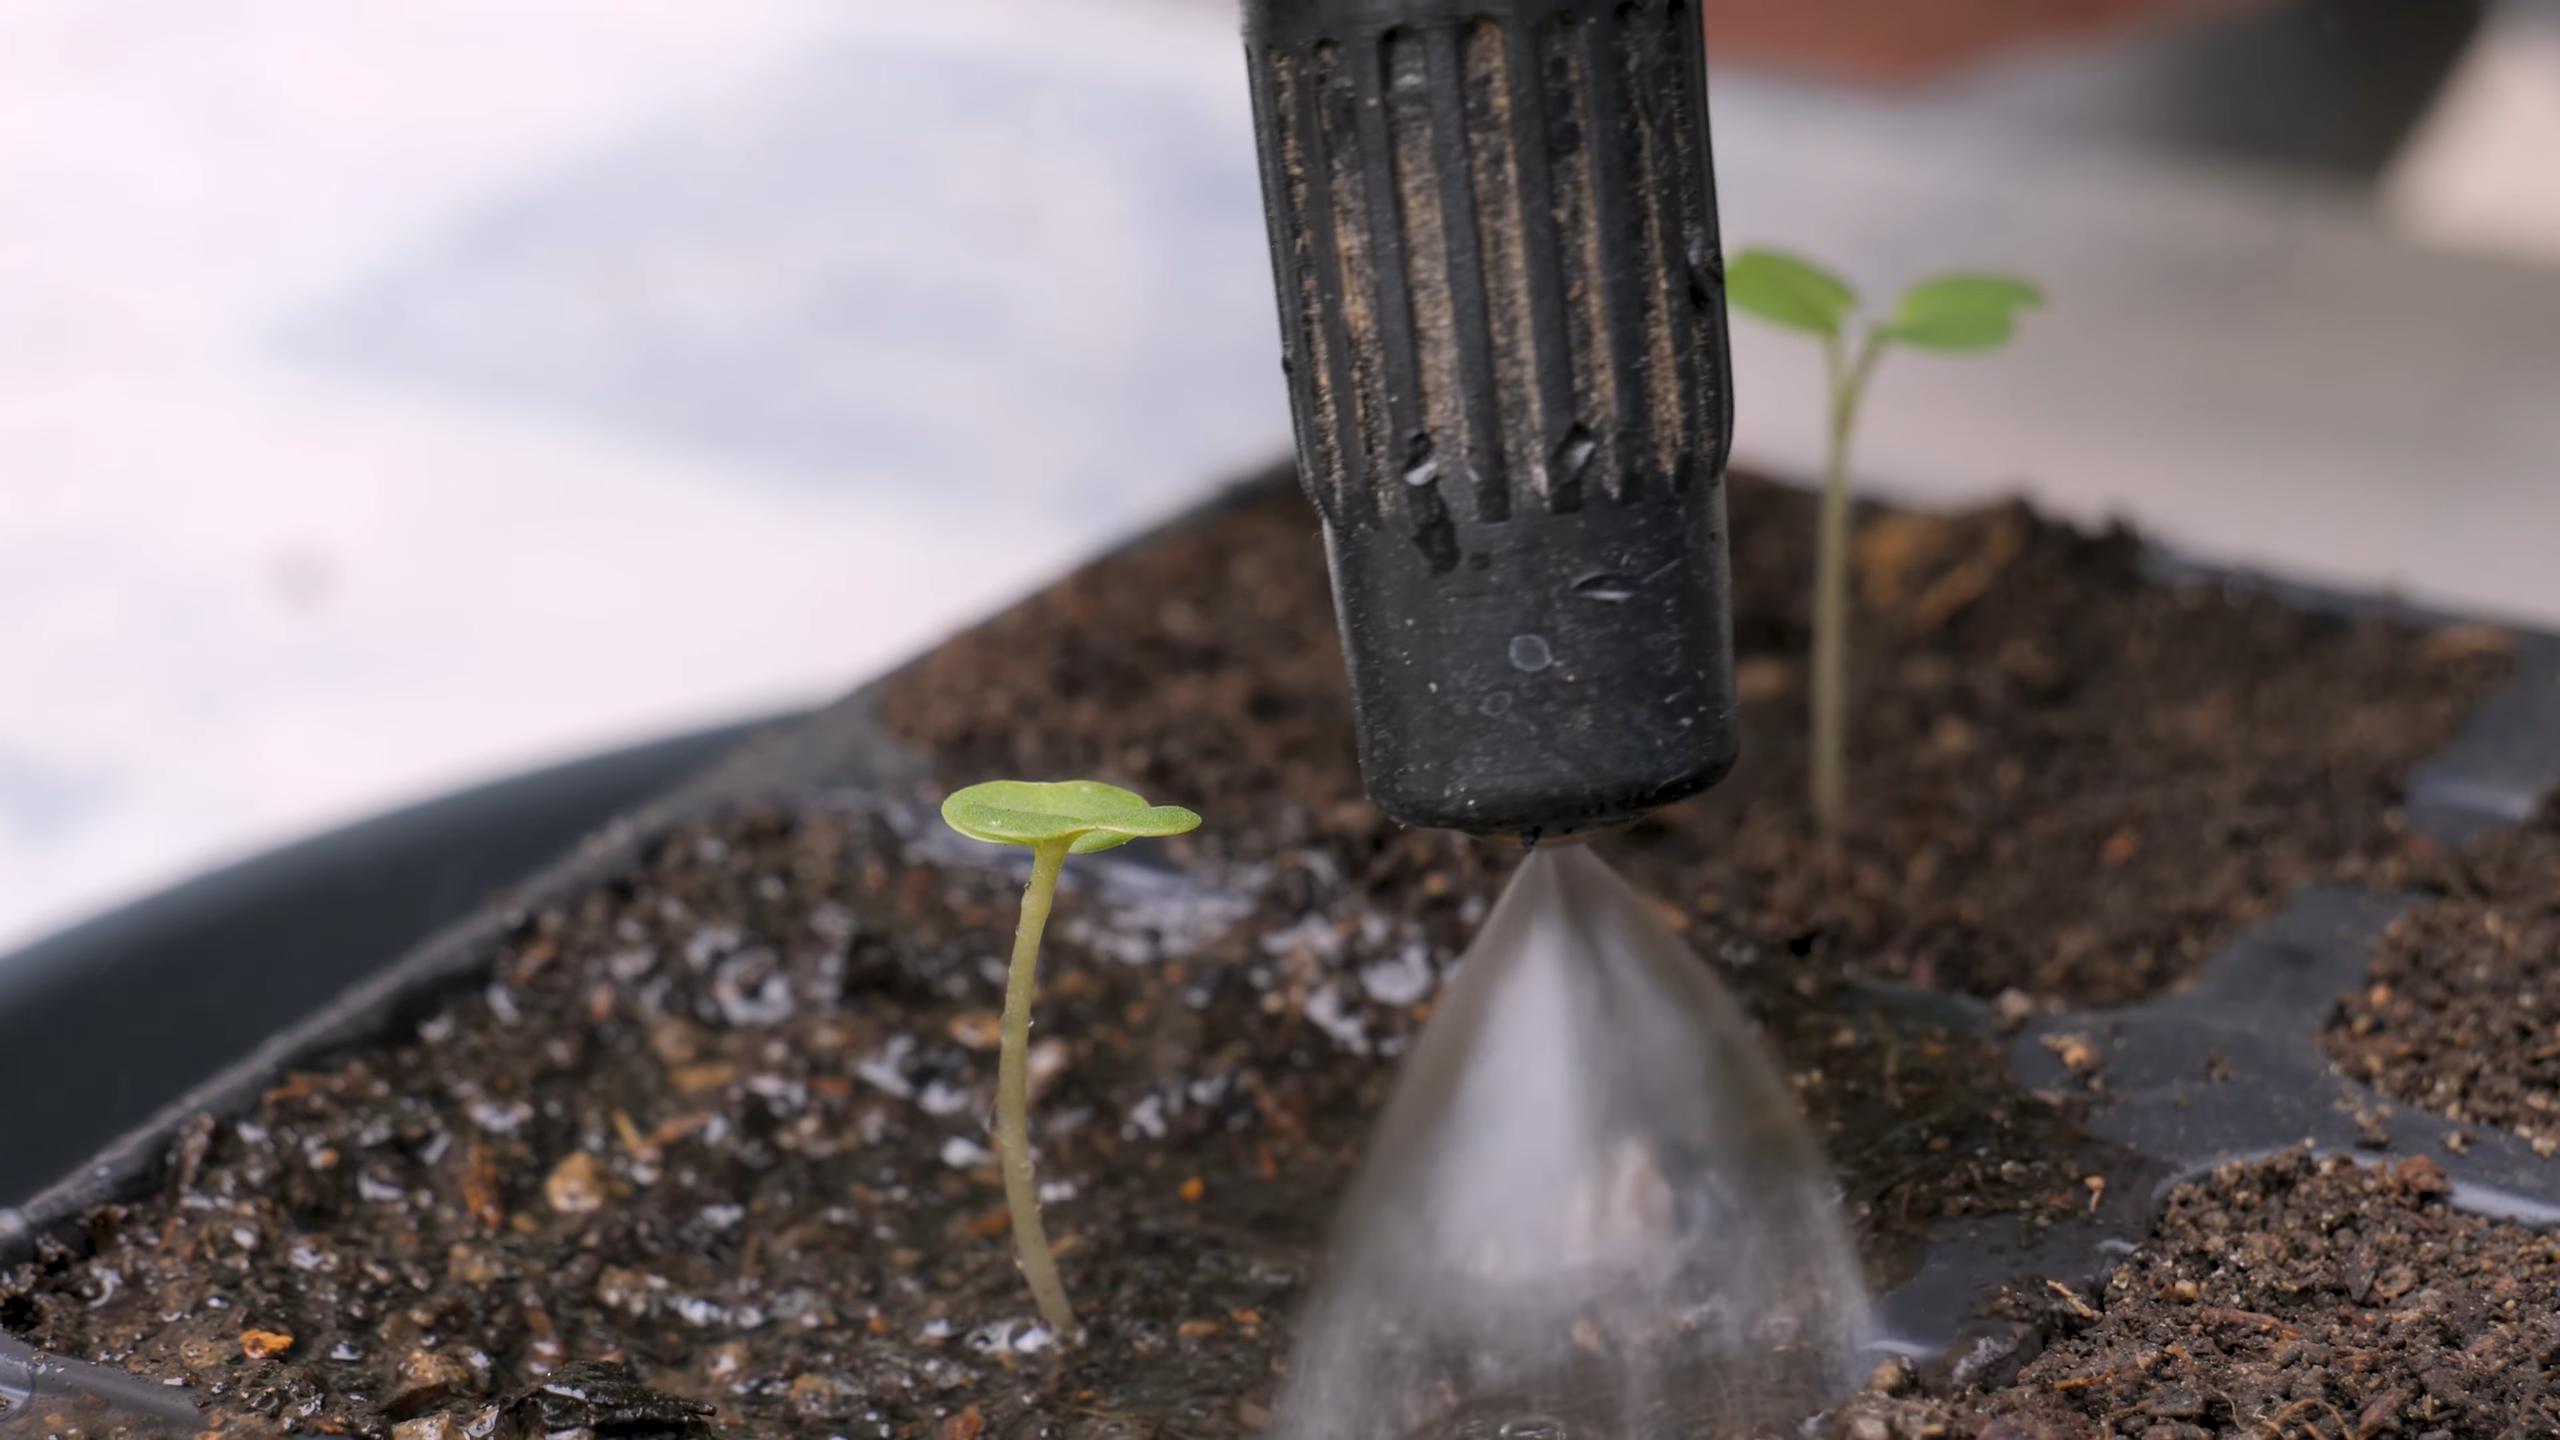
Once the seedlings emerge (usually within 7-14 days), it’s important to thin them to prevent overcrowding. This will allow the remaining plants to develop properly.
1. **Wait Until True Leaves Appear:** Wait until the seedlings have developed their first set of true leaves (the leaves that look like miniature versions of the mature leaves).
2. **Thin to 4-6 Inches Apart:** Thin the seedlings to a spacing of 4-6 inches apart. This will give them enough room to grow.
3. **Carefully Remove Seedlings:** Carefully remove the unwanted seedlings by pinching them off at the soil line. Avoid pulling them out, as this can disturb the roots of the remaining plants.
4. **Water After Thinning:** Water the area after thinning to help the remaining plants recover.
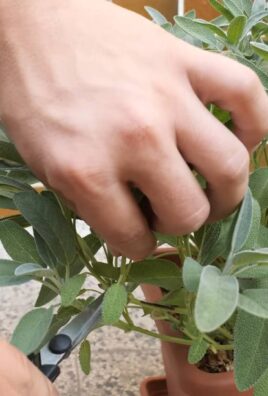
Caring for Your Rutabagas and Swedes
Rutabagas and swedes are relatively low-maintenance, but they do require regular watering and weeding.
1. **Water Regularly:** Water the plants regularly, especially during dry periods. Aim to keep the soil consistently moist but not waterlogged. I usually water deeply once or twice a week, depending on the weather.
2. **Weed Regularly:** Keep the area free of weeds, which can compete with the plants for nutrients and water. Hand-weeding is the best option, as it avoids damaging the roots of the rutabagas and swedes.
3. **Fertilize (Optional):** If your plants are not growing vigorously, you can apply a side dressing of a balanced fertilizer (e.g., 10-10-10) according to the package instructions. However, I usually find that compost is sufficient.
4. **Control Pests and Diseases:** Keep an eye out for common pests and diseases, such as aphids, flea beetles, and clubroot. If you notice any problems, take action promptly to prevent them from spreading. I prefer to use organic pest control methods whenever possible.
Protecting from Pests and Diseases
Rutabagas and swedes can be susceptible to a few pests and diseases. Here’s how I deal with them:
* **Flea Beetles:** These tiny beetles can create small holes in the leaves. I use row covers to protect young plants and spray with insecticidal soap if necessary.
* **Aphids:** These sap-sucking insects can weaken plants. I blast them off with a strong stream of water or use insecticidal soap.
* **Clubroot:** This fungal disease causes swollen and distorted roots. Prevention is key! Ensure good soil drainage, maintain a proper soil pH, and practice crop rotation. If you have clubroot in your soil, avoid planting brassicas in that area for several years.
* **Root Maggots:** These larvae feed on the roots of the plants. I use row covers to prevent the adult flies from laying eggs near the plants.
Harvesting Your Rutabagas and Swedes
Rutabagas and swedes are typically harvested in the fall, after the first frost. The frost actually sweetens the flavor of the roots.
1. **Check for Size:** The roots are ready to harvest when they reach a diameter of 3-5 inches.
2. **Loosen the Soil:** Use a garden fork to loosen the soil around the roots.
3. **Gently Pull:** Gently pull the roots out of the ground.
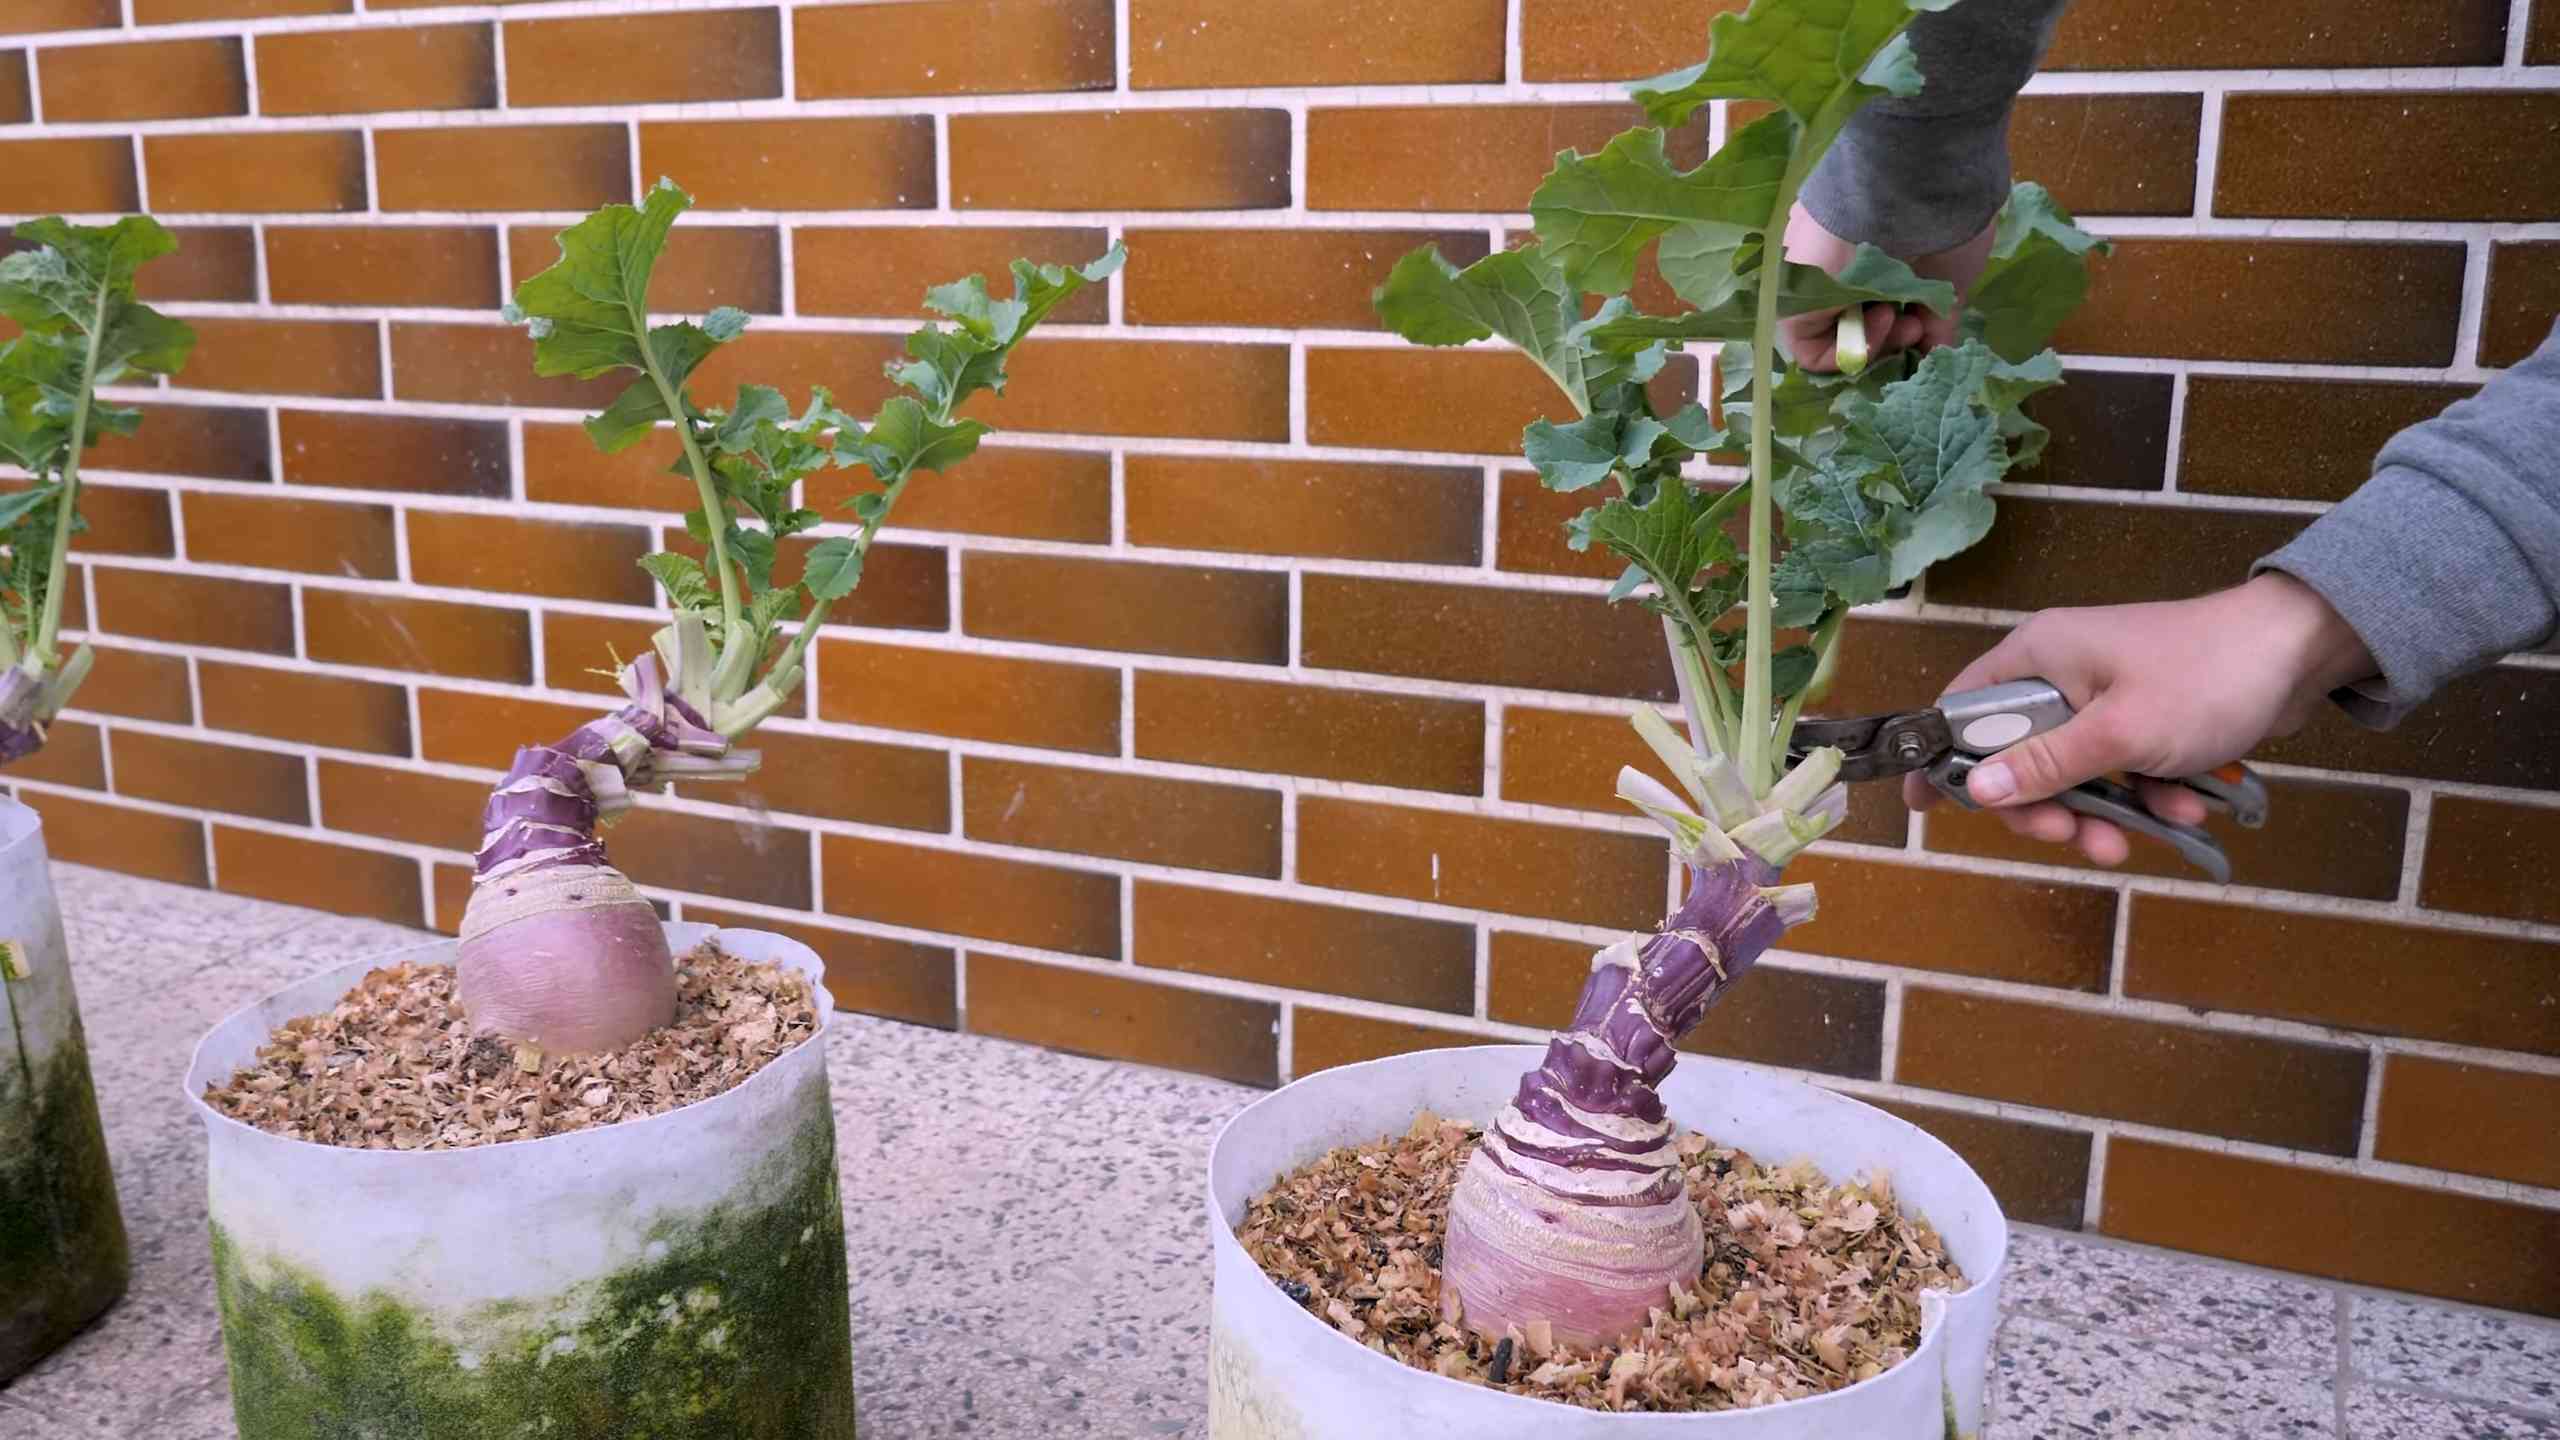
4. **Cut Off Tops:** Cut off the tops, leaving about 1-2 inches of stem.
5. **Brush Off Soil:** Brush off any excess soil.
6. **Cure (Optional):** For longer storage, you can cure the roots by leaving them in a cool, dry place for a few days to allow the skins to harden.
Storing Your Harvest
Rutabagas and swedes can be stored for several months in a cool, dark, and humid place, such as a root cellar or refrigerator.
1. **Ideal Storage Conditions:** The ideal storage temperature is between 32°F and 40°F with high humidity (90-95%).
2. **Storage Methods:**
* **Root Cellar:** Store the roots in bins or crates filled with damp sand or sawdust.
* **Refrigerator:** Store the roots in plastic bags in the refrigerator.
3. **Check Regularly:** Check the roots regularly for signs of spoilage and remove any that are rotting.
Using Your Rutabagas and Swedes
Rutabagas and swedes are incredibly versatile vegetables that can be used in a variety of dishes.
* **Roasted:** Roasting brings out their natural sweetness. Toss them with olive oil, herbs, and spices and roast until tender.
* **Mashed:** Mashed rutabagas and swedes are a delicious and healthy alternative to mashed potatoes.
* **Soups and Stews:** Add them to soups and stews for extra flavor and nutrients.
* **Gratins:** Layer them in a gratin with cheese and cream for a comforting and satisfying dish.
* **Raw:** Grate them into salads or coleslaw for a crunchy and slightly sweet addition.
Troubleshooting Common Problems
Even with the best care, you might encounter some problems. Here’s how I handle them:
* **Small Roots:** This could be due to overcrowding, poor soil fertility, or insufficient watering. Thin the plants, amend the soil with compost, and water regularly.
* **
Conclusion
So, there you have it! Mastering the art of growing rutabaga and swede isn’t just about planting seeds; it’s about unlocking a world of culinary possibilities and enjoying the fruits (or rather, roots!) of your labor. We’ve explored the ins and outs of cultivating these often-overlooked vegetables, from selecting the right variety to battling common pests and diseases. But the real magic lies in the satisfaction of harvesting your own, knowing you’ve nurtured them from tiny seedlings to robust, flavorful additions to your table.
Why is this DIY approach a must-try? Simply put, homegrown rutabagas and swedes offer a taste and freshness that you just can’t replicate with store-bought produce. The subtle sweetness, the earthy undertones, and the satisfying crunch are all amplified when you’ve controlled every aspect of their growth. Plus, you have the peace of mind knowing exactly what went into your food – no hidden pesticides or questionable farming practices.
Beyond the basic techniques, there’s plenty of room for experimentation. Consider these variations to tailor your rutabaga and swede growing experience:
* Succession Planting: Plant seeds every few weeks to ensure a continuous harvest throughout the season. This is especially useful if you have a smaller garden and want to maximize your yield.
* Companion Planting: Pair your rutabagas and swedes with beneficial companions like chamomile, rosemary, or thyme to deter pests and improve growth.
* Different Varieties: Explore different varieties of rutabaga and swede to discover your favorite flavors and textures. Some varieties are sweeter, while others are more robust and earthy. Experiment with ‘Laurentian’ rutabaga for its smooth texture or ‘Marian’ swede for its disease resistance.
* Vertical Gardening: If space is limited, consider growing your rutabagas and swedes in raised beds or containers. This can also help improve drainage and soil quality.
* Soil Amendments: Experiment with different soil amendments like compost, aged manure, or bone meal to see how they affect the growth and flavor of your rutabagas and swedes.
Growing rutabaga and swede is a rewarding experience that connects you to the land and provides you with delicious, nutritious food. Don’t be intimidated by the perceived difficulty – with a little planning and effort, you can successfully cultivate these versatile vegetables in your own backyard.
We wholeheartedly encourage you to give this DIY trick a try. Start small, learn from your mistakes, and most importantly, have fun! Once you’ve harvested your first crop, we’d love to hear about your experience. Share your tips, tricks, and photos in the comments below. Let’s build a community of rutabaga and swede enthusiasts and inspire others to embrace the joys of homegrown produce. Happy gardening!
Frequently Asked Questions (FAQ)
What is the best time to plant rutabaga and swede seeds?
The ideal time to plant rutabaga and swede seeds is in late spring or early summer, approximately 90-100 days before the first expected frost. This allows them ample time to mature before the cold weather sets in. In warmer climates, you can also plant them in late summer for a fall harvest. Check your local frost dates to determine the optimal planting time for your region.
How much space do rutabagas and swedes need to grow?
Rutabagas and swedes require adequate spacing to allow their roots to develop properly. Generally, you should space plants 6-8 inches apart in rows that are 18-24 inches apart. This spacing allows for good air circulation and prevents overcrowding, which can lead to disease. If you’re growing them in containers, choose pots that are at least 12 inches in diameter and depth.
What kind of soil is best for growing rutabagas and swedes?
Rutabagas and swedes thrive in well-drained, fertile soil that is rich in organic matter. The ideal soil pH is between 6.0 and 7.0. Before planting, amend the soil with compost, aged manure, or other organic matter to improve its fertility and drainage. Avoid heavy clay soils, as they can become waterlogged and hinder root development.
How often should I water rutabagas and swedes?
Rutabagas and swedes need consistent moisture to grow properly. Water them deeply and regularly, especially during dry periods. Aim to keep the soil consistently moist but not waterlogged. Mulching around the plants can help retain moisture and suppress weeds. A good rule of thumb is to water when the top inch of soil feels dry to the touch.
What are some common pests and diseases that affect rutabagas and swedes?
Some common pests that can affect rutabagas and swedes include flea beetles, cabbage root flies, aphids, and slugs. Diseases include clubroot, powdery mildew, and downy mildew. To prevent pest and disease problems, practice crop rotation, maintain good soil drainage, and remove any infected plants promptly. You can also use organic pest control methods like insecticidal soap or neem oil to control pests.
How do I know when rutabagas and swedes are ready to harvest?
Rutabagas and swedes are typically ready to harvest when their roots reach a diameter of 3-5 inches. The exact size will depend on the variety. You can gently loosen the soil around the roots and pull them up by hand. The leaves may start to yellow and die back as the roots mature. Harvest before the ground freezes hard, as this can damage the roots.
Can I store rutabagas and swedes after harvesting?
Yes, rutabagas and swedes can be stored for several months if stored properly. After harvesting, remove the leaves and any excess soil. Store them in a cool, dark, and humid place, such as a root cellar or refrigerator. The ideal storage temperature is between 32°F and 40°F (0°C and 4°C). You can also store them in perforated plastic bags to help maintain humidity.
Are rutabagas and swedes the same thing?
While often confused, rutabagas and swedes are closely related but distinct vegetables. Swedes are generally considered to be a cross between a turnip and a cabbage, while rutabagas are thought to be a cross between a turnip and a kale. Rutabagas tend to be larger and have a slightly sweeter flavor than swedes. They also have a smoother skin and a more yellow flesh.
Can I eat the leaves of rutabagas and swedes?
Yes, the leaves of rutabagas and swedes are edible and nutritious. They can be cooked like spinach or kale and added to salads, soups, or stir-fries. Choose young, tender leaves for the best flavor and texture. Avoid eating leaves that are damaged or discolored.
What are some ways to cook rutabagas and swedes?
Rutabagas and swedes are versatile vegetables that can be cooked in a variety of ways. They can be roasted, boiled, mashed, steamed, or added to soups and stews. They pair well with other root vegetables like carrots, potatoes, and parsnips. Try roasting them with olive oil, herbs, and spices for a simple and delicious side dish. You can also mash them with butter and cream for a creamy and comforting dish.
How can I improve the flavor of my homegrown rutabagas and swedes?
The flavor of your homegrown rutabagas and swedes can be influenced by several factors, including soil quality, watering practices, and variety selection. Ensure that your soil is rich in organic matter and that you are providing consistent moisture. Consider adding a small amount of fertilizer to the soil during the growing season. Also, experiment with different varieties to find the ones that you enjoy the most. Harvesting after a light frost can also enhance their sweetness.
Leave a Comment