

Vinegar life hacks – who knew this humble kitchen staple could be your secret weapon for a thriving home and garden? I’m always amazed by the versatility of vinegar, and I’m excited to share some incredible DIY tricks that will not only save you money but also help you create a healthier, more sustainable living space.
For centuries, vinegar has been more than just a condiment. Ancient civilizations, from the Egyptians to the Romans, used it for everything from cleaning and preserving food to medicinal purposes. It’s a testament to its natural power and effectiveness! But in today’s world, with so many chemical-laden products on the market, we often overlook the simple solutions right in our pantry.
That’s where these vinegar life hacks come in. Are you tired of spending a fortune on expensive cleaning supplies? Do you want to reduce your exposure to harsh chemicals? Or maybe you’re just looking for eco-friendly ways to tackle everyday problems around the house and garden? Well, you’re in the right place! I’m going to show you how to harness the power of vinegar to clean, deodorize, and even boost your garden’s growth. Get ready to be amazed by the magic of this all-natural wonder!
DIY Life Hacks to Simplify Your Day
Okay, let’s dive into some awesome DIY life hacks that I’ve personally found super helpful. These are designed to make your everyday life a little bit easier, a little bit more organized, and a whole lot more fun!
Section 1: Reviving Dried-Out Mascara
Is your favorite mascara clumpy and dry? Don’t throw it away just yet! This hack will bring it back to life.
What you’ll need:
* A few drops of saline solution (the kind you use for contact lenses)
* Mascara wand
* Paper towel
Step-by-step instructions:
1. Gather your supplies: Make sure you have your dried-out mascara, saline solution, and a clean mascara wand ready to go. A paper towel will also be handy for wiping off any excess.
2. Add saline solution: Carefully add 2-3 drops of saline solution into the mascara tube. Be careful not to add too much, as this can make the mascara too watery.
3. Mix it up: Use the mascara wand to gently swirl the saline solution into the mascara. Avoid pumping the wand in and out, as this can introduce air and dry out the mascara even faster in the long run.
4. Test the consistency: After mixing, test the consistency of the mascara on the back of your hand. If it’s still too thick, add another drop of saline solution and mix again.
5. Wipe the wand: Once you’re happy with the consistency, wipe off any excess mascara from the wand with a paper towel.
6. Apply as usual: Now, apply your revived mascara as you normally would. You should notice a significant improvement in its application.
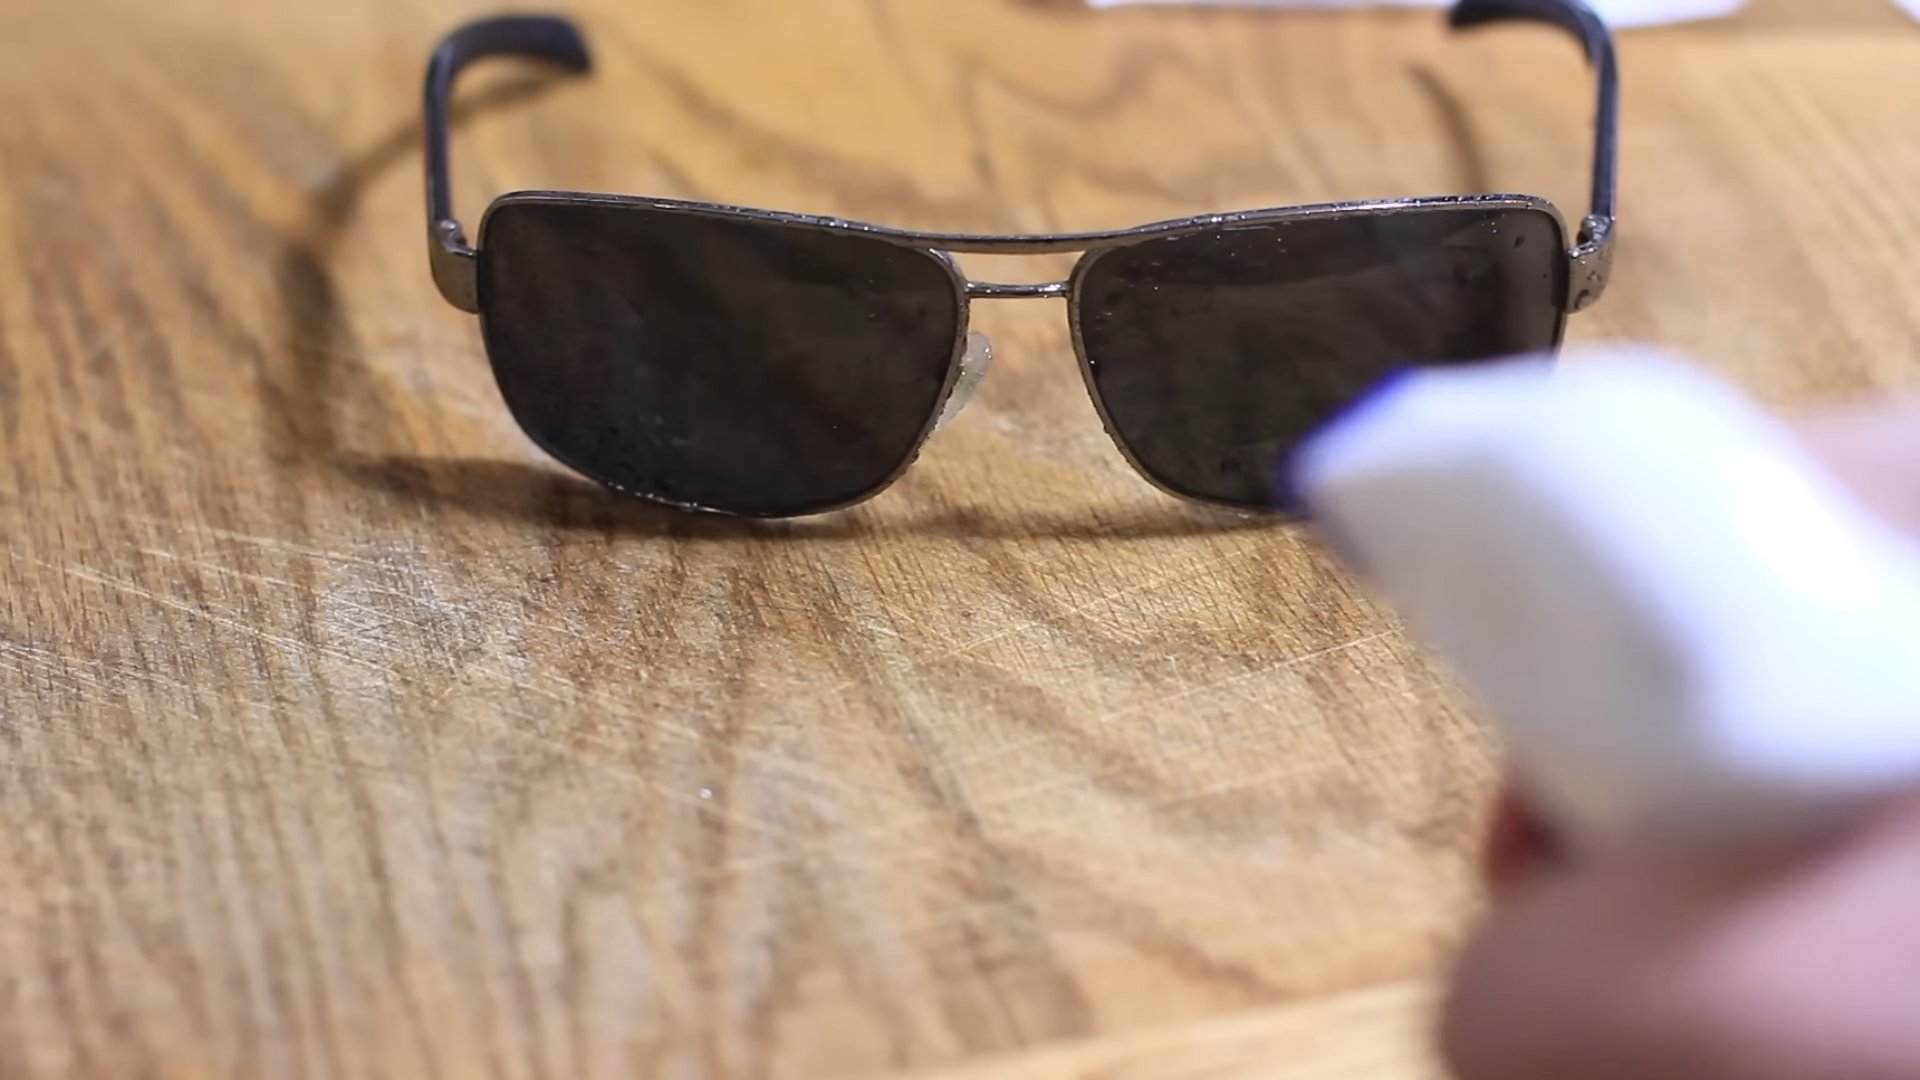
Section 2: Creating a Phone Stand from Sunglasses
Need a quick and easy phone stand? Your sunglasses can come to the rescue!
What you’ll need:
* A pair of sunglasses (preferably with sturdy arms)
* Your phone
Step-by-step instructions:
1. Open the sunglasses: Open your sunglasses as you normally would.
2. Position the arms: Fold the arms of the sunglasses inward, creating a V-shape. The nose bridge of the sunglasses will act as the base of the stand.
3. Place your phone: Carefully place your phone in the V-shape created by the sunglasses arms. Adjust the angle of the arms to find the perfect viewing angle.
4. Adjust as needed: If your phone is slipping, try adjusting the position of the sunglasses arms or using a pair of sunglasses with more sturdy arms.
Section 3: Organizing Cords with Toilet Paper Rolls
Tired of tangled cords? This simple hack uses toilet paper rolls to keep them organized.
What you’ll need:
* Empty toilet paper rolls
* Markers or labels (optional)
* A box or container
Step-by-step instructions:
1. Gather your toilet paper rolls: Collect the number of empty toilet paper rolls you need based on the number of cords you want to organize.
2. Label the rolls (optional): Use markers or labels to identify the cords that will go inside each roll. For example, you could label one “Phone Charger,” another “Laptop Charger,” and so on.
3. Coil the cords: Neatly coil each cord and secure it with a rubber band or twist tie if necessary.
4. Insert the cords: Place each coiled cord inside a labeled toilet paper roll.
5. Store in a container: Place all the toilet paper rolls containing the cords into a box or container. This will keep them organized and prevent them from getting tangled.
Section 4: Removing Stickers with a Hair Dryer
Struggling to remove a stubborn sticker? A hair dryer can make the process much easier.
What you’ll need:
* A hair dryer
* Your item with the sticker
* A scraper or credit card (optional)
Step-by-step instructions:
1. Heat the sticker: Turn on your hair dryer to a medium heat setting and hold it a few inches away from the sticker.
2. Apply heat for 30-60 seconds: Move the hair dryer back and forth over the sticker, applying heat evenly for about 30-60 seconds. The heat will soften the adhesive.
3. Peel the sticker: After heating, try to peel the sticker from one corner. If it comes off easily, continue peeling slowly and steadily.
4. Use a scraper (optional): If the sticker is still stubborn, use a scraper or credit card to gently lift the edges as you peel.
5. Remove residue: If there’s any sticky residue left behind, you can remove it with rubbing alcohol or a specialized adhesive remover.
Section 5: Making a Makeshift Speaker with a Bowl
Need to amplify your phone’s sound? A bowl can act as a makeshift speaker.
What you’ll need:
* A bowl (ceramic or glass works best)
* Your phone
Step-by-step instructions:
1. Find the right bowl: Choose a bowl that is large enough to hold your phone securely. Ceramic or glass bowls tend to amplify sound better than plastic ones.
2. Place your phone in the bowl: Position your phone inside the bowl with the speaker facing down. You may need to experiment with the placement to find the optimal sound amplification.
3. Play your music: Play your music or audio and listen to the difference in sound. The bowl should amplify the sound, making it louder and clearer.
4. Adjust as needed: If the sound is muffled, try adjusting the position of your phone or using a different bowl.
Section 6: Cleaning a Microwave with Lemon
Microwave looking a little grimy? This natural cleaning hack uses lemon to steam clean it.
What you’ll need:
* A microwave-safe bowl
* 1 lemon
* 1 cup of water
Step-by-step instructions:
1. Prepare the lemon water: Fill the microwave-safe bowl with 1 cup of water. Cut the lemon in half and squeeze the juice into the water. Then, drop the lemon halves into the bowl as well.
2. Microwave for 3-5 minutes: Place the bowl in the microwave and heat it on high for 3-5 minutes, or until the water boils and the microwave is filled with steam.
3. Let it sit: After microwaving, leave the bowl inside the microwave with the door closed for another 5-10 minutes. The steam will loosen any grime and food splatters.
4. Wipe clean: Carefully remove the bowl from the microwave (it will be hot!). Use a damp cloth or sponge to wipe down the inside of the microwave. The grime should come off easily.
5. Enjoy your clean microwave: Your microwave should now be clean and fresh-smelling!
Section 7: Keeping Brown Sugar Soft with Bread
Brown sugar turned into a rock? A slice of bread can soften it up.
What you’ll need:
* Hardened brown sugar
* A slice of fresh bread
* An airtight container
Step-by-step instructions:
1. Place bread in container: Place the hardened brown sugar in an airtight container.
2. Add bread slice: Add a slice of fresh bread to the container on top of the brown sugar.
3. Seal the container: Seal the container tightly to prevent air from getting in.
4. Wait overnight: Leave the container overnight. The moisture from the bread will be absorbed by the brown sugar, softening it.
5. Remove bread: The next day, remove the bread from the container. Your brown sugar should now be soft and ready to use.
Section 8: De-wrinkling Clothes with Shower Steam
Need to de-wrinkle a shirt in a pinch? A steamy shower can do the trick.
What you’ll need:
* Wrinkled clothing
* A hanger
* A steamy shower
Step-by-step instructions:
1. Hang the clothing: Hang the wrinkled clothing on a hanger.
2. Start a hot shower: Turn on the shower to the hottest setting and close the bathroom door to trap the steam.
3. Hang clothing in bathroom: Hang the clothing in the bathroom, away from direct water spray.
4. Let it steam: Let the clothing steam for about 15-20 minutes. The steam will help to relax the fibers and remove wrinkles.
5. Remove and dry: After steaming, remove the clothing from the bathroom and let it air dry completely.
Section 9: Cleaning Blenders Easily
Conclusion
So, there you have it! This simple yet powerful DIY vinegar trick is more than just a cleaning hack; it’s a game-changer for your home, your wallet, and even the environment. We’ve explored how this humble pantry staple can replace a multitude of expensive and often harsh chemical cleaners, offering a natural and effective alternative for tackling everything from stubborn stains to lingering odors.
Why is this a must-try? Because it’s incredibly versatile. Think about it: one bottle of vinegar can descale your coffee maker, freshen your laundry, clean your windows to a streak-free shine, and even act as a natural weed killer in your garden. The savings alone are significant, but the peace of mind knowing you’re using a non-toxic solution around your family and pets is priceless.
But the benefits don’t stop there. This DIY vinegar trick is also incredibly easy to customize. Want to add a pleasant scent? Infuse your vinegar with citrus peels, herbs like lavender or rosemary, or even a few drops of your favorite essential oils. For tougher cleaning jobs, consider increasing the concentration of vinegar or combining it with baking soda for a powerful fizzing action. Experiment with different ratios and additions to find the perfect formula for your specific needs.
Consider these variations:
* **Citrus-Infused Vinegar:** Add orange, lemon, or grapefruit peels to a jar of vinegar and let it steep for a week or two. This creates a wonderfully fragrant cleaner that’s perfect for kitchens and bathrooms.
* **Herb-Infused Vinegar:** Rosemary, thyme, and lavender are excellent choices for infusing vinegar. These herbs add a subtle fragrance and can also enhance the cleaning power.
* **Vinegar and Baking Soda Paste:** For stubborn stains and grime, mix vinegar with baking soda to form a paste. Apply the paste to the affected area, let it sit for a few minutes, and then scrub clean.
* **Vinegar as a Fabric Softener:** Add 1/2 cup of white vinegar to your washing machine’s fabric softener dispenser. It will soften your clothes and help to remove any lingering odors.
* **Vinegar as a Weed Killer:** Pour undiluted white vinegar directly onto weeds to kill them. Be careful not to get it on plants you want to keep, as it will also kill them.
We’re confident that once you try this DIY vinegar trick, you’ll be amazed by its effectiveness and versatility. It’s a simple, affordable, and eco-friendly way to keep your home clean and fresh.
So, what are you waiting for? Grab a bottle of vinegar and start experimenting! We encourage you to try out these tips and variations and discover the many ways that this simple ingredient can transform your cleaning routine. And most importantly, we want to hear about your experiences! Share your favorite vinegar cleaning hacks, your successes, and even your challenges in the comments below. Let’s build a community of vinegar enthusiasts and discover even more ways to harness the power of this amazing natural cleaner. We are eager to hear how this **vinegar life hack** has changed your cleaning routine.
Frequently Asked Questions (FAQs)
Is it safe to use vinegar on all surfaces?
While vinegar is a versatile cleaner, it’s not suitable for all surfaces. Avoid using it on natural stone surfaces like marble, granite, and limestone, as the acidity can etch and damage them. It’s also best to avoid using vinegar on waxed wood furniture, as it can strip the wax finish. Always test vinegar on an inconspicuous area before applying it to a larger surface.
What type of vinegar is best for cleaning?
White distilled vinegar is the best choice for cleaning. It’s inexpensive, readily available, and has a high acidity level, making it effective at killing bacteria and dissolving grime. Avoid using other types of vinegar, such as apple cider vinegar or balsamic vinegar, as they can stain surfaces.
Can I mix vinegar with bleach?
No, never mix vinegar with bleach. This combination creates chlorine gas, which is highly toxic and can be fatal. Always use vinegar and bleach separately and never in the same cleaning solution.
How do I get rid of the vinegar smell?
The vinegar smell will dissipate quickly after cleaning. To speed up the process, you can open windows and doors to ventilate the area. You can also add a few drops of essential oils to your vinegar cleaning solution to mask the smell. Citrus oils, lavender, and eucalyptus are all good choices.
Can vinegar kill mold?
Yes, vinegar can kill mold. Spray undiluted white vinegar onto the moldy surface and let it sit for an hour. Then, scrub the area with a brush and rinse with water. Be sure to dry the area thoroughly to prevent the mold from returning. For severe mold infestations, it’s best to consult with a professional mold remediation company.
How can I use vinegar to clean my coffee maker?
To clean your coffee maker with vinegar, fill the water reservoir with a solution of equal parts white vinegar and water. Run the coffee maker through a full brewing cycle. Then, run two cycles with fresh water to rinse away any remaining vinegar.
Can vinegar be used to clean laundry?
Yes, vinegar can be used to clean laundry. Add 1/2 cup of white vinegar to your washing machine’s fabric softener dispenser. It will soften your clothes, remove odors, and help to brighten colors. You can also use vinegar to pretreat stains by soaking the stained garment in a solution of vinegar and water before washing.
Is vinegar safe for septic systems?
Yes, vinegar is safe for septic systems. It’s a natural and biodegradable cleaner that won’t harm the beneficial bacteria in your septic tank.
How long does vinegar last as a cleaning solution?
Vinegar has a very long shelf life and can last for years when stored properly. Keep it in a cool, dark place in a sealed container.
What are some other uses for vinegar around the house?
Vinegar has many other uses around the house, including:
* Cleaning windows and mirrors
* Descaling showerheads and faucets
* Removing hard water stains
* Freshening up garbage disposals
* Cleaning microwave ovens
* Polishing chrome and stainless steel
* Killing weeds in the garden
* Removing stickers and labels
Can I use vinegar to clean my dishwasher?
Yes, you can use vinegar to clean your dishwasher. Place a cup of white vinegar in a dishwasher-safe bowl on the top rack of your empty dishwasher. Run the dishwasher on a hot cycle. This will help to remove grease, grime, and mineral buildup.
How often should I clean with vinegar?
The frequency of cleaning with vinegar depends on your individual needs and preferences. For general cleaning, you can use vinegar once a week or as needed. For specific tasks, such as cleaning your coffee maker or dishwasher, you may want to clean with vinegar more frequently.
What if the vinegar doesn’t work?
While vinegar is a powerful cleaner, it may not be effective for all types of stains and grime. If vinegar doesn’t work, you can try using a stronger cleaning solution or consulting with a professional cleaner. Remember to always test any cleaning solution on an inconspicuous area before applying it to a larger surface.

Leave a Comment