

Natural oven cleaning methods are not just a trend; they’re a return to simpler, healthier ways of maintaining our homes. For generations, resourceful individuals have relied on the power of readily available ingredients like baking soda and vinegar to tackle tough cleaning jobs. Think about your grandmother’s kitchen – chances are, she wasn’t reaching for harsh chemicals to keep her oven sparkling! This tradition speaks to a deeper understanding of natural solutions and their effectiveness.
Let’s face it, nobody enjoys cleaning the oven. It’s a chore we all dread, often putting it off until it’s absolutely necessary. The fumes from commercial oven cleaners can be overwhelming and concerning, especially if you have children or pets. That’s where these DIY tricks come in! I’m going to show you how to achieve a spotless oven using simple, non-toxic ingredients you probably already have in your pantry.
This article is your guide to mastering natural oven cleaning methods. I’ll walk you through easy-to-follow steps, share my favorite tips and tricks, and help you say goodbye to harsh chemicals for good. Get ready to transform your oven cleaning routine into a safe, effective, and even enjoyable experience!
DIY Natural Oven Cleaning: A Sparkling Oven Without Harsh Chemicals
Okay, let’s face it, cleaning the oven is probably on everyone’s list of least favorite chores. But it doesn’t have to be a toxic nightmare! I’m going to walk you through a super effective, completely natural way to get your oven sparkling clean using ingredients you probably already have in your pantry. Get ready to ditch those harsh chemicals and embrace a fume-free, eco-friendly cleaning experience!
What You’ll Need:
* Baking soda
* White vinegar
* Water
* Spray bottle
* Spatula or scraper
* Sponge or scrub brush
* Rubber gloves (optional, but recommended)
* Old towels or rags
* Small bowl
Phase 1: The Baking Soda Paste
This is where the magic begins! We’re going to create a powerful, yet gentle, cleaning paste that will loosen all that baked-on gunk.
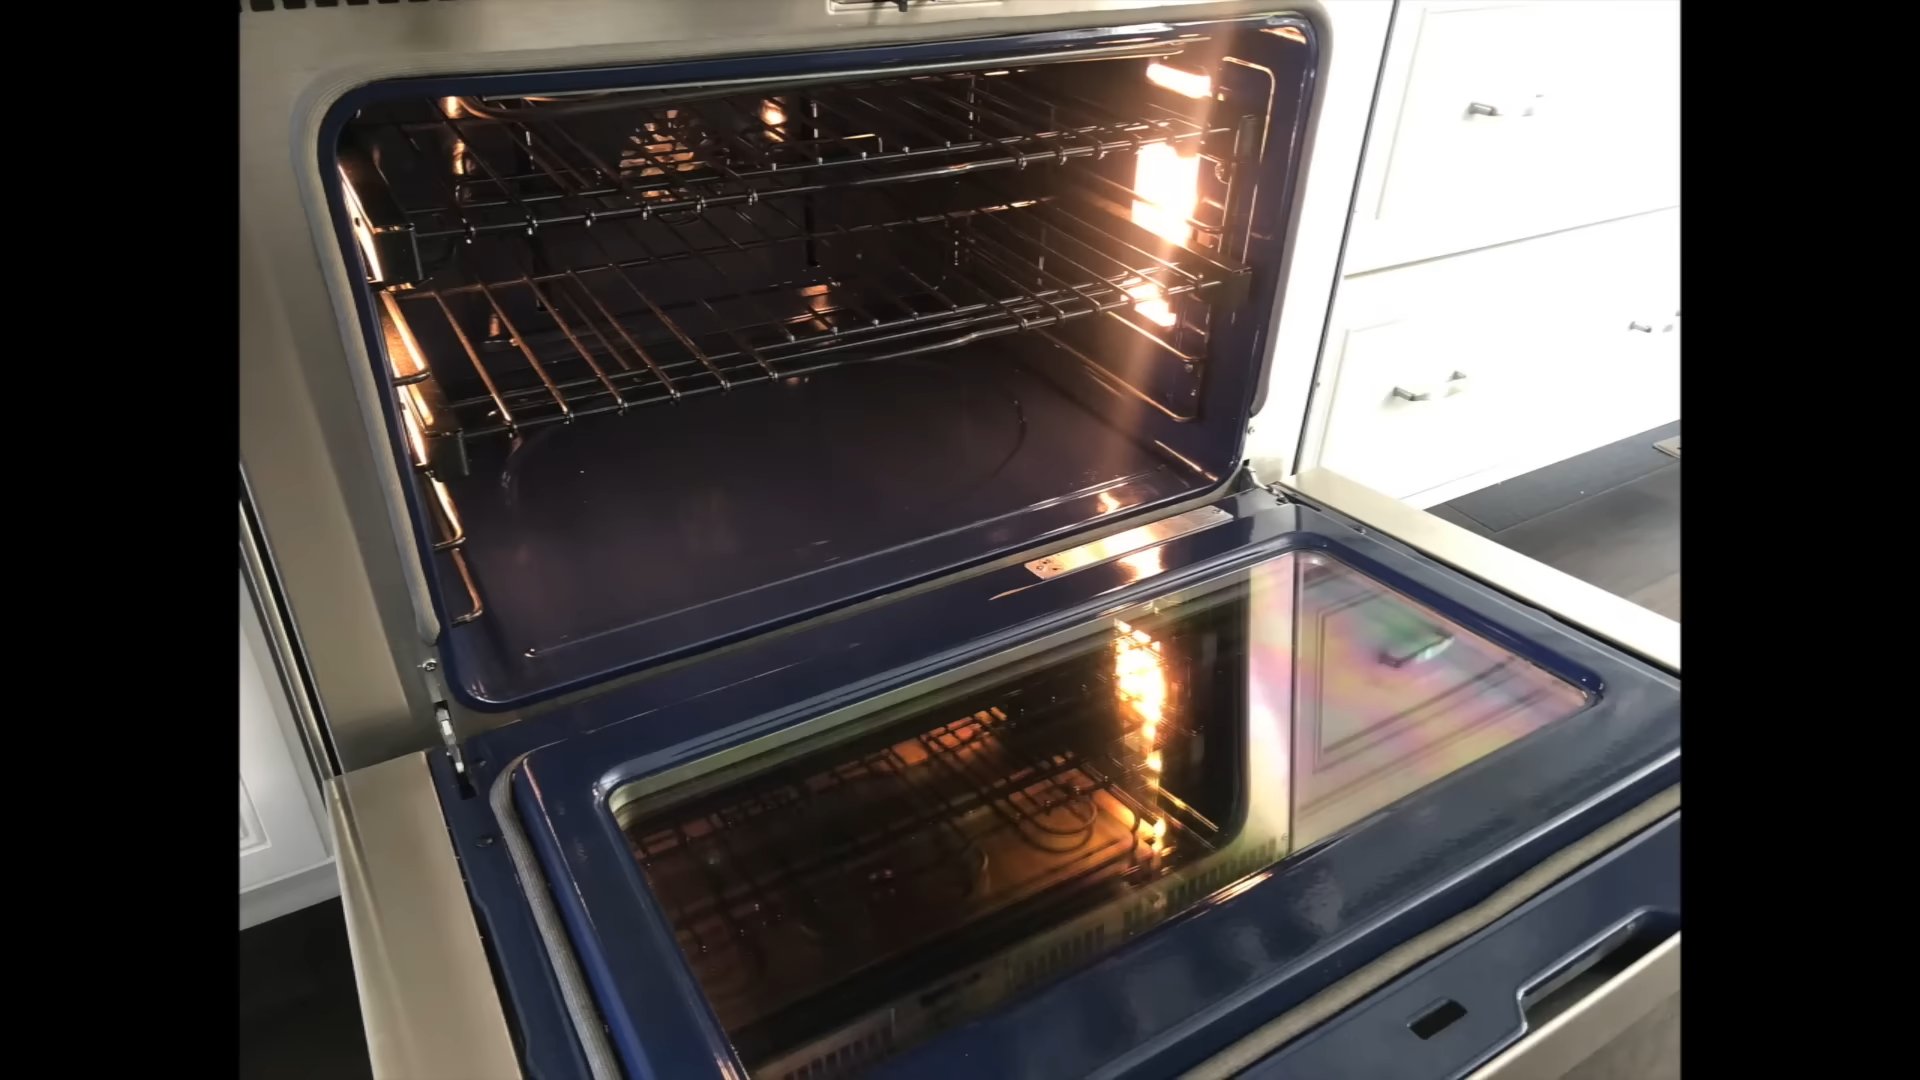
1. Prepare the Oven: First things first, remove the oven racks. You can soak these in hot, soapy water while you’re working on the oven itself. This will make cleaning them much easier later. Also, scrape out any loose debris or crumbs from the bottom of the oven.
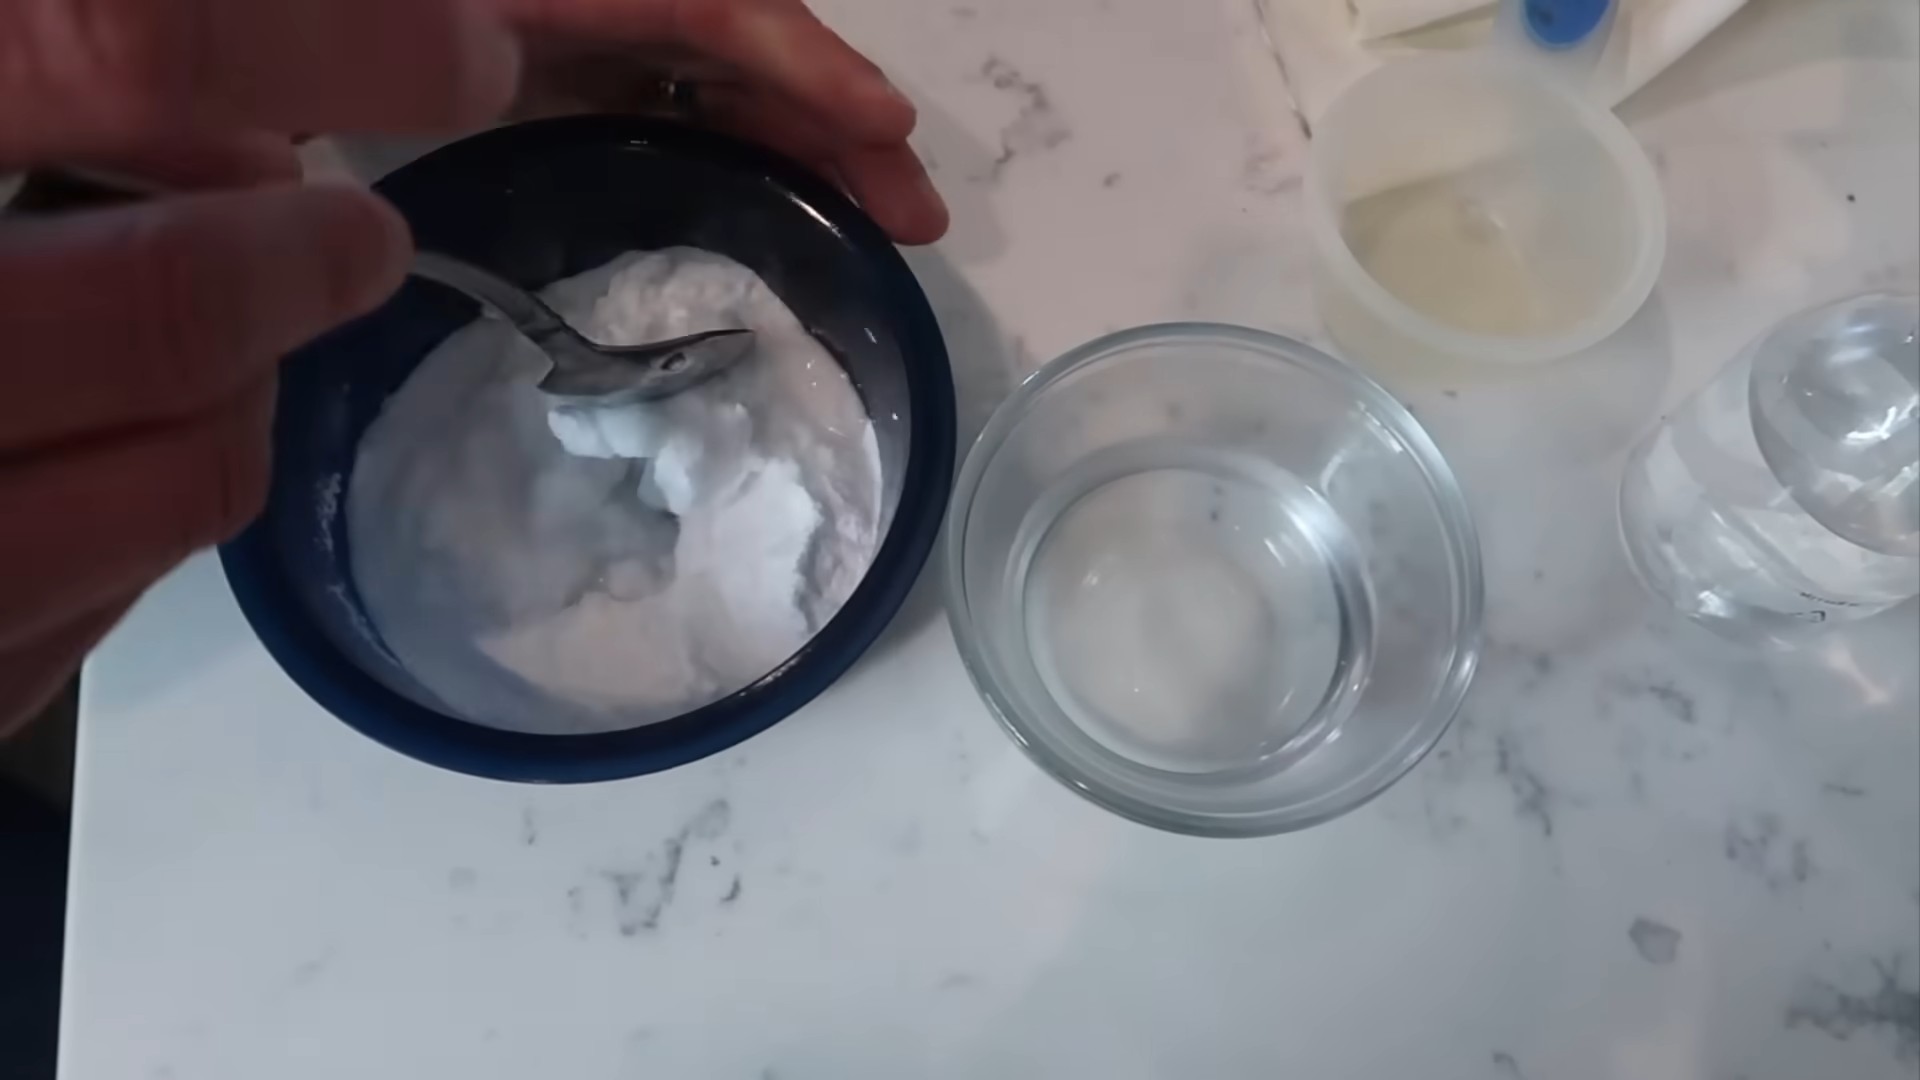
2. Mix the Paste: In your small bowl, combine 1/2 cup of baking soda with a few tablespoons of water. Add the water gradually, mixing until you form a thick, spreadable paste. You want it to be thick enough to stick to the oven walls.
3. Apply the Paste: Using your spatula or scraper (or even your hands with gloves on!), spread the baking soda paste all over the inside of your oven. This includes the walls, the bottom, the top, and even the inside of the oven door. Avoid the heating elements! You want a nice, even coating. Don’t be shy – really get in there and cover everything.
4. Let it Sit (and Work its Magic!): This is the most important part! Let the baking soda paste sit for at least 12 hours, or even better, overnight. The longer it sits, the more time it has to break down the grease and grime. I usually apply it before I go to bed and let it work its magic while I sleep.
Phase 2: The Vinegar Power Wash
Now that the baking soda has done its job, it’s time to unleash the power of vinegar! This will react with the baking soda, creating a fizzing action that helps to lift away the loosened grime.
1. Preheat the Oven (Briefly!): Preheat your oven to 200°F (93°C). Then, turn it OFF immediately. The slight warmth will help the vinegar work its magic without baking the baking soda paste onto the oven surfaces.
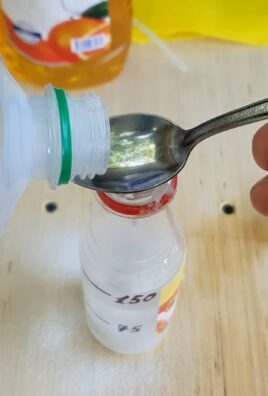
2. Prepare the Vinegar Spray: Fill your spray bottle with plain white vinegar. No need to dilute it!
3. Spray the Vinegar: Generously spray the baking soda paste with vinegar. You’ll notice it starts to fizz and bubble – that’s exactly what you want! The fizzing action helps to loosen the remaining grime.
4. Wipe it All Away: Using your sponge or scrub brush, start wiping away the baking soda and vinegar mixture. You might need to use a little elbow grease, especially in areas with stubborn stains. The baking soda should come off fairly easily, taking the grime with it. Rinse your sponge or scrub brush frequently with clean water.
5. Stubborn Spots: For really stubborn spots, you can make a thicker paste of baking soda and water and apply it directly to the area. Let it sit for a few minutes, then scrub again. You can also use a plastic scraper to gently scrape away any remaining residue.
6. Rinse and Repeat: Once you’ve wiped away all the baking soda and vinegar mixture, rinse the inside of your oven thoroughly with clean water. Use a clean, damp sponge or rag to remove any remaining residue. You might need to rinse several times to get rid of all the baking soda.
Phase 3: Cleaning the Oven Racks
While the baking soda paste was working its magic inside the oven, your racks were soaking in hot, soapy water. Now it’s time to give them a good scrub.
1. Scrub the Racks: Using a scrub brush or sponge, scrub the oven racks to remove any baked-on food or grease. You might need to use a little elbow grease, especially if the racks are heavily soiled.
2. Rinse Thoroughly: Rinse the racks thoroughly with clean water to remove all traces of soap.
3. Dry the Racks: Dry the racks with a clean towel or let them air dry completely before putting them back in the oven.
Phase 4: The Final Touches
Almost there! Just a few more steps to ensure your oven is sparkling clean and ready to use.
1. Wipe Down the Door: Don’t forget to wipe down the outside of the oven door with a damp cloth. You can also use a glass cleaner to clean the oven door glass for a streak-free shine.
2. Dry the Oven: Use a clean, dry towel to dry the inside of the oven completely. This will help prevent rust and ensure that your oven is ready to use.
3. Replace the Racks: Once the oven is completely dry, replace the oven racks.
4. Optional: Deodorize: If you want to deodorize your oven, you can place a small bowl of baking soda inside the oven overnight. This will help absorb any lingering odors.
Tips and Tricks for a Sparkling Clean Oven:
* Prevention is Key: The best way to keep your oven clean is to prevent it from getting too dirty in the first place. Try to wipe up spills as soon as they happen.
* Oven Liners: Consider using oven liners to catch drips and spills. These can be easily removed and cleaned, saving you from having to scrub the bottom of your oven.
* Self-Cleaning Ovens: If you have a self-cleaning oven, you can use it occasionally to help keep your oven clean. However, be aware that the self-cleaning cycle can produce strong odors and high temperatures.
* Regular Cleaning: Try to clean your oven at least once a month, or more often if you use it frequently. Regular cleaning will prevent grime from building up and make the cleaning process much easier.
* Ventilation: Make sure to ventilate your kitchen well while you’re cleaning your oven. Open windows and turn on the exhaust fan to help remove any fumes.
* Gloves: While baking soda and vinegar are natural, they can still be irritating to the skin. Wear rubber gloves to protect your hands.
* Don’t Forget the Broiler Pan: While you’re cleaning your oven, don’t forget to clean the broiler pan! You can soak it in hot, soapy water or use a baking soda paste to remove baked-on grease.
* Lemon Power: For an extra boost of cleaning power and a fresh scent, you can add a few drops of lemon juice to your vinegar spray.
* Steam Cleaning: For a quick and easy clean, you can try steam cleaning your oven. Simply place a bowl of water in the oven and heat it to 450°F (232°C) for 20-30 minutes. The steam will help to loosen the grime, making it easier to wipe away.
* Patience is a Virtue: Don’t get discouraged if your oven doesn’t come completely clean the first time. It might take a few tries to remove all the baked-on grime. Just keep at it, and you’ll eventually have a sparkling clean oven!
And there you have it! A completely natural and effective way to clean your oven without harsh chemicals. I hope this guide helps you achieve a sparkling clean oven that you can be proud of. Happy cleaning!
Conclusion
So, there you have it! Ditching those harsh chemicals and embracing these natural oven cleaning methods is not just a trend; it’s a smarter, healthier, and often more effective way to keep your oven sparkling. We’ve explored the power of baking soda and vinegar, the grease-cutting abilities of lemon, and the gentle scrubbing action of salt – all readily available ingredients that are likely already sitting in your pantry.
Why is this a must-try? Because it’s about more than just a clean oven. It’s about protecting your family from harmful fumes, reducing your environmental impact, and saving money in the process. Think about it: no more expensive oven cleaners filled with ingredients you can’t even pronounce. Instead, you’re using simple, natural substances that are safe for your home and the planet.
But the benefits don’t stop there. A clean oven cooks more efficiently, ensuring your food is heated evenly and tastes its best. Plus, let’s be honest, a sparkling oven is just more inviting to use! It inspires you to cook more, experiment with new recipes, and enjoy the process of creating delicious meals.
Ready to take it a step further? Consider these variations:
* Essential Oil Boost: Add a few drops of your favorite essential oil (like lemon, lavender, or tea tree) to your baking soda paste for an extra burst of freshness and added antibacterial properties.
* Borax Power: For particularly stubborn stains, you can add a tablespoon of borax to your baking soda paste. Just remember to wear gloves and ensure the oven is thoroughly rinsed afterward.
* Overnight Soak: For heavily soiled ovens, let the baking soda paste sit overnight for maximum cleaning power. This allows the paste to penetrate and loosen even the most baked-on grime.
* Steam Clean Enhancement: After the initial baking soda and vinegar treatment, place a bowl of boiling water in the oven and let it steam for 20-30 minutes. This will further loosen any remaining residue, making it even easier to wipe away.
We understand that switching to natural cleaning methods might seem daunting at first, especially if you’re used to the instant gratification of chemical cleaners. But trust us, the results are worth it. Not only will you have a clean oven, but you’ll also have the peace of mind knowing that you’re creating a healthier and more sustainable home.
So, ditch the chemicals and embrace the power of nature! We encourage you to try these natural oven cleaning methods and see the difference for yourself. Don’t be afraid to experiment with different variations and find what works best for your oven and your cleaning style.
Most importantly, we want to hear about your experience! Share your before-and-after photos, your favorite tips and tricks, and any variations you’ve discovered in the comments below. Let’s create a community of natural cleaning enthusiasts and inspire others to make the switch. Together, we can create cleaner, healthier, and more sustainable homes, one oven at a time. Your feedback is invaluable and will help us refine these methods and provide even better guidance to others. Let us know what worked, what didn’t, and any challenges you encountered. We’re here to support you on your natural cleaning journey!
Frequently Asked Questions (FAQ)
Q: How often should I clean my oven using these natural methods?
A: The frequency depends on how often you use your oven and how much it splatters. As a general rule, a deep clean every 3-6 months is a good starting point. However, if you notice spills or splatters frequently, spot cleaning with a damp cloth and a little baking soda paste after each use can prevent buildup and make deep cleaning less necessary. Regular maintenance is key to keeping your oven clean and efficient.
Q: Can I use these methods on a self-cleaning oven?
A: While these methods are generally safe for most ovens, it’s always best to consult your oven’s manual before using any cleaning products, even natural ones. Some self-cleaning ovens have specific coatings or components that could be damaged by certain ingredients. If your manual advises against using anything other than the self-cleaning cycle, it’s best to err on the side of caution. However, you can often use a damp cloth to wipe down the interior after the self-cleaning cycle is complete.
Q: What if the baking soda paste dries out and becomes difficult to remove?
A: If the baking soda paste dries out and hardens, don’t panic! Simply dampen it with a spray bottle filled with water or vinegar. Let it sit for a few minutes to soften the paste, then use a scraper or sponge to gently remove it. You may need to repeat this process a few times for stubborn areas. Avoid using excessive force, as this could scratch the oven’s surface.
Q: Is it safe to use vinegar on all oven surfaces?
A: Vinegar is generally safe for most oven surfaces, but it’s best to avoid using it on rubber seals or heating elements. The acidity of vinegar can potentially damage these components over time. When cleaning around these areas, use a damp cloth with water instead. Also, be sure to thoroughly rinse the oven after using vinegar to remove any residue.
Q: What if I don’t have baking soda or vinegar? Are there any other natural alternatives?
A: Yes, there are other natural alternatives you can use! Lemon juice is a great option for cutting through grease and grime. Simply cut a lemon in half, squeeze the juice into a bowl, and use a sponge to apply it to the oven’s interior. Let it sit for 30 minutes, then wipe clean. Another option is salt. Sprinkle salt on spills while they’re still wet to absorb the grease and prevent them from baking onto the oven’s surface. Once the salt has cooled, simply sweep it away.
Q: How do I clean the oven door glass using natural methods?
A: The oven door glass can be cleaned using the same baking soda and vinegar paste as the interior of the oven. Apply the paste to the glass, let it sit for 15-20 minutes, then scrub with a sponge or non-abrasive scrubber. Wipe clean with a damp cloth. For stubborn stains, you can also try using a razor blade scraper, but be careful not to scratch the glass.
Q: My oven has a strong odor even after cleaning. How can I get rid of it?
A: If your oven still has a strong odor after cleaning, try placing a bowl of baking soda in the oven overnight. Baking soda is a natural odor absorber and can help to neutralize any lingering smells. You can also try simmering a pot of water with lemon slices or orange peels on the stovetop to freshen the air in your kitchen. Make sure the oven is completely dry before using it again.
Q: Can these methods be used to clean the racks and trays?
A: Absolutely! The racks and trays can be cleaned using the same baking soda and vinegar method. Soak them in a solution of hot water and baking soda for several hours or overnight. This will help to loosen any baked-on food and grease. Then, scrub them with a sponge or brush and rinse thoroughly with water. For stubborn stains, you can also try using a steel wool pad.
Q: Are there any precautions I should take when using these natural oven cleaning methods?
A: While these methods are generally safe, it’s always a good idea to wear gloves to protect your hands from irritation. Also, be sure to ventilate your kitchen by opening windows or turning on the exhaust fan. Avoid getting baking soda or vinegar in your eyes, and if you do, rinse them immediately with water. Finally, always test any cleaning product on a small, inconspicuous area of your oven before applying it to the entire surface.


Leave a Comment