

Olive oil cleaning stainless granite – sounds a little crazy, right? I know, I know, you’re probably thinking, “Oil? On my granite? Are you trying to make a slippery mess?” But trust me, this isn’t some wacky internet myth. It’s a time-tested trick that’s been passed down through generations, and it’s about to become your new favorite cleaning hack!
Think about it: olive oil has been a staple in Mediterranean cultures for centuries, not just for cooking, but also for skincare and even household chores. Our grandmothers knew a thing or two about using natural ingredients to keep their homes sparkling. And while we might have fancy new cleaning products these days, sometimes the old ways are the best ways, especially when it comes to achieving a streak-free shine on your stainless steel appliances and bringing out the natural beauty of your granite countertops.
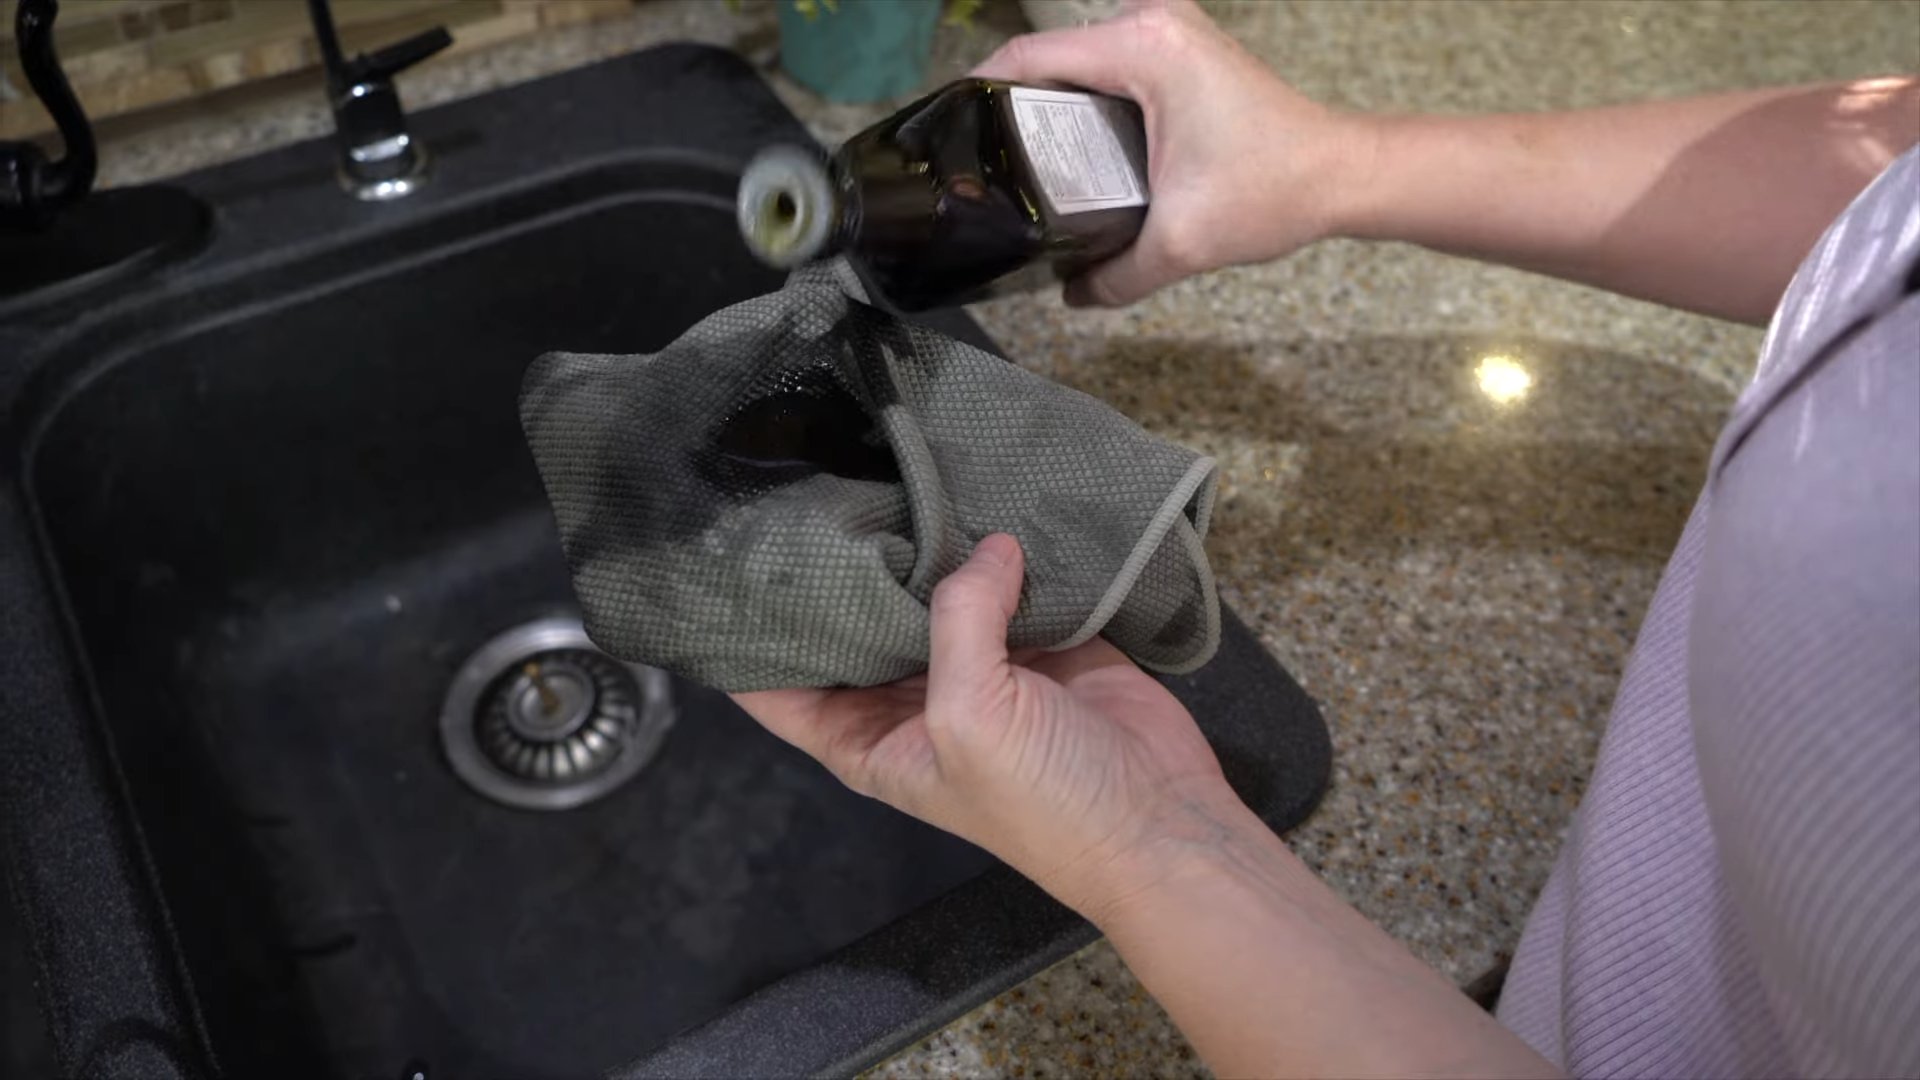
Let’s face it, keeping stainless steel and granite looking pristine can be a real pain. Fingerprints, water spots, and dullness seem to appear out of nowhere. Expensive cleaners often promise the world but leave behind streaks or a sticky residue. That’s where this simple olive oil cleaning stainless granite trick comes in. It’s affordable, eco-friendly, and incredibly effective. I’m going to show you exactly how to use olive oil to clean and polish your stainless steel and granite surfaces, leaving them looking like new. Get ready to ditch those harsh chemicals and embrace the power of nature!
Growing Watermelons in Your Backyard: A Comprehensive DIY Guide
Hey there, fellow gardening enthusiasts! Ever dreamt of biting into a juicy, homegrown watermelon on a hot summer day? Well, dream no more! Growing watermelons in your backyard is totally achievable, even if you’re a beginner. It takes a little planning and effort, but trust me, the reward is absolutely worth it. I’m going to walk you through everything you need to know, from choosing the right variety to harvesting your prize-winning melon. Let’s get started!
Choosing the Right Watermelon Variety
Before you even think about digging in the dirt, you need to pick the perfect watermelon variety for your climate and space. Not all watermelons are created equal! Some are better suited for shorter growing seasons, while others need a ton of room to sprawl.
* Consider your climate: If you live in a region with a short summer, opt for early-maturing varieties like ‘Sugar Baby’ (around 75 days to maturity) or ‘Bush Sugar Baby’ (perfect for smaller gardens). For longer growing seasons, you can try larger varieties like ‘Crimson Sweet’ (around 85 days) or ‘Charleston Gray’ (around 90 days).
* Think about space: Watermelons are notorious for their sprawling vines. If you have limited space, consider bush or compact varieties. These varieties produce smaller vines, making them ideal for container gardening or small backyards.
* Flavor preferences: Do you prefer a super sweet, red-fleshed watermelon, or something a little different? There are yellow-fleshed varieties like ‘Yellow Doll’ and even orange-fleshed varieties like ‘OrangeGlo’. Don’t be afraid to experiment!
* Seedless vs. Seeded: Seedless watermelons are convenient, but they can be a bit more challenging to grow. They require a pollinator variety nearby to set fruit. Seeded varieties are generally easier for beginners.
Preparing Your Garden Bed
Watermelons are heavy feeders, meaning they need a lot of nutrients to thrive. Preparing your garden bed properly is crucial for a successful harvest.
* Sunlight is key: Watermelons need at least 6-8 hours of direct sunlight per day. Choose a location in your backyard that gets plenty of sunshine.
* Soil preparation: Watermelons prefer well-drained, sandy loam soil with a pH between 6.0 and 6.8. If your soil is heavy clay, amend it with plenty of compost and organic matter to improve drainage.
* Soil testing: It’s always a good idea to get your soil tested to determine its nutrient levels. This will help you determine what amendments you need to add. You can usually get your soil tested through your local agricultural extension office.
* Adding amendments: Based on your soil test results, amend your soil with compost, aged manure, or other organic matter. You can also add a slow-release fertilizer specifically formulated for vegetables.
* Creating mounds or hills: Watermelons grow best in slightly raised mounds or hills. This helps with drainage and warms the soil more quickly in the spring. Create mounds that are about 12 inches high and 3-4 feet in diameter.
Planting Your Watermelon Seeds or Seedlings
Now comes the fun part – planting! You can either start your watermelon seeds indoors or direct sow them in your garden.
* Starting seeds indoors (optional): Starting seeds indoors gives you a head start on the growing season, especially if you live in a cooler climate. Start your seeds about 4-6 weeks before the last expected frost.
1. Fill seed trays or small pots with a seed-starting mix.
2. Plant 2-3 seeds per cell or pot, about 1 inch deep.
3. Keep the soil moist but not soggy.
4. Provide plenty of light, either from a sunny window or a grow light.
5. Once the seedlings have developed a few true leaves, thin them to one plant per cell or pot.
* Direct sowing seeds: If you live in a warmer climate, you can direct sow your watermelon seeds in your garden after the last frost.
1. Wait until the soil temperature is consistently above 70°F (21°C).
2. Plant 4-5 seeds per mound, about 1 inch deep.
3. Water thoroughly.
4. Once the seedlings emerge, thin them to the strongest 2-3 plants per mound.
* Transplanting seedlings: If you started your seeds indoors, you’ll need to harden them off before transplanting them into your garden. This means gradually exposing them to outdoor conditions over a period of 7-10 days.
1. Start by placing the seedlings in a sheltered location outdoors for a few hours each day, gradually increasing the amount of time they spend outside.
2. After a week or so, they should be ready to transplant.
3. Dig a hole in the center of each mound that is large enough to accommodate the root ball.
4. Gently remove the seedling from its pot and place it in the hole.
5. Backfill with soil and water thoroughly.
* Spacing: Space your watermelon mounds about 3-4 feet apart. If you’re growing bush varieties, you can space them closer together, about 2-3 feet apart.
Caring for Your Watermelon Plants
Once your watermelon plants are in the ground, it’s important to provide them with the care they need to thrive.
* Watering: Watermelons need consistent moisture, especially during fruit development. Water deeply and regularly, especially during hot, dry weather. Aim for about 1-2 inches of water per week. Use a soaker hose or drip irrigation to avoid wetting the foliage, which can lead to fungal diseases.
* Fertilizing: Watermelons are heavy feeders, so you’ll need to fertilize them regularly. Use a balanced fertilizer (e.g., 10-10-10) every 2-3 weeks. You can also side-dress your plants with compost or aged manure.
* Weeding: Keep your garden bed free of weeds, which can compete with your watermelon plants for nutrients and water. Hand-pull weeds regularly or use a hoe to cultivate the soil.
* Mulching: Mulching around your watermelon plants helps to retain moisture, suppress weeds, and regulate soil temperature. Use organic mulches like straw, hay, or wood chips.
* Pollination: Watermelons require pollination to set fruit. Bees are the primary pollinators, so encourage them to visit your garden by planting flowers that attract bees. If you’re not seeing a lot of bee activity, you can hand-pollinate your watermelon flowers.
1. Identify the male and female flowers. Male flowers have a long, slender stem, while female flowers have a small, immature watermelon at the base.
2. Use a small paintbrush to collect pollen from the male flower and transfer it to the female flower.
3. Repeat this process for several days to ensure pollination.
* Pruning (optional): Some gardeners prune their watermelon vines to encourage larger fruit. To prune, remove any side shoots that are growing from the main vine. This will direct the plant’s energy towards fruit production.
* Protecting from pests and diseases: Watermelons can be susceptible to a variety of pests and diseases, including aphids, squash bugs, vine borers, and fungal diseases. Inspect your plants regularly for signs of pests or diseases and take action promptly. Use organic pest control methods whenever possible.
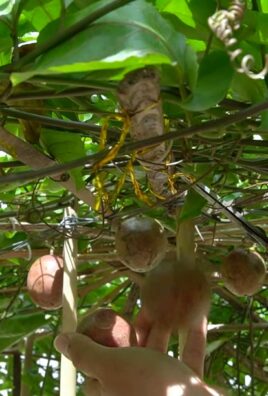
Harvesting Your Watermelons
The most exciting part of growing watermelons is harvesting your ripe, juicy fruit! Knowing when to harvest can be tricky, but here are a few tips:
* Days to maturity: Check the seed packet or plant tag for the days to maturity. This will give you a general idea of when your watermelons should be ready to harvest.
* The tendril test: Look for the tendril closest to the watermelon stem. When this tendril turns brown and dries out, the watermelon is usually ripe.
* The ground spot: The spot where the watermelon rests on the ground should turn from white to yellow or cream-colored.
* The thump test: Give the watermelon a gentle thump. A ripe watermelon will sound hollow.
* The rind: The rind of a ripe watermelon will be dull and slightly waxy.
* Harvesting: Once you’ve determined that your watermelon is ripe, use a sharp knife to cut it from the vine, leaving a few inches of stem attached.
Enjoying Your Homegrown Watermelons
Congratulations! You’ve successfully grown watermelons in your backyard. Now it’s time to enjoy the fruits (or rather, the melons) of your labor. Slice them up and enjoy them fresh, or use them in salads, smoothies, or desserts. You can even pickle the rind!
Growing watermelons can
Conclusion
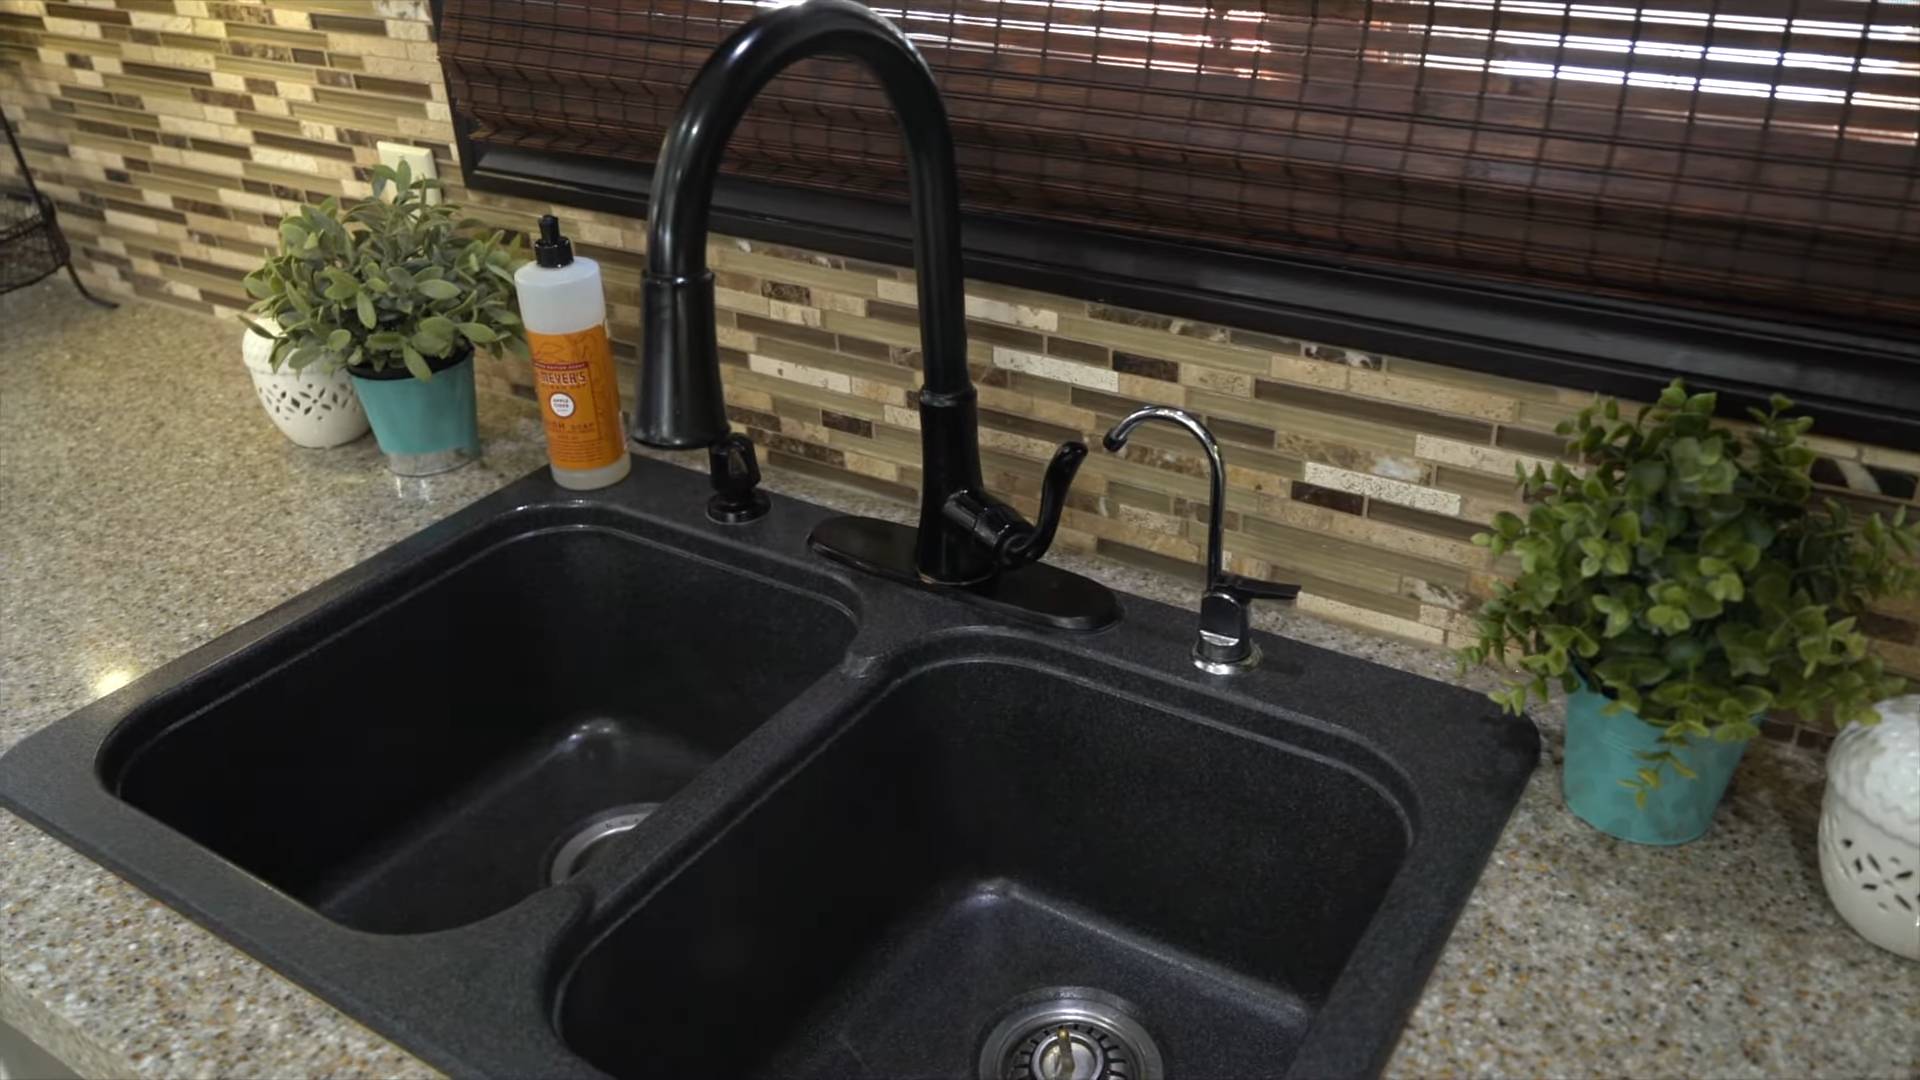
So, there you have it! This simple, yet incredibly effective, DIY trick using olive oil to clean and shine your stainless steel and granite surfaces is a game-changer. Forget expensive, chemical-laden cleaners that promise the world but often leave streaks and residue. This method is not only cost-effective and environmentally friendly, but it also delivers stunning results, leaving your kitchen gleaming and your granite countertops looking like they’ve just been professionally polished.
Why is this a must-try? Because it’s simple, safe, and remarkably effective. The olive oil gently cleans away dirt and grime while simultaneously conditioning and protecting the surfaces. It’s a natural way to bring out the inherent beauty of your stainless steel appliances and granite countertops, leaving them with a rich, deep shine that store-bought cleaners simply can’t replicate. Plus, you likely already have olive oil in your pantry, making this a readily available solution whenever your surfaces need a little TLC.
But the beauty of this DIY trick lies not only in its simplicity but also in its versatility. Feel free to experiment with variations to suit your specific needs and preferences. For instance, if you prefer a more fragrant cleaning experience, add a few drops of your favorite essential oil, such as lemon, lavender, or tea tree oil, to the olive oil before applying it to the surface. These essential oils not only add a pleasant scent but also offer additional antibacterial and antifungal properties.
Another variation you might consider is using a microfiber cloth instead of a paper towel for buffing. Microfiber cloths are incredibly absorbent and gentle, making them ideal for achieving a streak-free shine. They’re also reusable, making them an even more environmentally friendly option.
For granite countertops that are particularly dull or stained, you can create a slightly more abrasive cleaning paste by mixing olive oil with a small amount of baking soda. The baking soda will gently exfoliate the surface, removing stubborn stains and restoring its natural luster. However, be sure to test this mixture on an inconspicuous area first to ensure it doesn’t scratch the granite.
We are confident that once you try this DIY trick, you’ll be amazed by the results. It’s a simple, affordable, and effective way to keep your stainless steel and granite surfaces looking their best. So, ditch the harsh chemicals and embrace the natural power of olive oil.
We encourage you to give this DIY method a try and share your experience with us! Let us know in the comments below how it worked for you, what variations you tried, and any tips or tricks you discovered along the way. Your feedback is invaluable and helps us to continue providing you with the best possible DIY solutions. We are excited to hear from you and see the amazing results you achieve with this simple yet powerful cleaning method. Remember, a little olive oil can go a long way in transforming your kitchen into a sparkling and inviting space. This **olive oil cleaning** method is truly a game changer.
Frequently Asked Questions (FAQs)
1. Can I use any type of olive oil for cleaning?
While extra virgin olive oil is often recommended for its purity and quality, you can technically use any type of olive oil you have on hand, including regular or light olive oil. However, keep in mind that extra virgin olive oil may provide a slightly better shine due to its higher concentration of natural oils. Avoid using flavored olive oils, as they may leave a residue or unwanted scent.
2. Will olive oil make my stainless steel or granite surfaces greasy?
No, when used properly, olive oil should not leave your surfaces feeling greasy. The key is to use a small amount of olive oil and to thoroughly buff the surface with a clean cloth after application. This will remove any excess oil and leave behind a smooth, shiny finish. If you do notice a slight residue, simply buff the surface again with a fresh, dry cloth.
3. How often should I clean my stainless steel and granite surfaces with olive oil?
The frequency of cleaning depends on how often you use your surfaces and how dirty they get. For general cleaning and maintenance, you can clean your stainless steel and granite surfaces with olive oil once or twice a week. However, if you notice spills or stains, it’s best to clean them up immediately to prevent them from setting in.
4. Can I use this method on all types of granite?
While olive oil is generally safe for most types of granite, it’s always a good idea to test it on an inconspicuous area first to ensure it doesn’t cause any discoloration or damage. Some types of granite are more porous than others and may absorb the oil more readily. If you’re unsure about the type of granite you have, consult with a professional stone care specialist.
5. What if I don’t have olive oil? Can I use another type of oil?
While olive oil is the preferred choice for this DIY cleaning method, you can try using other types of natural oils, such as coconut oil or mineral oil, as alternatives. However, keep in mind that these oils may have different properties and may not produce the same results as olive oil. Always test any alternative oil on an inconspicuous area first to ensure it’s safe for your surfaces.
6. Can I use this method on other surfaces besides stainless steel and granite?
While this DIY cleaning method is primarily designed for stainless steel and granite surfaces, it may also work on other non-porous surfaces, such as ceramic tile or laminate countertops. However, it’s important to test it on an inconspicuous area first to ensure it doesn’t cause any damage or discoloration. Avoid using this method on porous surfaces, such as wood or marble, as they may absorb the oil and become stained.
7. How do I remove stubborn stains from my granite countertops using olive oil?
For stubborn stains on granite countertops, you can create a cleaning paste by mixing olive oil with a small amount of baking soda. Apply the paste to the stained area, let it sit for 15-20 minutes, and then gently scrub with a soft cloth or sponge. Rinse the area with water and dry thoroughly. Repeat as needed until the stain is removed.
8. Can I use this method to clean stainless steel appliances with a fingerprint-resistant coating?
Yes, this method is generally safe for cleaning stainless steel appliances with a fingerprint-resistant coating. However, it’s important to use a very small amount of olive oil and to thoroughly buff the surface with a clean cloth after application. This will prevent the oil from building up on the coating and attracting more fingerprints.
9. Is it safe to use olive oil to clean surfaces that come into contact with food?
Yes, olive oil is a food-grade oil and is generally safe to use on surfaces that come into contact with food. However, it’s important to thoroughly clean the surfaces with soap and water after using olive oil to remove any residue and prevent contamination.
10. What are the benefits of using olive oil to clean stainless steel and granite compared to commercial cleaners?
Using olive oil to clean stainless steel and granite offers several benefits compared to commercial cleaners. It’s a natural, non-toxic, and environmentally friendly alternative that doesn’t contain harsh chemicals or artificial fragrances. It’s also cost-effective, as you likely already have olive oil in your pantry. Additionally, olive oil not only cleans but also conditions and protects the surfaces, leaving them with a natural shine and preventing them from drying out.
Leave a Comment