

Peanut Gardening Foam Boxes: Who knew that the humble foam box could be the secret weapon in your peanut-growing arsenal? I’m so excited to share this simple yet incredibly effective DIY trick that will have you harvesting a bumper crop of peanuts, even if you have limited space or less-than-ideal soil!
Peanuts, also known as groundnuts, have a rich history, dating back thousands of years in South America. They’ve become a beloved staple in cuisines worldwide, from savory dishes to sweet treats. But growing them can sometimes feel like a challenge. That’s where our foam box hack comes in!
Let’s face it, traditional gardening can be tough. Poor soil, pesky critters, and limited space can all conspire against your green thumb. But with peanut gardening foam boxes, you can overcome these obstacles and create the perfect environment for your peanut plants to thrive. This DIY project is not only budget-friendly but also incredibly rewarding. Imagine the satisfaction of harvesting your own homegrown peanuts, knowing you nurtured them from seed to snack using a simple, repurposed foam box.
This article will guide you through each step, from preparing your foam box to harvesting your delicious peanuts. Get ready to unlock the secrets to successful peanut gardening, one foam box at a time!
Grow Peanuts in Foam Boxes: A Fun and Easy DIY Project!
Hey there, fellow gardening enthusiasts! Ever thought about growing your own peanuts? It’s surprisingly easy, even if you don’t have a huge backyard. I’m going to walk you through how to grow peanuts in foam boxes – a perfect solution for small spaces, balconies, or even just adding a unique touch to your garden. Trust me, the satisfaction of harvesting your own homegrown peanuts is totally worth it!
Why Foam Boxes?
Before we dive in, let’s talk about why foam boxes are a great choice for this project:
* Lightweight and Portable: You can easily move them around to follow the sun or protect them from harsh weather.
* Excellent Drainage: With a few modifications, foam boxes provide fantastic drainage, which is crucial for peanut growth.
* Insulation: Foam helps regulate soil temperature, keeping the roots happy and healthy.
* Recycled and Affordable: You can often find foam boxes for free or at a very low cost from local businesses.
* Space-Saving: They’re perfect for small gardens or balconies.
Materials You’ll Need
Okay, let’s gather our supplies. Here’s what you’ll need to get started:
* Foam Boxes: Get at least two or three, depending on how many peanut plants you want to grow. Look for sturdy ones that are at least 12 inches deep. The bigger the box, the better the root development.
* Peanut Seeds (Raw, Unshelled): You can find these at most garden centers or online. Make sure they are raw and unshelled, not roasted or salted! I prefer Virginia peanuts for their large size and great flavor.
* Drill or Screwdriver: For creating drainage holes.
* Potting Soil: A well-draining potting mix is essential. I like to use a mix specifically formulated for vegetables.
* Compost or Aged Manure: To enrich the soil and provide nutrients.
* Watering Can or Hose: For watering your peanut plants.
* Optional:
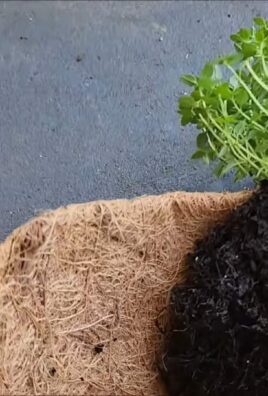
* Landscape fabric or burlap: To line the inside of the box and prevent soil from escaping.
* Fertilizer: A balanced fertilizer to boost growth.
* Mulch: To help retain moisture and suppress weeds.
Preparing Your Foam Boxes
This is a crucial step to ensure proper drainage and prevent waterlogging, which peanuts absolutely hate.
1. Drill Drainage Holes: Using your drill or screwdriver, create several drainage holes in the bottom of each foam box. I usually aim for about 6-8 holes, evenly spaced. The holes should be about 1/2 inch in diameter.
2. Line the Boxes (Optional): If you’re concerned about soil escaping through the drainage holes, you can line the inside of the box with landscape fabric or burlap. This will help keep the soil in place while still allowing water to drain. Simply cut the fabric to fit the inside of the box and secure it with staples or tape.
3. Prepare the Soil Mix: In a large container or wheelbarrow, mix your potting soil with compost or aged manure. I usually go for a ratio of about 2 parts potting soil to 1 part compost. This will provide your peanut plants with the nutrients they need to thrive. Mix it well to ensure even distribution.
Planting Your Peanut Seeds
Now for the fun part – planting the peanuts!
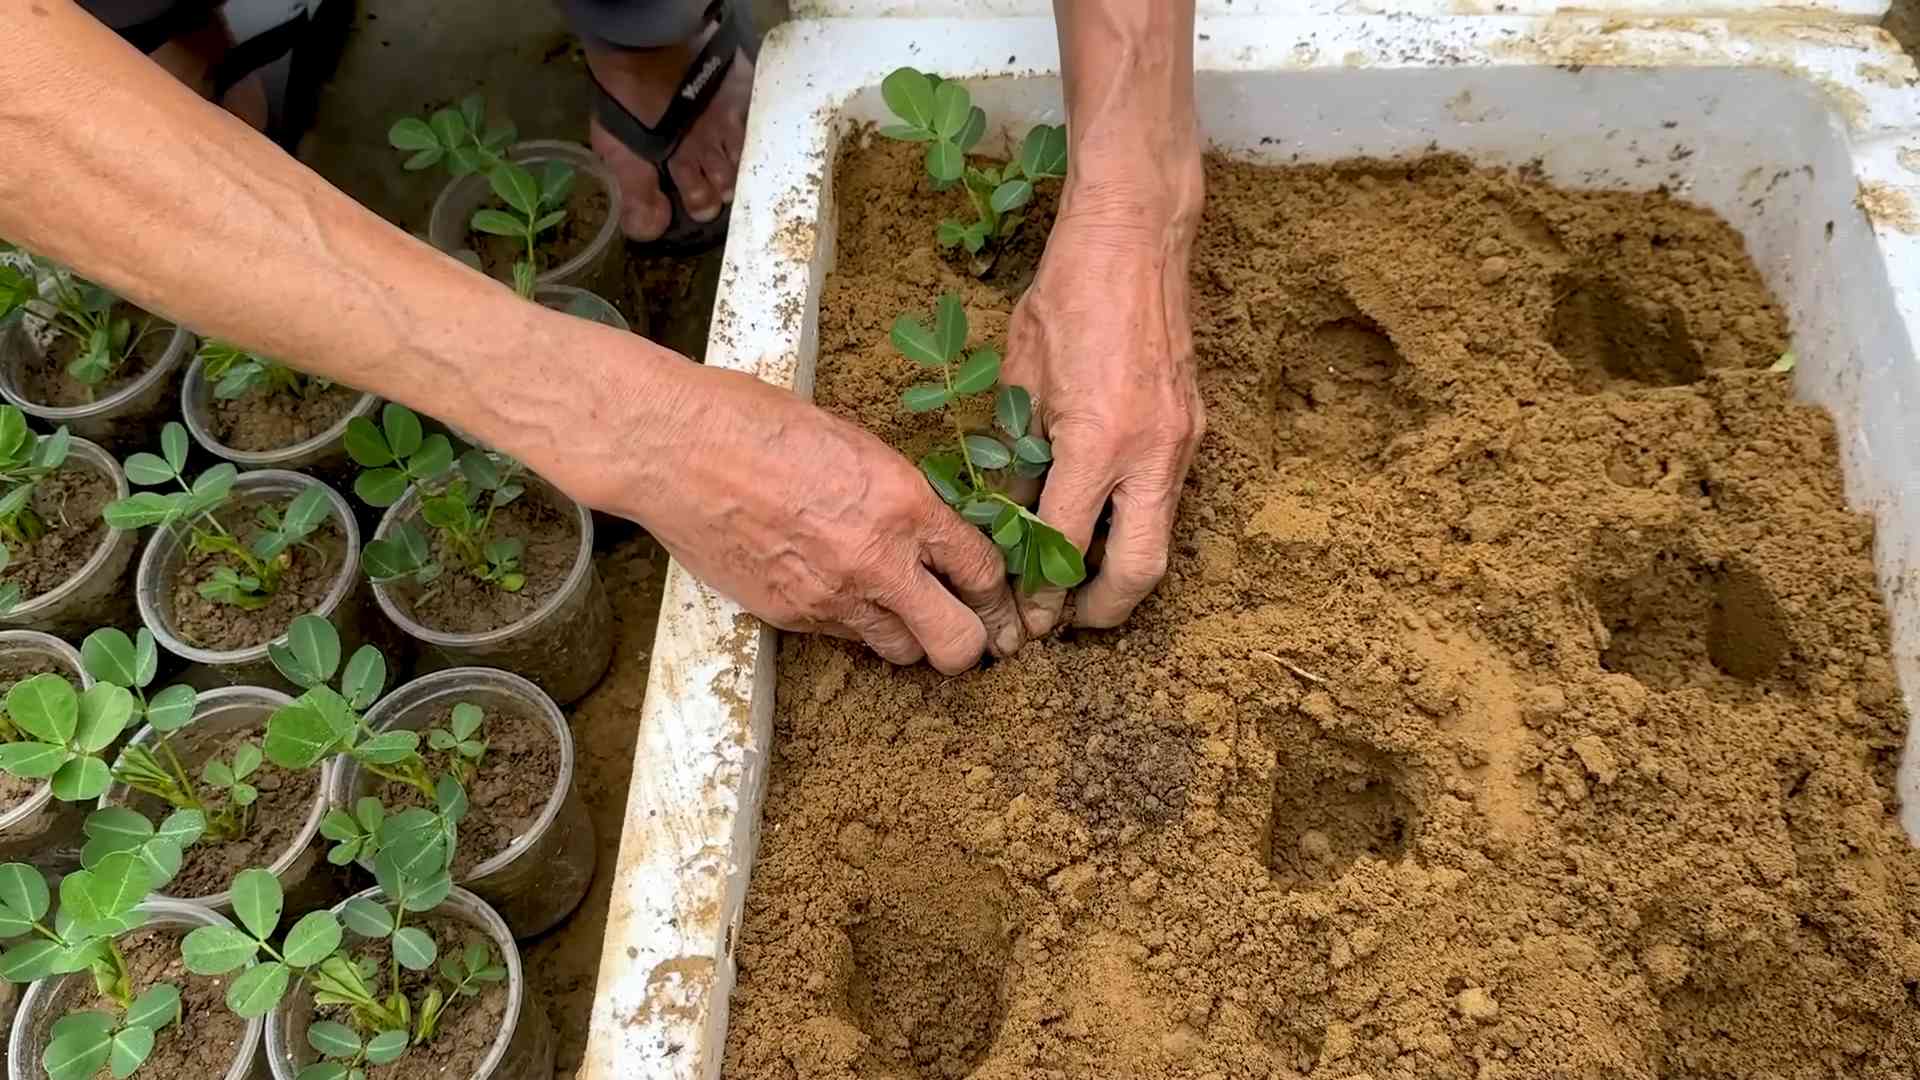
1. Fill the Boxes with Soil: Fill your prepared foam boxes with the soil mixture, leaving about 2-3 inches of space at the top.
2. Plant the Seeds: Make small holes about 1-2 inches deep and 6-8 inches apart. Place one peanut seed in each hole and cover it with soil.
3. Water Gently: Water the soil gently but thoroughly, making sure to moisten the entire box. Avoid overwatering, as this can cause the seeds to rot.
4. Choose a Sunny Location: Peanuts need at least 6-8 hours of sunlight per day, so choose a sunny spot for your foam boxes.
Caring for Your Peanut Plants
Peanuts are relatively low-maintenance, but here are a few things to keep in mind:
1. Watering: Water your peanut plants regularly, especially during dry periods. The soil should be consistently moist but not waterlogged. I usually water deeply once or twice a week, depending on the weather.
2. Fertilizing (Optional): If you want to give your peanut plants a boost, you can fertilize them every few weeks with a balanced fertilizer. Follow the instructions on the fertilizer package.
3. Weeding: Keep the area around your peanut plants free of weeds. Weeds can compete with your plants for nutrients and water.
4. Hilling: As your peanut plants grow, you’ll notice small yellow flowers appearing. After the flowers fade, “pegs” will start to grow down into the soil. These pegs are what will eventually become the peanuts. To encourage peanut production, you can “hill” the soil around the base of the plants, covering the pegs with soil. This helps protect them and provides a better environment for peanut development. I usually do this a couple of times during the growing season.
5. Pest Control: Keep an eye out for pests like aphids or spider mites. If you notice any infestations, you can treat them with insecticidal soap or neem oil.
Harvesting Your Peanuts
This is the most rewarding part of the whole process!
1. Timing is Key: Peanuts are typically ready to harvest about 120-150 days after planting, depending on the variety and your climate. A good indicator is when the leaves start to turn yellow and the plant begins to look a bit tired.
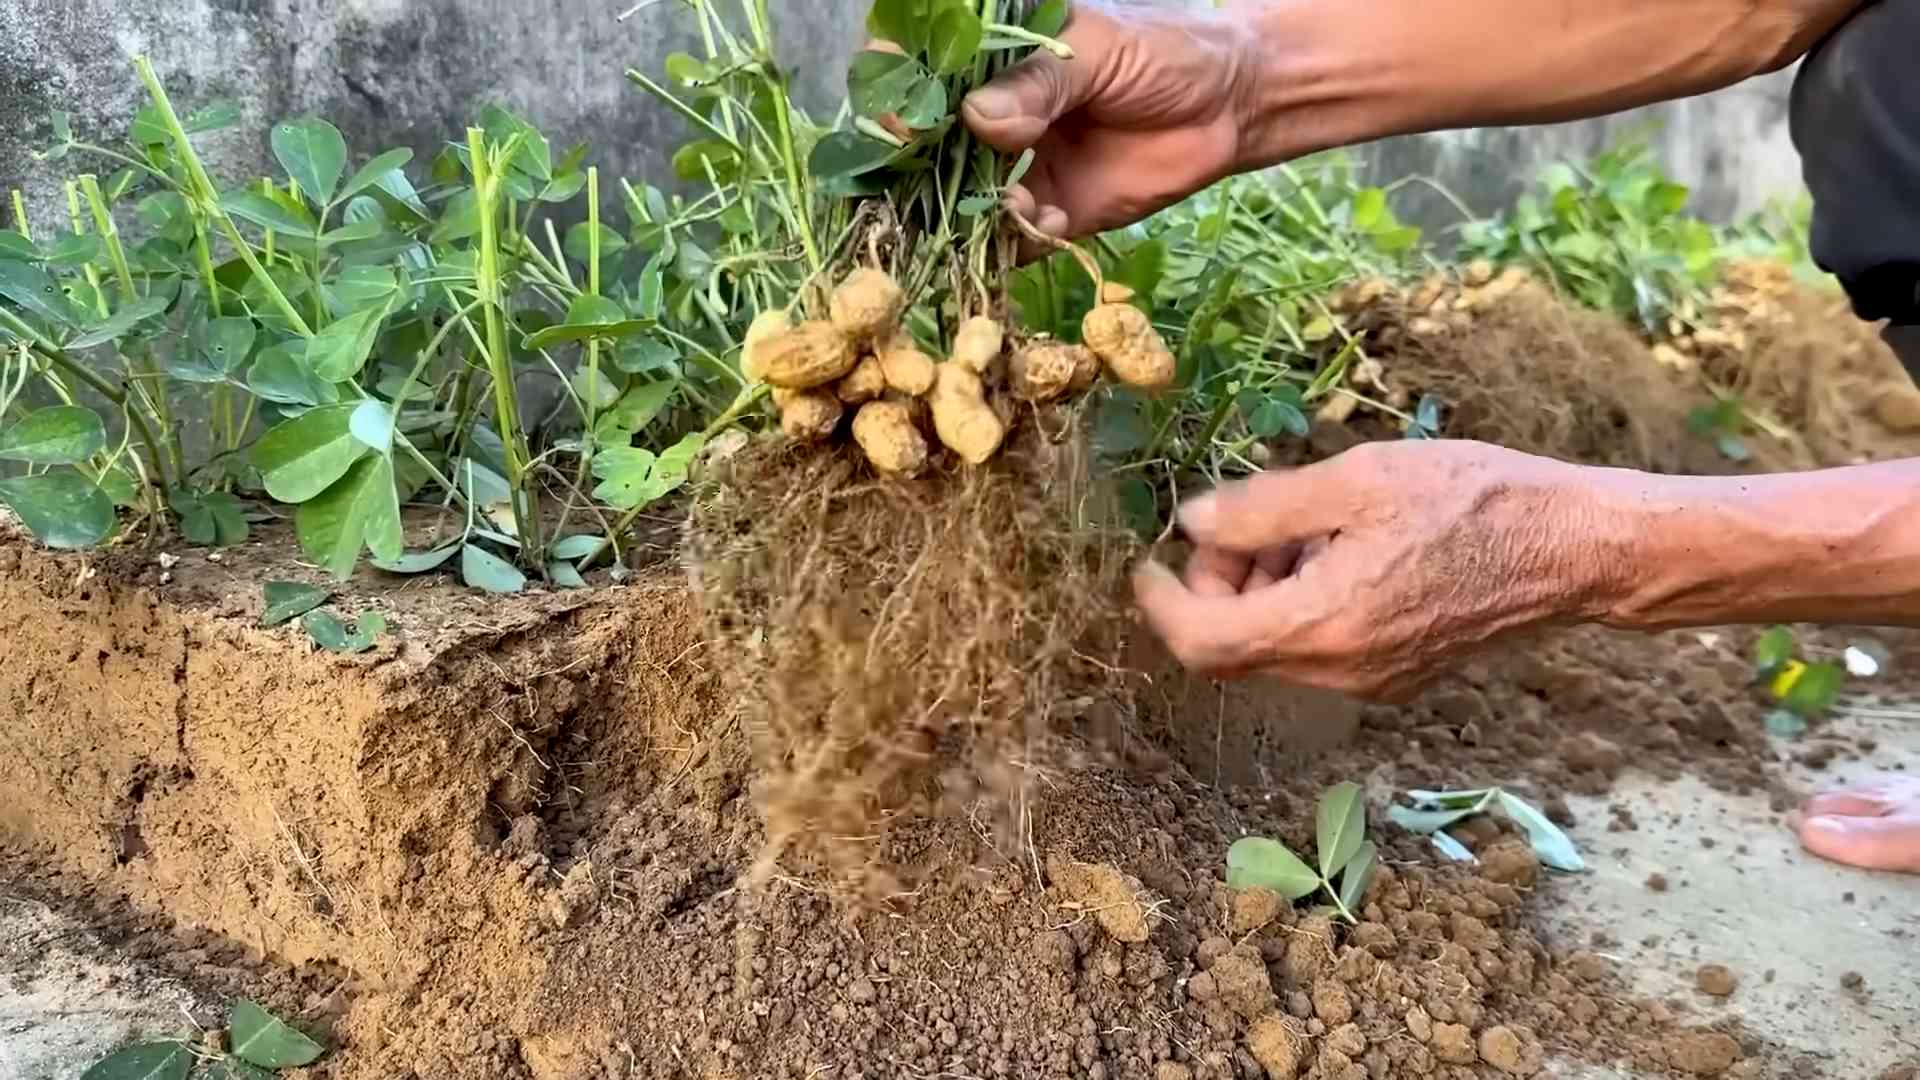
2. Dig Them Up: Gently dig up the entire plant, being careful not to damage the peanuts. I like to use a garden fork to loosen the soil around the plant before pulling it up.
3. Shake Off the Soil: Shake off as much soil as possible from the roots and peanuts.
4. Curing: This is an important step to ensure your peanuts are properly dried and stored. Hang the entire plant upside down in a warm, dry, and well-ventilated area for about 2-4 weeks. This allows the peanuts to dry out and develop their flavor. I usually hang them in my garage or shed.
5. Separate the Peanuts: Once the plants are cured, you can separate the peanuts from the roots.
6. Storage: Store your dried peanuts in an airtight container in a cool, dry place. They should last for several months.
Troubleshooting
Even with the best planning, sometimes things don’t go exactly as expected. Here are a few common issues you might encounter and how to address them:
* Seeds Not Germinating: Make sure your peanut seeds are fresh and viable. Also, ensure the soil is warm enough (at least 65°F). If the soil is too cold or too wet, the seeds may rot.
* Yellowing Leaves: This could be a sign of nutrient deficiency. Try fertilizing your plants with a balanced fertilizer. It could also indicate overwatering.
* Poor Peanut Production: Make sure your plants are getting enough sunlight and water. Also, remember to hill the soil around the base of the plants to encourage peanut development.
* Pests: Regularly inspect your plants for pests and treat them promptly with insecticidal soap or neem oil.
Enjoy Your Homegrown Peanuts!
And there you have it! You’ve successfully grown your own peanuts in foam boxes. Now you can enjoy them roasted, boiled, or however you like. I love roasting mine with a little salt and pepper. They’re also great in homemade peanut butter!
Growing peanuts is a fun and rewarding experience, and I hope this guide has inspired you to give it a try. Happy gardening!
Conclusion
So, there you have it! Transforming simple foam boxes into thriving peanut gardens is not just a fun project; it’s a game-changer for anyone looking to enjoy fresh, homegrown peanuts, regardless of their space constraints. We’ve walked you through the process, highlighting the ease and efficiency of this method. But why is this DIY trick a must-try?
Firstly, it’s incredibly accessible. You likely already have access to foam boxes, often discarded by grocery stores or packaging companies. Reusing these materials is a fantastic way to reduce waste and contribute to a more sustainable lifestyle. Secondly, the controlled environment of a foam box allows for better temperature regulation and moisture retention, creating ideal conditions for peanut growth, especially in regions with unpredictable weather. This means a higher yield and healthier plants. Thirdly, the portability of these boxes means you can easily move your peanut garden to chase the sun or protect it from harsh weather conditions.
But the benefits don’t stop there. Growing your own peanuts is an incredibly rewarding experience. From planting the seeds to harvesting the mature pods, you’ll gain a deeper appreciation for the natural world and the food you consume. Plus, the taste of freshly harvested, homegrown peanuts is simply unparalleled. They’re sweeter, more flavorful, and bursting with freshness that you just can’t find in store-bought varieties.
Ready to take your peanut gardening to the next level? Consider these variations:
* Vertical Peanut Gardening: Stack your foam boxes to create a vertical peanut garden, maximizing space and adding a unique aesthetic to your balcony or patio. Ensure proper drainage for each box.
* Companion Planting: Experiment with companion plants like marigolds or basil to deter pests and attract beneficial insects to your peanut garden.
* Different Peanut Varieties: Explore different peanut varieties to find your favorite flavor and texture. Virginia peanuts are known for their large size, while Spanish peanuts are prized for their sweet flavor.
* Nutrient Boost: Incorporate organic fertilizers like compost tea or worm castings to provide your peanut plants with the essential nutrients they need to thrive.
We’re confident that you’ll find this DIY peanut gardening method using foam boxes to be both enjoyable and successful. It’s a simple, cost-effective, and environmentally friendly way to grow your own delicious peanuts.
So, what are you waiting for? Gather your foam boxes, grab some peanut seeds, and get planting! We can’t wait to hear about your experiences. Share your photos, tips, and successes in the comments below. Let’s build a community of thriving peanut gardeners! Don’t forget to use the hashtag #FoamBoxPeanutGarden so we can all see your amazing creations. Happy gardening!
Frequently Asked Questions (FAQ)
What type of foam box is best for growing peanuts?
Ideally, you want to use clean, food-grade foam boxes that are at least 12 inches deep. This depth allows for adequate root development for your peanut plants. Avoid boxes that have been used to store chemicals or other potentially harmful substances. The thicker the foam, the better it will insulate the soil and protect the roots from temperature fluctuations. If you can only find thinner boxes, consider lining them with plastic to help retain moisture.
How many peanut plants can I grow in one foam box?
A good rule of thumb is to plant 2-3 peanut plants per foam box, depending on the size of the box. Overcrowding can lead to stunted growth and reduced yields. Ensure that each plant has enough space to spread its roots and access nutrients. If you notice your plants are competing for resources, you may need to thin them out.
What kind of soil should I use for growing peanuts in foam boxes?
Peanuts thrive in well-draining, sandy loam soil. Avoid heavy clay soils, as they can become waterlogged and inhibit root growth. You can create your own potting mix by combining equal parts of garden soil, compost, and sand. Alternatively, you can purchase a high-quality potting mix specifically formulated for vegetables. Ensure the soil is slightly acidic to neutral (pH 6.0-7.0) for optimal peanut growth.
How often should I water my peanut plants in foam boxes?
Water your peanut plants regularly, especially during hot and dry weather. The soil should be consistently moist but not waterlogged. Check the soil moisture by sticking your finger about an inch deep. If the soil feels dry, it’s time to water. Avoid overhead watering, as this can promote fungal diseases. Instead, water at the base of the plants. During periods of heavy rain, ensure that your foam boxes have adequate drainage to prevent water from accumulating.
How much sunlight do peanut plants need?
Peanut plants need at least 6-8 hours of direct sunlight per day to thrive. Choose a sunny location for your foam box peanut garden. If you live in a particularly hot climate, you may need to provide some afternoon shade to prevent the plants from scorching. If you’re growing your peanuts indoors, supplement with grow lights to ensure they receive adequate light.
When is the best time to plant peanuts in foam boxes?
The best time to plant peanuts is after the last frost, when the soil has warmed up to at least 65°F (18°C). Peanuts are warm-season crops and will not tolerate cold temperatures. You can start your peanut seeds indoors 4-6 weeks before the last frost and transplant them into your foam boxes once the weather warms up.
How long does it take for peanuts to mature in foam boxes?
Peanuts typically take 120-150 days to mature, depending on the variety and growing conditions. You’ll know your peanuts are ready to harvest when the leaves start to turn yellow and the pods feel plump and full. To harvest, carefully dig up the entire plant and shake off the excess soil. Hang the plants upside down in a warm, dry place for several weeks to cure the peanuts.
What are some common pests and diseases that affect peanut plants?
Common pests that can affect peanut plants include aphids, spider mites, and leafhoppers. You can control these pests with insecticidal soap or neem oil. Common diseases include leaf spot and root rot. Prevent these diseases by providing good air circulation, avoiding overhead watering, and ensuring proper drainage.
Can I reuse the soil from my foam boxes for future peanut crops?
It’s generally not recommended to reuse the soil from your foam boxes for future peanut crops, as it may contain disease pathogens or nutrient deficiencies. However, if you choose to reuse the soil, amend it with plenty of compost and other organic matter to replenish nutrients and improve drainage. Consider rotating your crops to prevent the buildup of soilborne diseases.
How do I store my harvested peanuts?
After curing your peanuts, you can store them in a cool, dry place for several months. Store them in airtight containers to prevent them from becoming stale. You can also freeze your peanuts for longer storage. Roasted peanuts will have a shorter shelf life than raw peanuts.
Leave a Comment