Pet Hair Removal Glove: Are you tired of battling pet hair that seems to cling to every surface in your home? I know I am! As a pet owner, I adore my furry friends, but the constant shedding can be a real headache. It feels like a never-ending cycle of vacuuming, lint-rolling, and still finding pet hair everywhere – on my clothes, furniture, and even floating in the air!
The struggle with pet hair is a tale as old as time, or at least as old as the domestication of animals! Throughout history, people have devised various methods to manage the shedding of their beloved companions, from simple brushing techniques to elaborate cleaning rituals. But let’s face it, many of these methods are time-consuming and not always effective.
That’s why I’m so excited to share this game-changing DIY trick with you: creating your very own pet hair removal glove! This simple and affordable solution will revolutionize your cleaning routine. Imagine effortlessly gliding your hand over your furniture, clothes, and car seats, and watching the pet hair magically cling to the glove. No more struggling with sticky rollers or lugging around a heavy vacuum cleaner. This pet hair removal glove is not only incredibly effective but also gentle on your fabrics and your wallet. Get ready to say goodbye to pet hair woes and hello to a cleaner, happier home!

DIY Pet Hair Removal Glove: Say Goodbye to Fur Frustration!
Okay, fellow pet lovers, let’s be honest: shedding is a constant battle. I’m constantly finding fur tumbleweeds rolling across my floors, clinging to my furniture, and even somehow ending up in my food (don’t judge!). I’ve tried everything – vacuums, lint rollers, special brushes – but nothing seemed to truly conquer the pet hair invasion. That’s when I decided to take matters into my own hands (literally!) and create my own DIY pet hair removal glove. And guess what? It works like a charm!
This project is super easy, budget-friendly, and incredibly satisfying. You’ll be amazed at how much hair this simple glove can pick up. So, let’s get started!
What You’ll Need:
* A Rubber Dishwashing Glove: Choose one with a textured surface, like those with little bumps or ridges. The texture is key for grabbing the hair. I prefer a longer glove that goes up my forearm for extra protection, but any standard dishwashing glove will do.
* Scissors: For trimming and shaping the glove.
* Hot Glue Gun and Glue Sticks: This is our adhesive of choice for a strong and durable bond.
* Small Pieces of Velcro (Hook and Loop): This is optional, but I like to add Velcro to the wrist of the glove and a corresponding piece to my furniture for easy storage.
* Optional: Fabric Scraps: If you want to add a decorative touch or reinforce certain areas.
* Optional: Thimble: To protect your finger when pressing down on the hot glue.
Step-by-Step Instructions:
1. Prepare Your Glove:
* First, make sure your rubber glove is clean and dry. Any dirt or residue will prevent the glue from adhering properly.
* Turn the glove inside out. This will make it easier to apply the glue and create a more secure bond.
* Lay the glove flat on a protected surface (like a piece of cardboard or newspaper).
2. Applying the Hot Glue:
* This is the most important part! You need to create a textured surface on the glove that will attract and trap pet hair.
* Heat up your hot glue gun. Make sure it’s nice and hot for optimal adhesion.
* Starting at the fingertips, apply small dots or lines of hot glue. I like to create a pattern of raised bumps, but you can experiment with different designs.
* Important: Don’t apply too much glue at once! You want to create a textured surface, not a thick layer of glue. Too much glue will make the glove stiff and uncomfortable to use.
* Work your way down each finger, then the palm, and finally the back of the hand.
* Pay special attention to the areas that will come into contact with the furniture or pet, like the palm and fingers.
* If you want to reinforce certain areas, you can apply a second layer of glue after the first layer has cooled.
* Safety Tip: Be careful not to burn yourself with the hot glue! Use a thimble to protect your finger when pressing down on the glue.
3. Creating Different Textures (Optional):
* For even better hair-grabbing power, try creating different textures with the hot glue.
* Swirls: Apply the glue in a circular motion to create small swirls.
* Lines: Draw straight or wavy lines across the glove.
* Dots: Create a pattern of small dots.
* Experiment with different combinations of textures to see what works best for you.
4. Let the Glue Cool Completely:
* This is crucial! Before you turn the glove right-side out, make sure the glue has cooled completely and hardened. This will prevent the glue from sticking to itself and ruining your design.
* I usually let the glove sit for at least 30 minutes to an hour to ensure the glue is completely dry.
5. Turn the Glove Right-Side Out:
* Carefully turn the glove right-side out. Be gentle so you don’t damage the glue.
* Inspect the glove to make sure all the glue is securely attached. If any pieces are loose, reapply glue as needed.
6. Adding Velcro (Optional):
* If you want to add Velcro for easy storage, cut two small pieces of Velcro (one hook and one loop).
* Apply hot glue to the back of the hook side of the Velcro and attach it to the wrist of the glove.
* Apply hot glue to the back of the loop side of the Velcro and attach it to a corresponding spot on your furniture (like the side of your couch or chair).
* Now you can easily store your pet hair removal glove when you’re not using it!
7. Adding Fabric Scraps (Optional):
* If you want to add a decorative touch or reinforce certain areas, you can glue fabric scraps to the glove.
* Cut the fabric into desired shapes and sizes.
* Apply hot glue to the back of the fabric and attach it to the glove.
* I like to use fabric scraps to reinforce the fingertips or the palm of the glove.
8. Testing Your Glove:
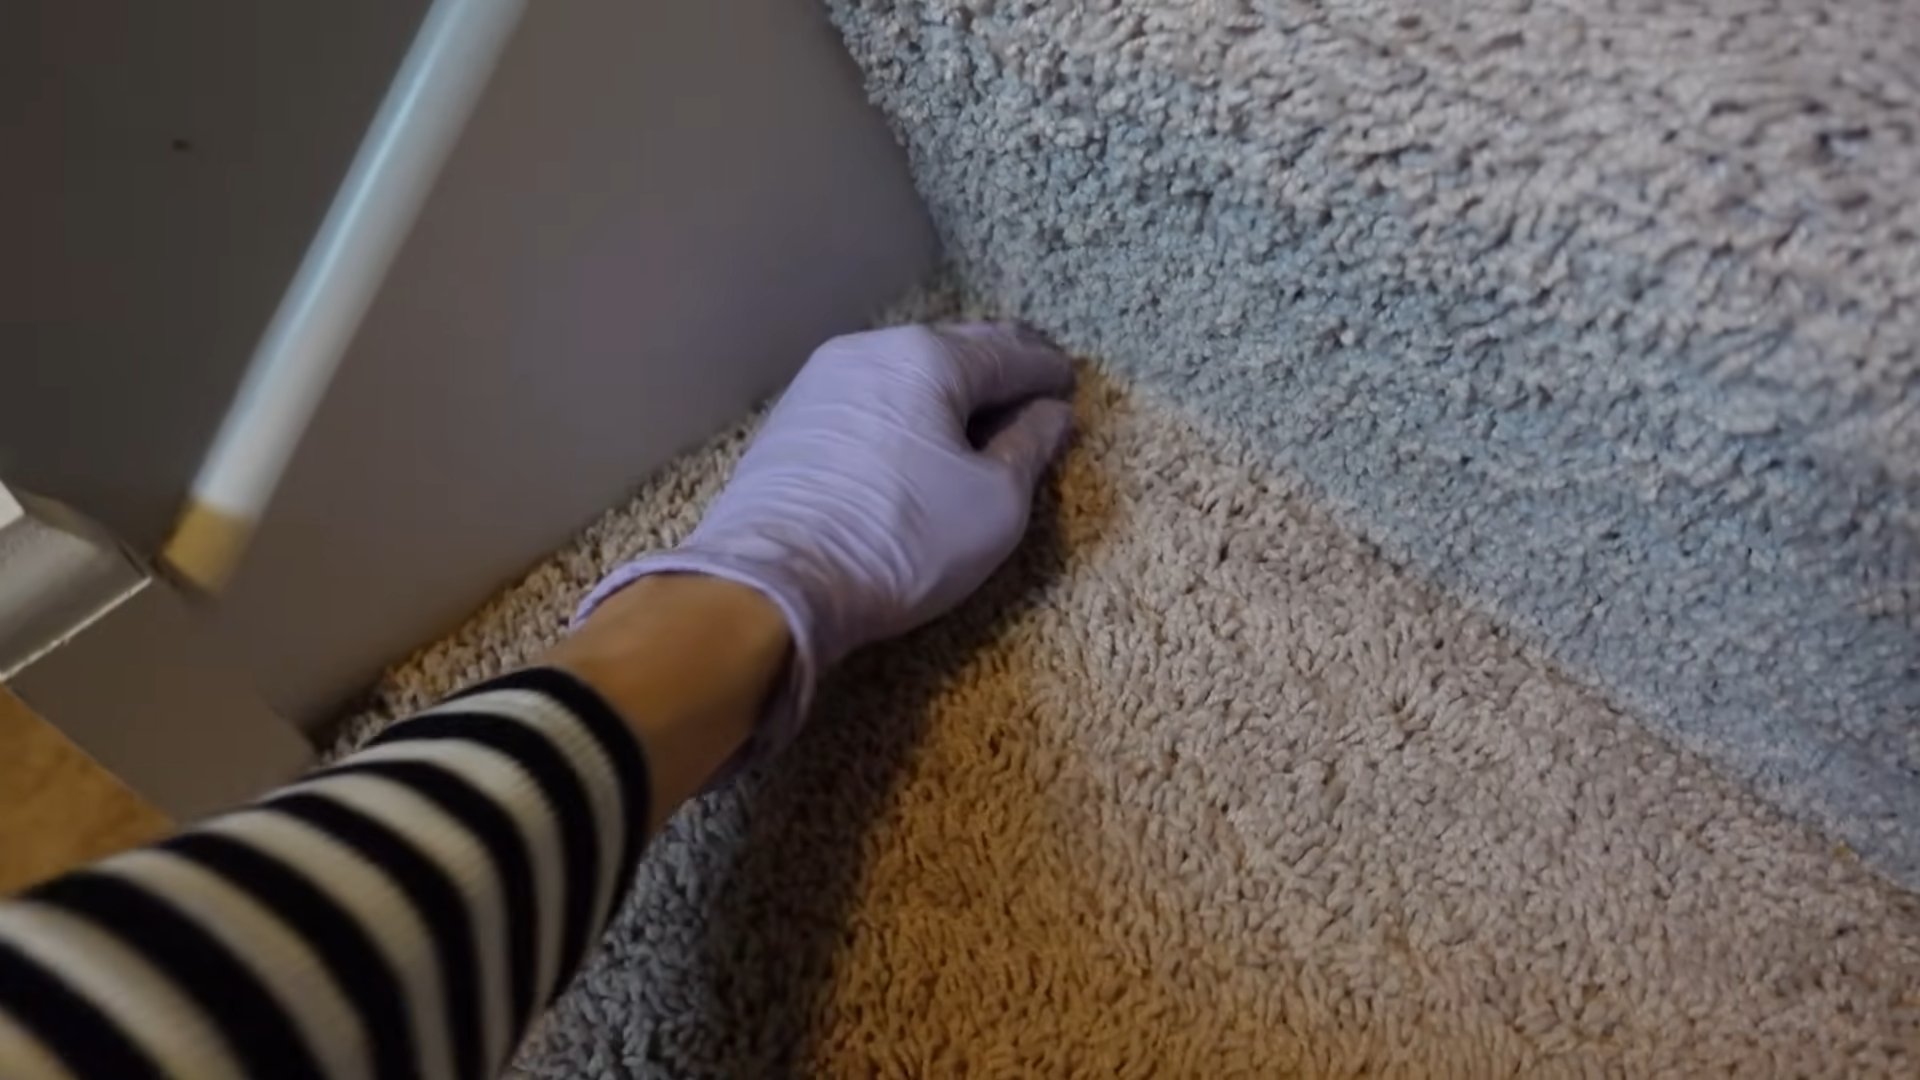
* Now for the fun part! Put on your glove and test it out on your furniture, carpets, or even your pet (if they’re willing!).
* Gently rub the glove over the surface you want to clean. The textured surface will grab the pet hair and trap it in the glue.
* You’ll be amazed at how much hair this simple glove can pick up!
Cleaning Your Pet Hair Removal Glove:
* Once your glove is covered in pet hair, you’ll need to clean it.
* There are a few ways to do this:
* Peeling: Carefully peel the pet hair off the glove. This works best if the hair is clumped together.
* Vacuuming: Use a vacuum cleaner with a hose attachment to suck the hair off the glove.
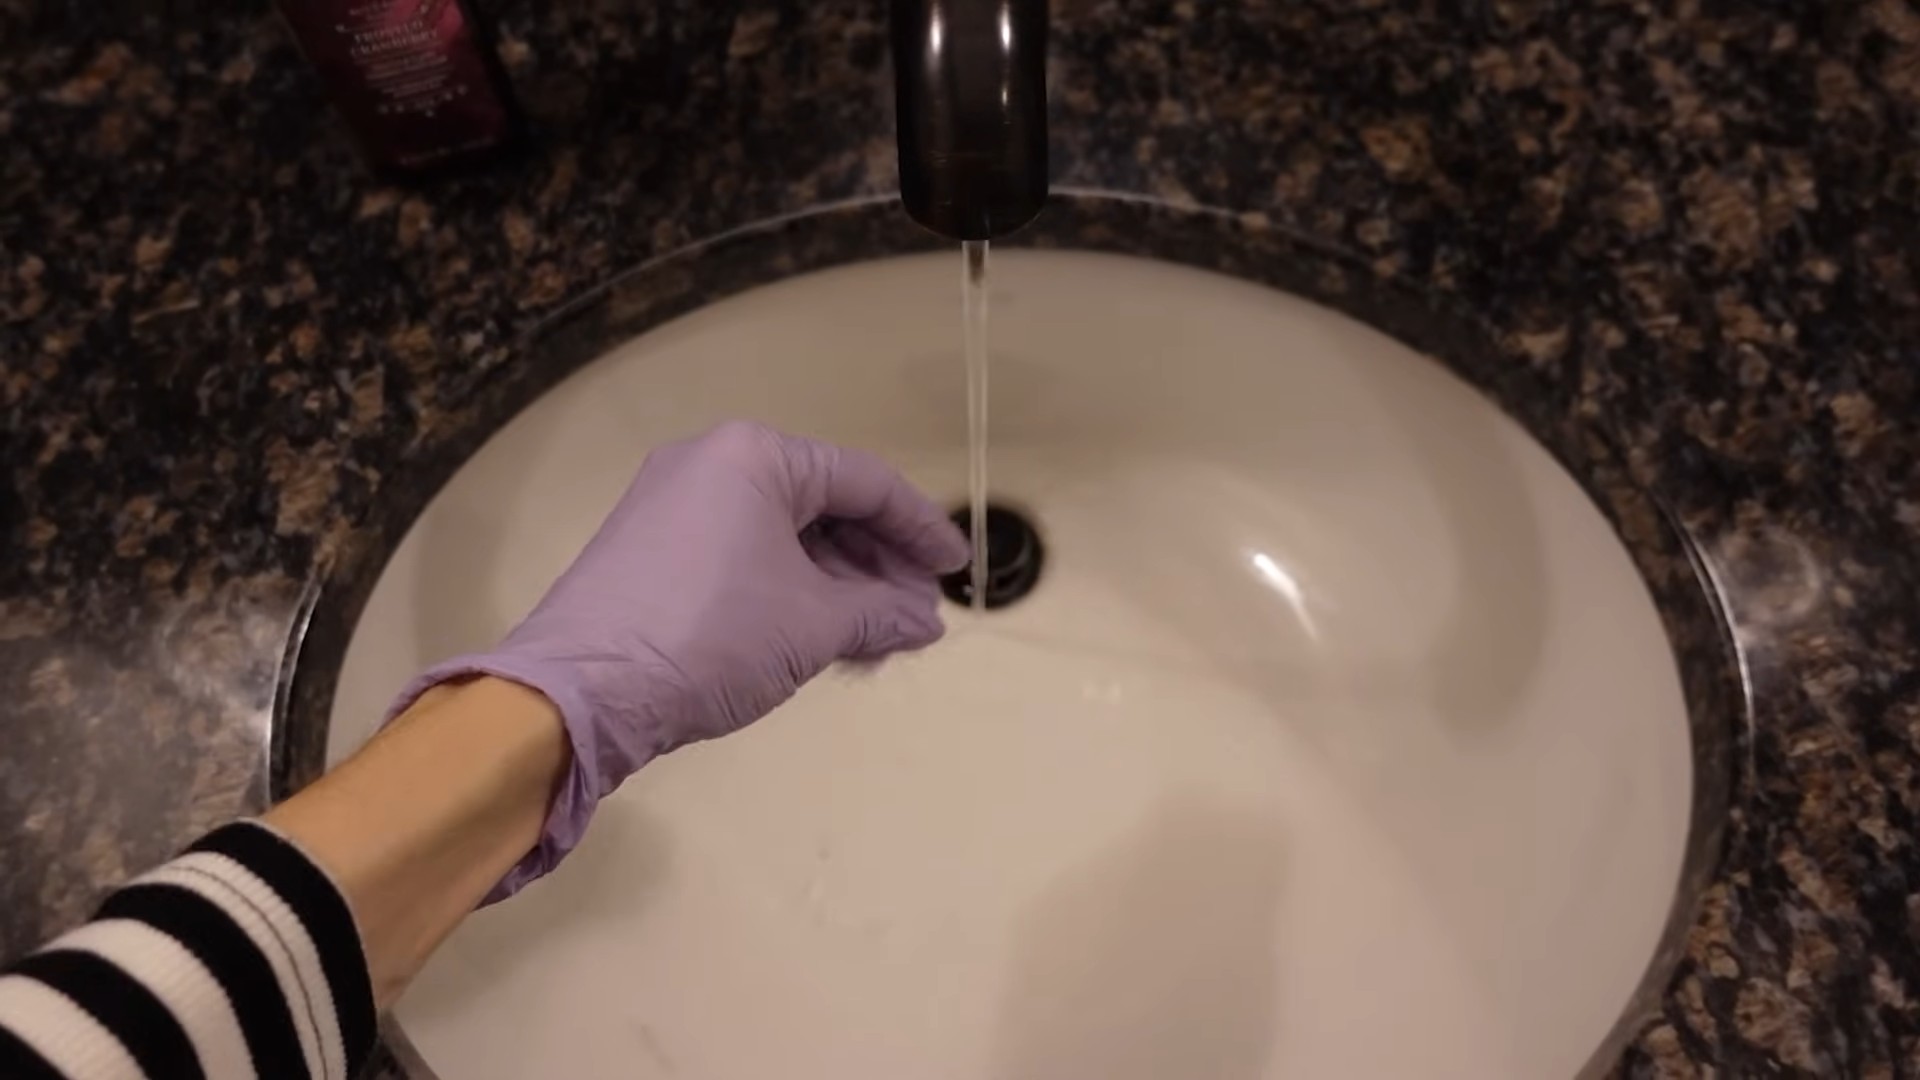
* Washing: You can also wash the glove with soap and water. However, be aware that this may loosen the glue over time. If you choose to wash the glove, let it air dry completely before using it again.
* I usually peel off the bulk of the hair and then use a vacuum cleaner to remove any remaining strands.
Tips and Tricks for Maximum Hair Removal:
* Use Short, Quick Strokes: This will help the glove grab the hair more effectively.
* Apply Gentle Pressure: Don’t press too hard, or you’ll flatten the glue and reduce its effectiveness.
* Work in Sections: Focus on one section of furniture or carpet at a time.
* Clean Your Glove Regularly: A clean glove will work much better than a dirty one.
* Experiment with Different Textures: Try different patterns and textures of hot glue to see what works best for your pet’s hair.
* Consider the Fabric: Some fabrics are more prone to attracting pet hair than others. You may need to adjust your technique depending on the fabric.
* Use it on Your Pet (Carefully!): Some pets enjoy being “groomed” with the glove. Be very gentle and avoid sensitive areas. This can help reduce shedding in the first place!
* Don’t Overheat the Glue: Overheating the glue can make it brittle and prone to cracking.
* Store Properly: Store your glove in a cool, dry place away from direct sunlight.
Troubleshooting:
* Glue is Peeling Off: Make sure you’re using a good quality hot glue and that the glove is clean and dry before applying the glue. You may also need to apply a second layer of glue to reinforce the bond.
* Glove is Too Stiff: You may have applied too much glue. Try using less glue next time.
* Glove Isn’t Picking Up Hair: Make sure the glue is textured enough. You may need to add more glue or try a different pattern. Also, make sure you’re using short, quick strokes and applying gentle pressure.
* Glove is Tearing: Rubber gloves can tear over time, especially with repeated use. If your glove tears, simply replace it with a new one.
Why This Works: The Science Behind the Hair Removal
The magic of this glove lies in the textured surface created by the hot glue. The raised bumps and ridges act like tiny hooks, grabbing onto the pet hair and trapping it. The rubber material of the glove also provides some friction, which helps to loosen the hair from the fabric. It’s a simple but effective combination!
Beyond Furniture: Other Uses for Your Pet Hair Removal Glove
This glove isn’t just for furniture! Here are some other ways you can use it

Conclusion
So, there you have it! Transforming an ordinary household glove into a super-effective pet hair removal glove is not just a clever hack; it’s a game-changer for pet owners battling the endless shedding saga. We’ve all been there, haven’t we? Covered in fur despite our best efforts, constantly vacuuming, and feeling like we’re losing the war against pet hair. This simple DIY solution offers a cost-effective, eco-friendly, and surprisingly efficient way to reclaim your furniture, clothing, and sanity.
Why is this a must-try? Because it’s ridiculously easy! You likely already have the necessary materials on hand: a rubber or latex glove and a little bit of determination to conquer that pesky pet hair. The textured surface of the glove acts like a magnet, gently attracting and lifting hair from surfaces without damaging them. Unlike harsh brushes or sticky rollers, this method is gentle on fabrics and won’t leave behind any residue. Plus, it’s reusable! Simply rinse the glove clean after each use, and it’s ready for its next fur-fighting mission.
But the beauty of this DIY trick lies in its versatility. Feel free to experiment with different types of gloves to find the one that works best for your pet’s hair and your preferred cleaning style. For instance, a textured dishwashing glove might be ideal for larger areas like sofas and carpets, while a thinner latex glove could be perfect for delicate fabrics or reaching into tight corners.
Consider adding a touch of fabric softener to the glove before using it on upholstery. This can help to loosen the hair and make it even easier to collect. Alternatively, dampen the glove slightly with water for enhanced static cling, which can be particularly effective on smooth surfaces like car interiors.
Don’t limit yourself to just furniture and clothing! This pet hair removal glove is also fantastic for grooming your pet directly. Gently stroke your furry friend with the glove to remove loose hair before it has a chance to settle on your belongings. Many pets actually enjoy the sensation, making it a win-win situation for both of you.
We are confident that once you try this simple yet effective DIY trick, you’ll wonder how you ever lived without it. It’s a quick, easy, and affordable way to keep your home looking its best, even with a shedding pet in the house.
So, grab a glove, give it a try, and prepare to be amazed! We encourage you to share your experiences with us. Did you find a particular type of glove that worked exceptionally well? Did you discover any other creative uses for your pet hair removal glove? Let us know in the comments below! Your tips and tricks could help other pet owners conquer their own fur-filled challenges. Let’s create a community of happy, hair-free homes, one glove at a time!
Frequently Asked Questions (FAQ)
What type of glove works best for pet hair removal?
The best type of glove depends on the surface you’re cleaning and the type of pet hair you’re dealing with. Generally, rubber or latex gloves with a textured surface are most effective. Dishwashing gloves often have a good grip and are durable for larger areas like sofas and carpets. Thinner latex gloves can be more suitable for delicate fabrics or reaching into tight spaces. Experiment to see what works best for you and your pet’s hair. Some people find that nitrile gloves also work well, especially if they have a textured palm.
How do I clean the pet hair off the glove after using it?
Cleaning the glove is simple! After using it, rinse it thoroughly under running water. You can use a mild soap if needed to remove any stubborn hair or residue. Make sure to remove all the hair from the glove before storing it to prevent it from sticking to other surfaces. Allow the glove to air dry completely before storing it to prevent mildew or unpleasant odors. For gloves with a lot of embedded hair, you can try using a small brush or comb to help dislodge the hair before rinsing.
Will this pet hair removal glove work on all types of pet hair?
While the glove is effective on most types of pet hair, its performance may vary depending on the texture and length of the hair. It generally works well on short to medium-length hair, but may require more effort for long, thick hair. For pets with very fine hair, you might need to dampen the glove slightly to increase its effectiveness. Experiment with different techniques to find what works best for your pet’s specific type of hair.
Can I use this glove directly on my pet for grooming?
Yes, you can! Many pets enjoy being groomed with a rubber or latex glove. The gentle texture can feel like a massage, and it’s a great way to remove loose hair before it ends up on your furniture. Be sure to use a gentle touch and avoid applying too much pressure. If your pet seems uncomfortable, stop immediately. It’s always a good idea to introduce the glove slowly and positively, perhaps by associating it with treats or praise.
Is this method safe for all types of fabrics and surfaces?
The pet hair removal glove is generally safe for most fabrics and surfaces, but it’s always a good idea to test it on a small, inconspicuous area first, especially if you’re dealing with delicate materials. Avoid using excessive force, as this could potentially damage the fabric. For sensitive surfaces like leather or suede, use a very gentle touch and consider dampening the glove slightly to minimize friction.
How often should I use the pet hair removal glove?
The frequency of use depends on how much your pet sheds and how much hair accumulates on your furniture and clothing. For pets that shed heavily, you may need to use the glove daily or every other day. For pets that shed less, once or twice a week may be sufficient. Regular use will help to prevent hair buildup and keep your home looking cleaner.
Can I use any cleaning solutions with the glove?
While the glove works well on its own, you can enhance its effectiveness by using a mild cleaning solution. A diluted solution of fabric softener can help to loosen hair and make it easier to collect. Alternatively, you can use a pet-safe cleaning spray to pre-treat heavily soiled areas before using the glove. Always test any cleaning solution on a small, inconspicuous area first to ensure that it doesn’t damage the fabric.
Where can I store the pet hair removal glove when not in use?
Store the glove in a clean, dry place away from direct sunlight and heat. You can hang it on a hook or place it in a drawer or container. Make sure the glove is completely dry before storing it to prevent mildew or unpleasant odors. Avoid storing the glove with sharp objects that could puncture or damage it.
Is this method environmentally friendly?
Yes, using a pet hair removal glove is a more environmentally friendly option compared to disposable lint rollers or sticky sheets. The glove is reusable and can be used for an extended period, reducing waste. By using a glove, you’re contributing to a more sustainable approach to pet hair removal.
What if the glove doesn’t seem to be working well?
If you’re not seeing the desired results, try experimenting with different types of gloves or techniques. Dampening the glove slightly can increase its effectiveness. You can also try using a small brush or comb to loosen the hair before using the glove. Make sure you’re applying enough pressure to create friction, but not so much that you damage the surface. If all else fails, consider trying a different pet hair removal method, such as a vacuum cleaner with a pet hair attachment.


Leave a Comment