

Container Chili Gardening: Grow Fiery Flavors Anywhere!
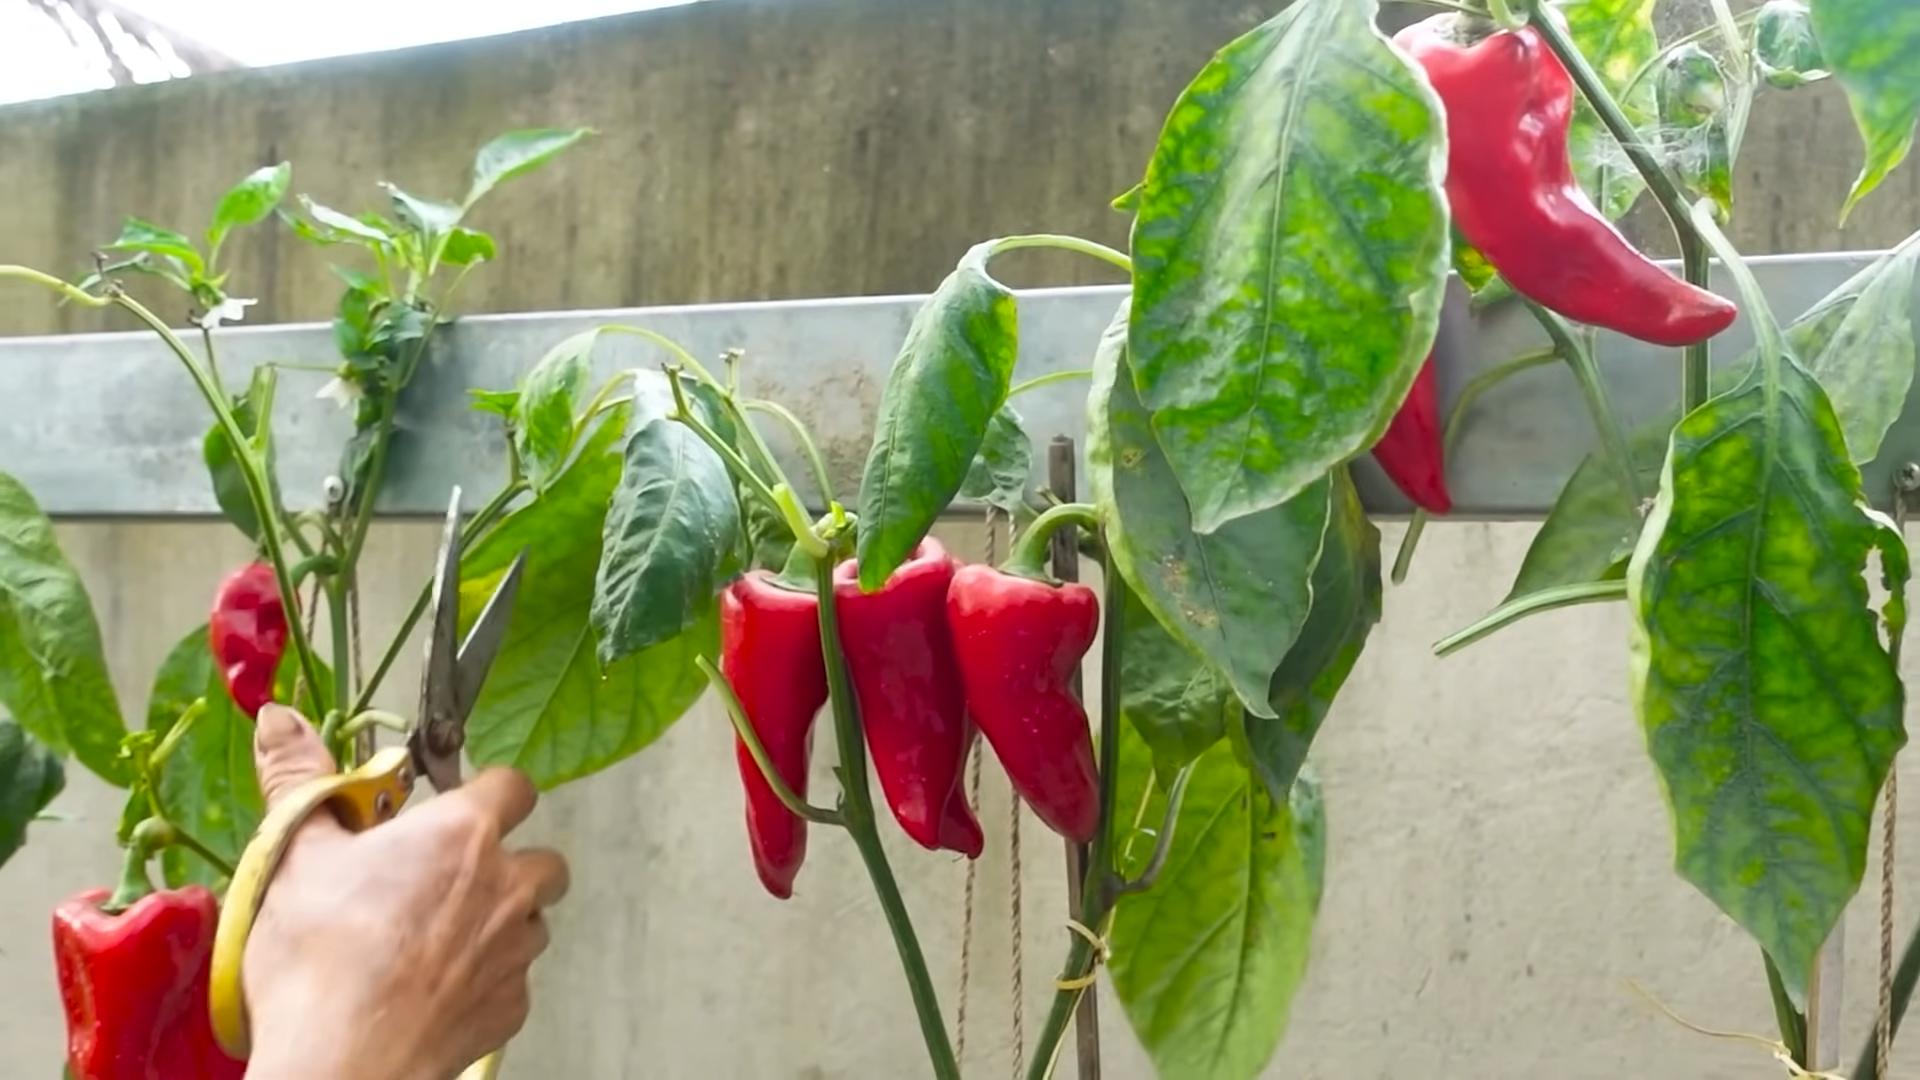
Container chili gardening has completely changed my approach to growing these fiery peppers! Forget sprawling gardens and limited space – I’ve discovered the joy of harvesting delicious, homegrown chilis right from my patio, balcony, or even windowsill. This article is all about sharing my secrets and easy-to-follow tips for successful container chili gardening, transforming even the smallest space into a vibrant pepper patch.
While chili peppers have a rich history, spanning centuries and continents, their cultivation has traditionally required significant space. From the ancient civilizations of the Americas, who first cultivated these plants, to modern-day farms, growing chilis has often meant large plots of land. But times have changed! Now, thanks to the ingenuity of container gardening, anyone can experience the thrill of growing their own chilis, regardless of their living situation.
Why Container Chili Gardening Matters
For me, the appeal of container chili gardening goes beyond simply having fresh chilis. It’s about connecting with nature, understanding the growth cycle of a plant, and the immense satisfaction of harvesting something you’ve nurtured from seed. Plus, homegrown chilis often boast a superior flavor compared to store-bought varieties. Whether you’re a seasoned gardener or a complete beginner, this guide will empower you to cultivate your own spicy harvest, no matter how limited your space.
So, let’s dive in and unlock the secrets to a bountiful container chili garden! I’ll walk you through everything from choosing the right pepper varieties and containers to mastering watering techniques and pest control. Get ready to experience the fiery rewards of container chili gardening!
Clean Pillowcases Fast: A DIY Guide to Fresh Linens
Let’s face it, washing pillowcases can be a chore. But who wants to sleep on grimy pillowcases? This guide will show you how to get those pillowcases sparkling clean quickly and efficiently, even if you’re short on time.
Pre-Wash Prep: Getting Ready for a Speedy Clean
- Gather your supplies: You’ll need your pillowcases (obviously!), laundry detergent, a washing machine, and a dryer (or clothesline).
- Check for stains: Before tossing them in, take a quick look for any noticeable stains. Pre-treating stubborn spots will make a huge difference in the final result. For makeup or oil stains, a little pre-treatment stain remover goes a long way. I usually dab a bit on, let it sit for a few minutes, and then gently rub it in before washing.
- Sort your laundry: While you’re at it, check if you have other light-colored items that can be washed together. This saves water and energy!
- Empty pockets: This seems obvious, but you’d be surprised how often a tissue or small item ends up in the wash. Check those pockets!
Washing Your Pillowcases: The Quick and Efficient Method
- Load the washing machine: Place your pillowcases (and any other light-colored items) into the washing machine. Don’t overcrowd it; give everything some room to move around for proper cleaning.
- Add detergent: Use the recommended amount of laundry detergent for your machine. I usually use a high-efficiency detergent for best results, especially with delicate fabrics.
- Select the right cycle: Choose a gentle or delicate cycle for your pillowcases. This will help prevent damage and keep them looking their best. A quick wash cycle is perfect for this task, saving you time.
- Water temperature: Warm or cold water is usually sufficient for most pillowcases. Hot water can sometimes fade colors, so I usually stick to warm or cold unless I’m dealing with a particularly stubborn stain.
- Start the wash: Press start and let the machine do its thing! While it’s washing, you can move on to other tasks.
Drying Your Pillowcases: Achieving that Fresh-from-the-Laundry Feeling
- Remove from the washer: Once the wash cycle is complete, carefully remove the pillowcases from the washing machine. Try to avoid stretching or twisting them too much.
- Check for wrinkles: Give them a quick shake to remove any major wrinkles. This will help them dry faster and more evenly.
- Load the dryer: Place the pillowcases in the dryer. Again, don’t overcrowd it. Proper airflow is key to efficient drying.
- Select the right setting: Choose a low or medium heat setting. High heat can damage the fabric over time. A low heat setting is usually sufficient for pillowcases.
- Add dryer sheets (optional): If you like the added softness and scent, add a dryer sheet. I personally prefer unscented dryer sheets to avoid any potential skin irritation.
- Start the dryer: Press start and let the dryer do its work. You can check on them periodically to ensure they’re drying properly.
- Remove and fold: Once the dryer cycle is complete, carefully remove the pillowcases and fold them neatly. This helps prevent wrinkles and keeps them looking crisp.
Dealing with Stubborn Stains: Extra Steps for a Perfect Clean
Pre-Treatment Techniques
For those persistent stains, a little extra effort goes a long way. Before washing, try these pre-treatment methods:
- Spot treatment: For makeup or oil stains, apply a small amount of stain remover directly to the affected area. Gently rub it in and let it sit for a few minutes before washing.
- Soaking: For really stubborn stains, consider soaking the pillowcases in a solution of cold water and laundry detergent for about 30 minutes before washing. This helps loosen the stain and makes it easier to remove.
- Baking soda paste: For sweat stains, make a paste of baking soda and water. Apply it to the stain, let it sit for a few hours, and then wash as usual. Baking soda is a natural deodorizer, too!
Addressing Specific Stain Types
Makeup Stains
Makeup stains can be tricky. I find that a pre-treatment stain remover specifically designed for makeup works best. Gently blot (don’t rub!) the stain with a clean cloth before washing.
Sweat Stains
Sweat stains often contain body oils and salts, making them difficult to remove. Pre-treating with baking soda paste or a specialized laundry stain remover is highly recommended. Make sure to rinse thoroughly after pre-treating.
Oil Stains
Oil stains require a bit more attention. I usually use a dish soap solution to break down the oil before washing. Apply a small amount of dish soap directly to the stain, gently rub it in, and let it sit for a few minutes before washing.
Maintaining Fresh Pillowcases: Tips and Tricks
- Wash regularly: Aim to wash your pillowcases at least once a week, or more often if needed. This helps prevent the buildup of dirt, oil, and sweat.
- Air them out: If you don’t have time for a full wash, try airing out your pillowcases in the sun for a few hours. Sunlight is a natural disinfectant and can help freshen them up.
- Use a protective cover: Consider using a pillow protector to help keep your pillowcases cleaner for longer. This can extend the time between washes.
Conclusion
So there you have it – a complete guide to mastering the art of container chili gardening! This DIY trick isn’t just about growing your own delicious chilies; it’s about embracing a rewarding and surprisingly simple gardening experience. Container chili gardening offers unparalleled control over your plants’ environment, allowing you to optimize growing conditions and maximize your harvest, regardless of your space limitations. Whether you have a sun-drenched balcony, a small patio, or even just a sunny windowsill, you can cultivate a vibrant chili patch. The flexibility and convenience of this method are truly unmatched. You’ll be amazed at the flavor and freshness of homegrown chilies, far surpassing anything you can buy in the store.
Beyond the basic method outlined, the possibilities for customization are endless. Experiment with different chili varieties – from fiery habaneros to sweet bell peppers – to create a diverse and flavorful harvest. Consider using self-watering containers for even more convenience, especially if you’re prone to forgetting to water regularly. You can also explore vertical gardening techniques, maximizing space utilization in smaller areas. For those with limited sunlight, consider supplementing with grow lights to ensure optimal plant growth. Don’t be afraid to get creative with your container choices, too! Upcycled buckets, decorative pots, and even repurposed wine barrels can all add a unique touch to your chili garden.
The beauty of container chili gardening lies in its adaptability. You can tailor the process to your specific needs and preferences, making it a truly personalized gardening experience. This method is perfect for beginners and experienced gardeners alike, offering a rewarding challenge and the satisfaction of nurturing your plants from seed to harvest. The vibrant colors of the chili plants, the satisfying weight of the ripe peppers in your hand, and the incredible flavor of your homegrown chilies will make this a truly unforgettable gardening journey.
We strongly encourage you to try this amazing DIY trick and experience the joy of container chili gardening firsthand. Share your experiences, photos, and tips with us and other gardening enthusiasts! Let’s build a community of chili-growing aficionados, sharing our successes and learning from each other. Document your journey, from planting the seeds to harvesting your spicy bounty. The more we share, the more we learn, and the more we can inspire others to embark on this rewarding adventure. Don’t hesitate – start your container chili garden today and reap the rewards of fresh, flavorful chilies all season long!
Frequently Asked Questions
What type of container is best for chili gardening?
Almost any container will work, as long as it has drainage holes to prevent root rot. However, larger containers (at least 5 gallons) are generally better for chili plants, as they allow for more root development and better water retention. Consider using pots made of materials that retain heat, such as terracotta, especially in cooler climates. Plastic containers are also a good option, offering more consistent moisture levels.
What kind of soil should I use?
Chilies thrive in well-draining soil that is rich in organic matter. A good quality potting mix is ideal, and you can further enhance it by adding compost or other organic amendments. Avoid using garden soil directly from your yard, as it may contain diseases or pests that could harm your chili plants.
How much sunlight do chili plants need?
Chili plants are sun-worshippers and need at least 6-8 hours of direct sunlight per day to thrive. Choose a location that receives ample sunlight, or supplement with grow lights if necessary. Insufficient sunlight can lead to poor growth and reduced fruit production.
How often should I water my chili plants?
Watering frequency depends on several factors, including the size of the container, the type of soil, and the weather conditions. Generally, you should water when the top inch of soil feels dry to the touch. Avoid overwatering, as this can lead to root rot. Consistent moisture is key, but soggy soil is detrimental.
What are some common problems I might encounter?
Common problems include pests (aphids, spider mites), diseases (blight, fungal infections), and nutrient deficiencies. Regularly inspect your plants for signs of pests or diseases, and address any issues promptly. Ensure your plants receive adequate nutrients by using a balanced fertilizer specifically formulated for vegetables or chilies.
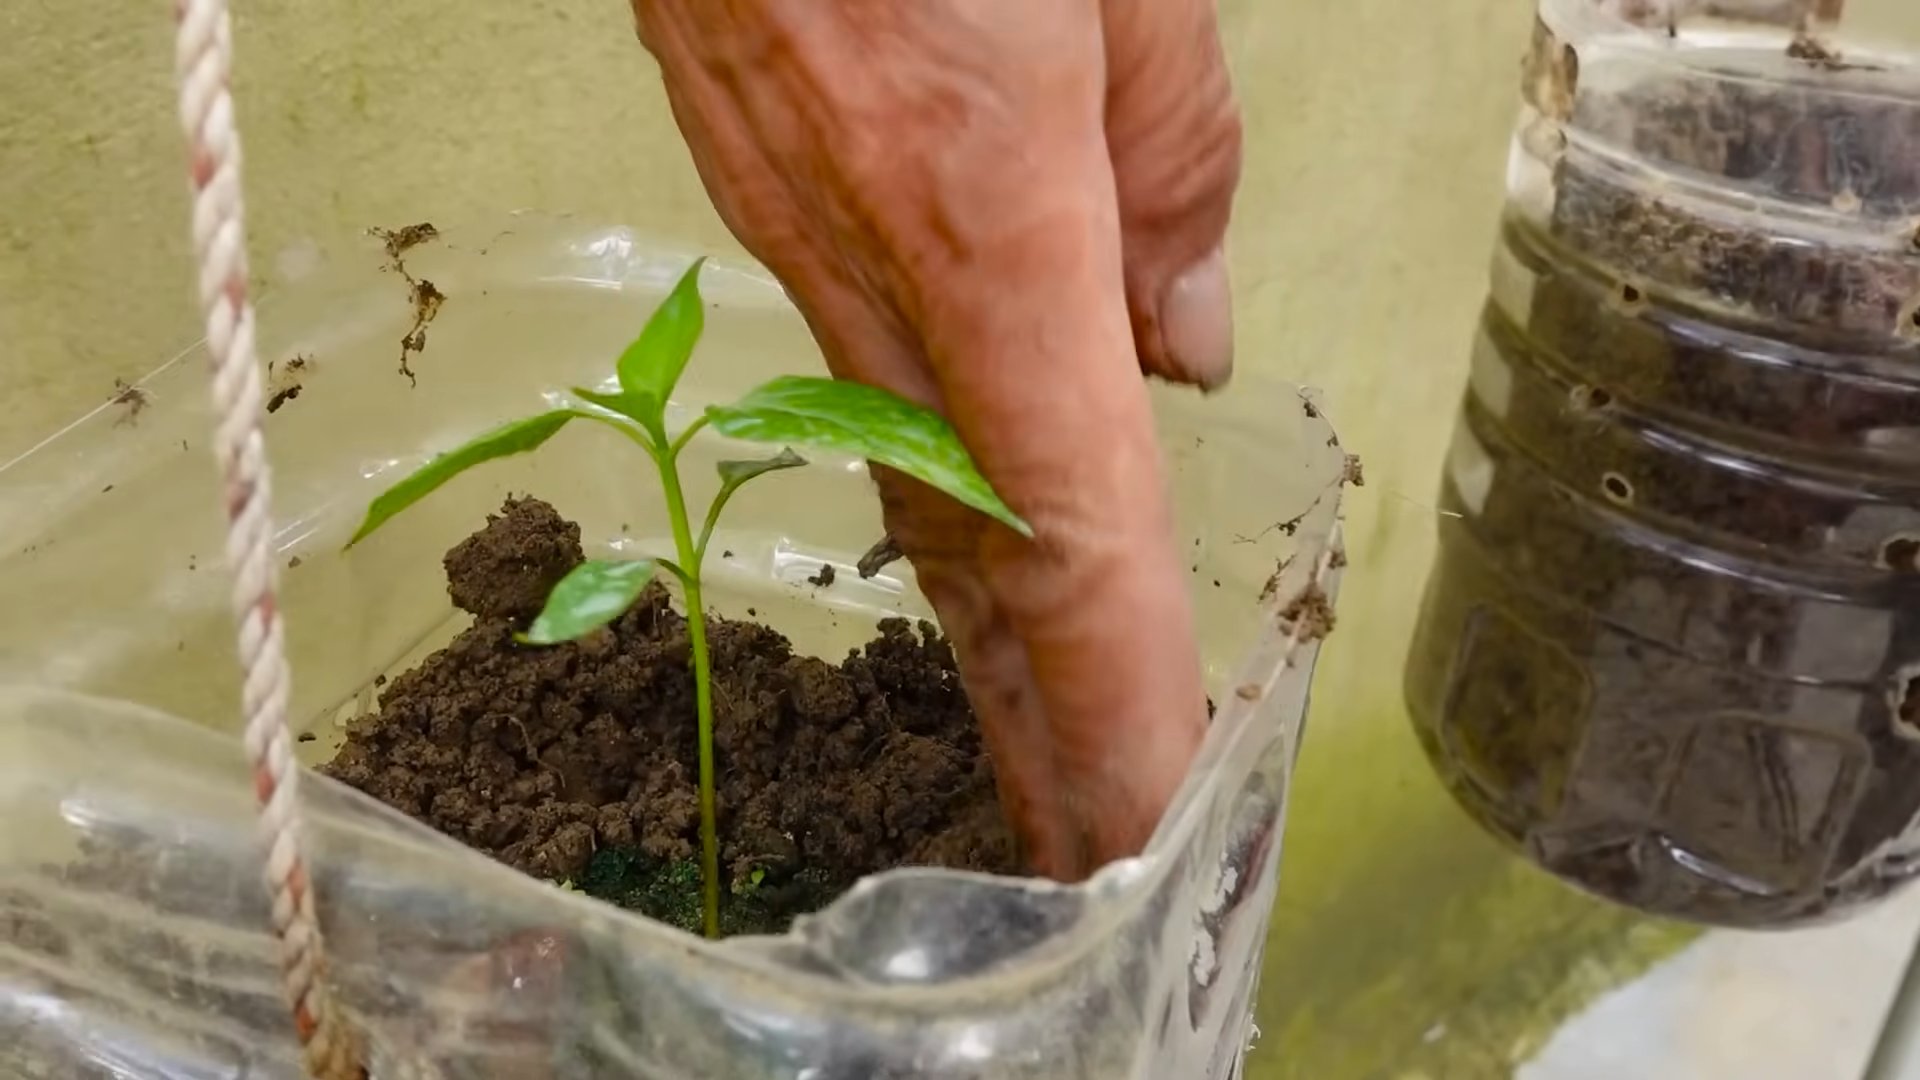
Can I grow chili plants from seed?
Absolutely! Starting chili plants from seed is a rewarding experience. You’ll need to start seeds indoors several weeks before the last frost, providing them with warmth and sufficient light. Once the seedlings have developed a few true leaves, you can transplant them into your containers.
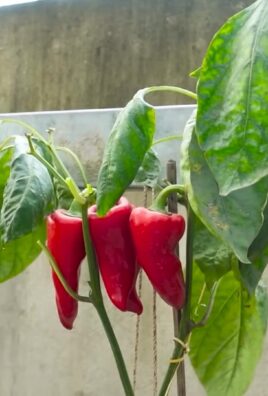
When can I expect to harvest my chilies?
Harvest time varies depending on the chili variety and growing conditions. Generally, you can expect to harvest chilies anywhere from 60 to 100 days after planting, but always check the specific requirements for the type of chili you’re growing. Harvest chilies when they reach their mature color and feel firm to the touch.
What can I do with my harvested chilies?
The possibilities are endless! Use your homegrown chilies to add a fiery kick to your favorite dishes, from salsas and sauces to stews and stir-fries. You can also dry them for later use or make your own chili powder. The fresh flavor of homegrown chilies is truly unmatched.


Leave a Comment