

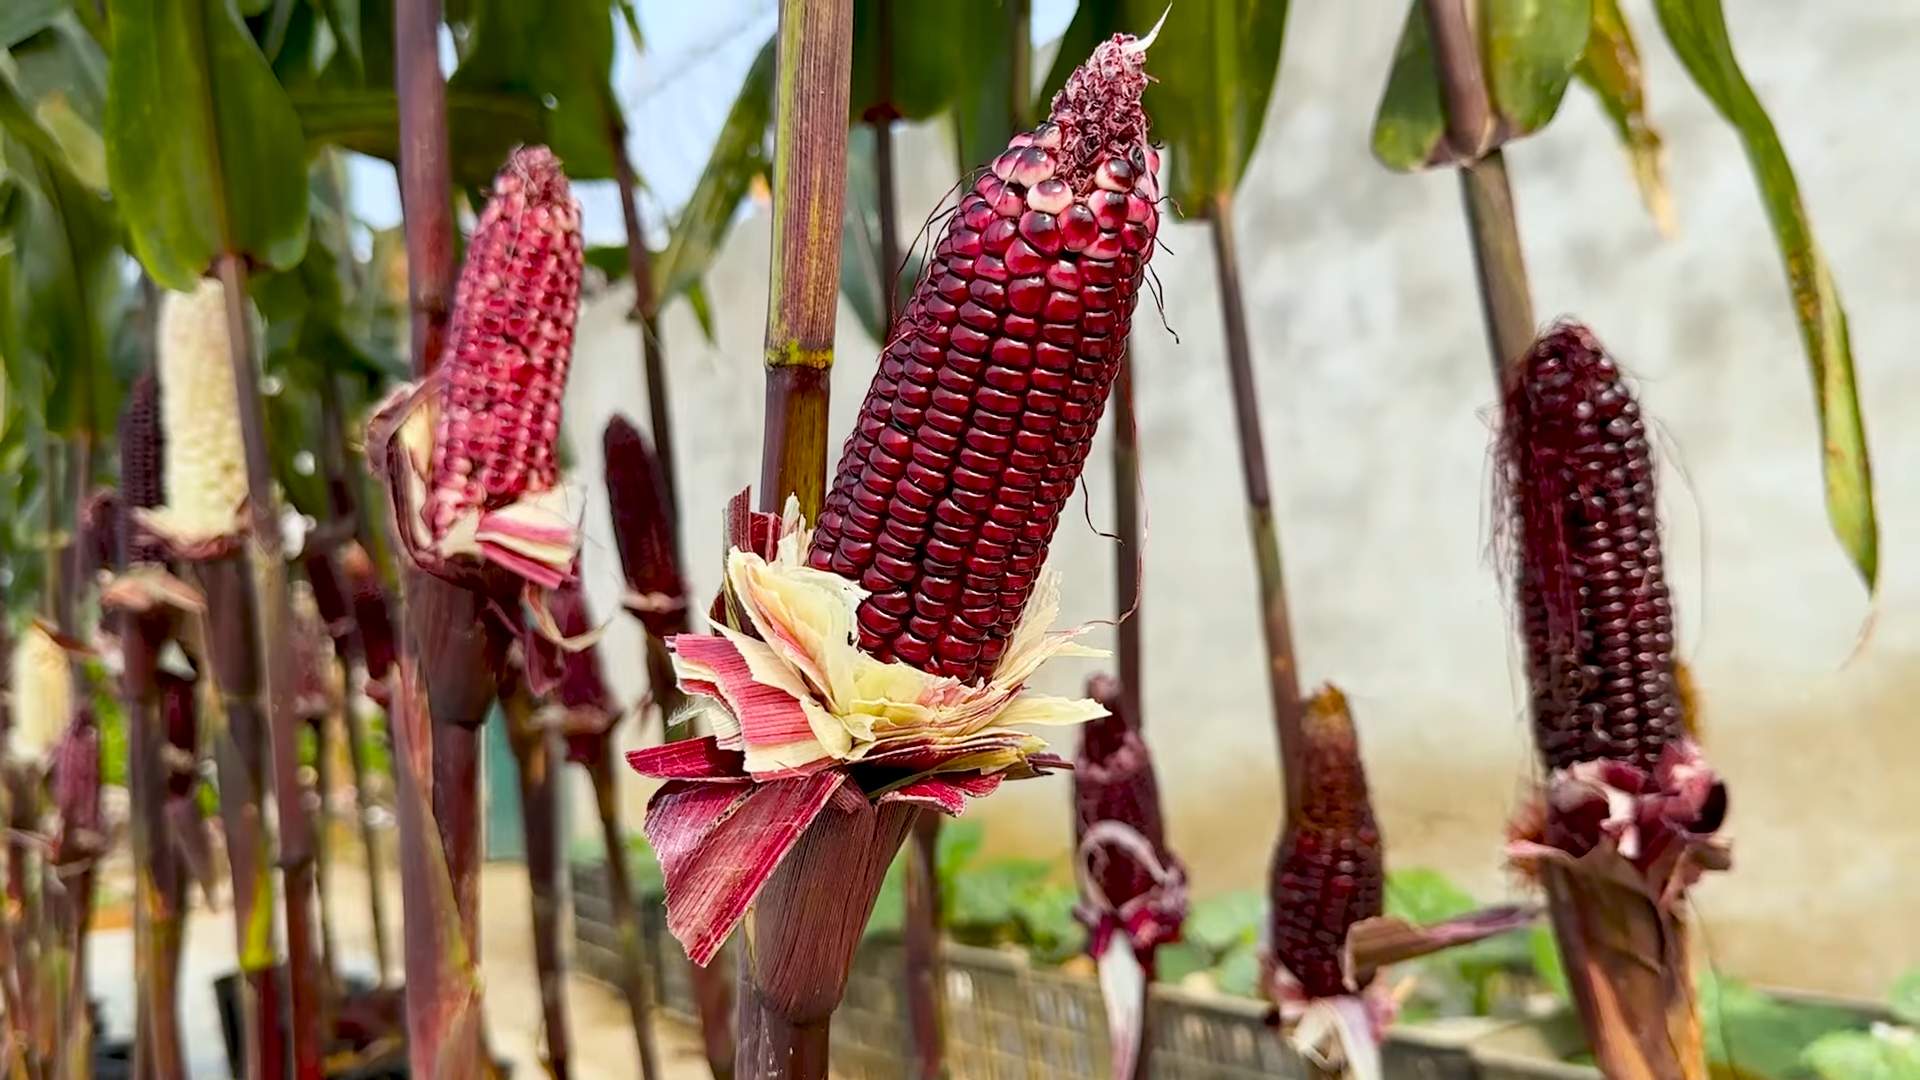
Rooftop corn growing no soil? Sounds like something out of a science fiction movie, right? Well, get ready to bring that futuristic vision to your very own urban oasis! Forget sprawling acres and endless fields; we’re taking corn cultivation to new heights – literally! I’m so excited to share this incredible DIY guide that will show you how to grow delicious, homegrown corn right on your rooftop, balcony, or patio, all without the need for traditional soil.
For centuries, corn has been a staple crop, deeply woven into the cultures and traditions of countless civilizations. From ancient Mesoamerica, where it was revered as a sacred gift, to modern-day barbecues, corn holds a special place in our hearts (and stomachs!). But what if you thought you couldn’t participate in this rich agricultural heritage because you lack a traditional garden? That’s where this game-changing technique comes in!
In today’s world, where urban living is increasingly common and space is a precious commodity, finding innovative ways to connect with nature is more important than ever. Rooftop corn growing no soil offers a fantastic solution for city dwellers who crave fresh, homegrown produce but are limited by their surroundings. Imagine the satisfaction of harvesting your own sweet corn, knowing that you nurtured it from seed to cob, all while maximizing your available space and minimizing your environmental impact. This DIY trick is not just about growing corn; it’s about embracing sustainability, fostering self-sufficiency, and adding a touch of green magic to your urban landscape. Let’s get started!
DIY Rooftop Corn Growing: No Soil, No Problem!
Hey there, fellow gardening enthusiasts! Ever dreamed of having a mini cornfield right on your rooftop? Well, guess what? You absolutely can! And the best part? We’re ditching the traditional soil and going hydroponic. This method is perfect for urban dwellers with limited space and those who want to try something a little different. Get ready to impress your neighbors with your rooftop cornucopia!
What You’ll Need: The Essentials
Before we dive in, let’s gather our supplies. Don’t worry, you probably have some of these lying around already!
* Large, sturdy containers: Think plastic storage bins, large buckets, or even repurposed barrels. The bigger, the better, as corn plants get quite tall. I recommend at least 20-gallon containers.
* Net pots: These are small, slotted pots that will hold your corn seedlings. You can find them at most hydroponics stores or online. 3-inch or 4-inch net pots work well.
* Hydroponic growing medium: We’re skipping the soil, remember? Instead, we’ll use a soilless medium like coco coir, perlite, rockwool, or a mix of these. Coco coir is my personal favorite because it’s sustainable and holds moisture well.
* Hydroponic nutrient solution: This is your corn’s food! You’ll need a balanced nutrient solution specifically formulated for hydroponics. Look for one that’s designed for vegetative growth and then switch to one for flowering/fruiting when your corn starts to tassel.
* Air pump and air stone: These will oxygenate the nutrient solution, which is crucial for healthy root growth.
* Water pump (optional but recommended): A small submersible water pump will help circulate the nutrient solution, ensuring that all the roots get the nutrients they need.
* pH meter and pH up/down solutions: Maintaining the correct pH level is essential for hydroponic success. A pH meter will help you monitor the pH of your nutrient solution, and the pH up/down solutions will allow you to adjust it as needed.
* Corn seeds: Choose a variety of corn that’s suitable for your climate and growing conditions. Shorter varieties are generally better for rooftop growing, as they’re less susceptible to wind damage.
* Timer: To control the water pump (if you’re using one).
* Sunlight: Corn needs plenty of sunlight, so make sure your rooftop gets at least 6-8 hours of direct sunlight per day.
* Support structure (optional): Depending on the variety of corn you choose and how windy your rooftop is, you may need to provide some support to prevent the plants from toppling over. Stakes, trellises, or even just tying the plants to a sturdy railing can work.
Step-by-Step Guide: From Seed to Stalk
Alright, let’s get our hands dirty (well, not really, since we’re not using soil!). Here’s a detailed guide to growing corn hydroponically on your rooftop:
1. Germinating Your Corn Seeds
* Soak the seeds: Place your corn seeds in a glass of water and let them soak for 12-24 hours. This will help soften the seed coat and speed up germination.
* Prepare a germination tray: You can use a seedling tray or even a damp paper towel. If using a tray, fill it with a sterile seed-starting mix or coco coir.
* Plant the seeds: Sow the seeds about 1 inch deep in the germination tray or wrap them in a damp paper towel.
* Keep it moist: Keep the germination medium consistently moist but not soggy. You can cover the tray with a plastic dome or wrap to help retain moisture.
* Provide warmth: Place the tray in a warm location (around 70-75°F). A heat mat can be helpful if your home is cool.
* Wait for sprouts: Germination typically takes 3-7 days. Once the seedlings emerge, remove the plastic cover and provide them with plenty of light.
2. Setting Up Your Hydroponic System
* Prepare the containers: Clean your containers thoroughly with soap and water. This will help prevent the growth of algae and other unwanted organisms.
* Drill holes for net pots: Drill holes in the lids of your containers that are slightly smaller than the diameter of your net pots. This will ensure that the net pots fit snugly. Space the holes about 8-12 inches apart.
* Assemble the system: Place the net pots in the holes in the lids. Fill the containers with your chosen hydroponic growing medium, leaving enough space at the top for the net pots.
* Add the nutrient solution: Mix your hydroponic nutrient solution according to the manufacturer’s instructions. Fill the containers with the nutrient solution, making sure that the bottom of the net pots is submerged.
* Install the air pump and air stone: Place the air stone in the bottom of the container and connect it to the air pump with tubing. Turn on the air pump to oxygenate the nutrient solution.
* Install the water pump (optional): If you’re using a water pump, place it in the bottom of the container and connect it to a timer. Set the timer to run the pump for 15 minutes every hour. This will help circulate the nutrient solution and ensure that all the roots get the nutrients they need.
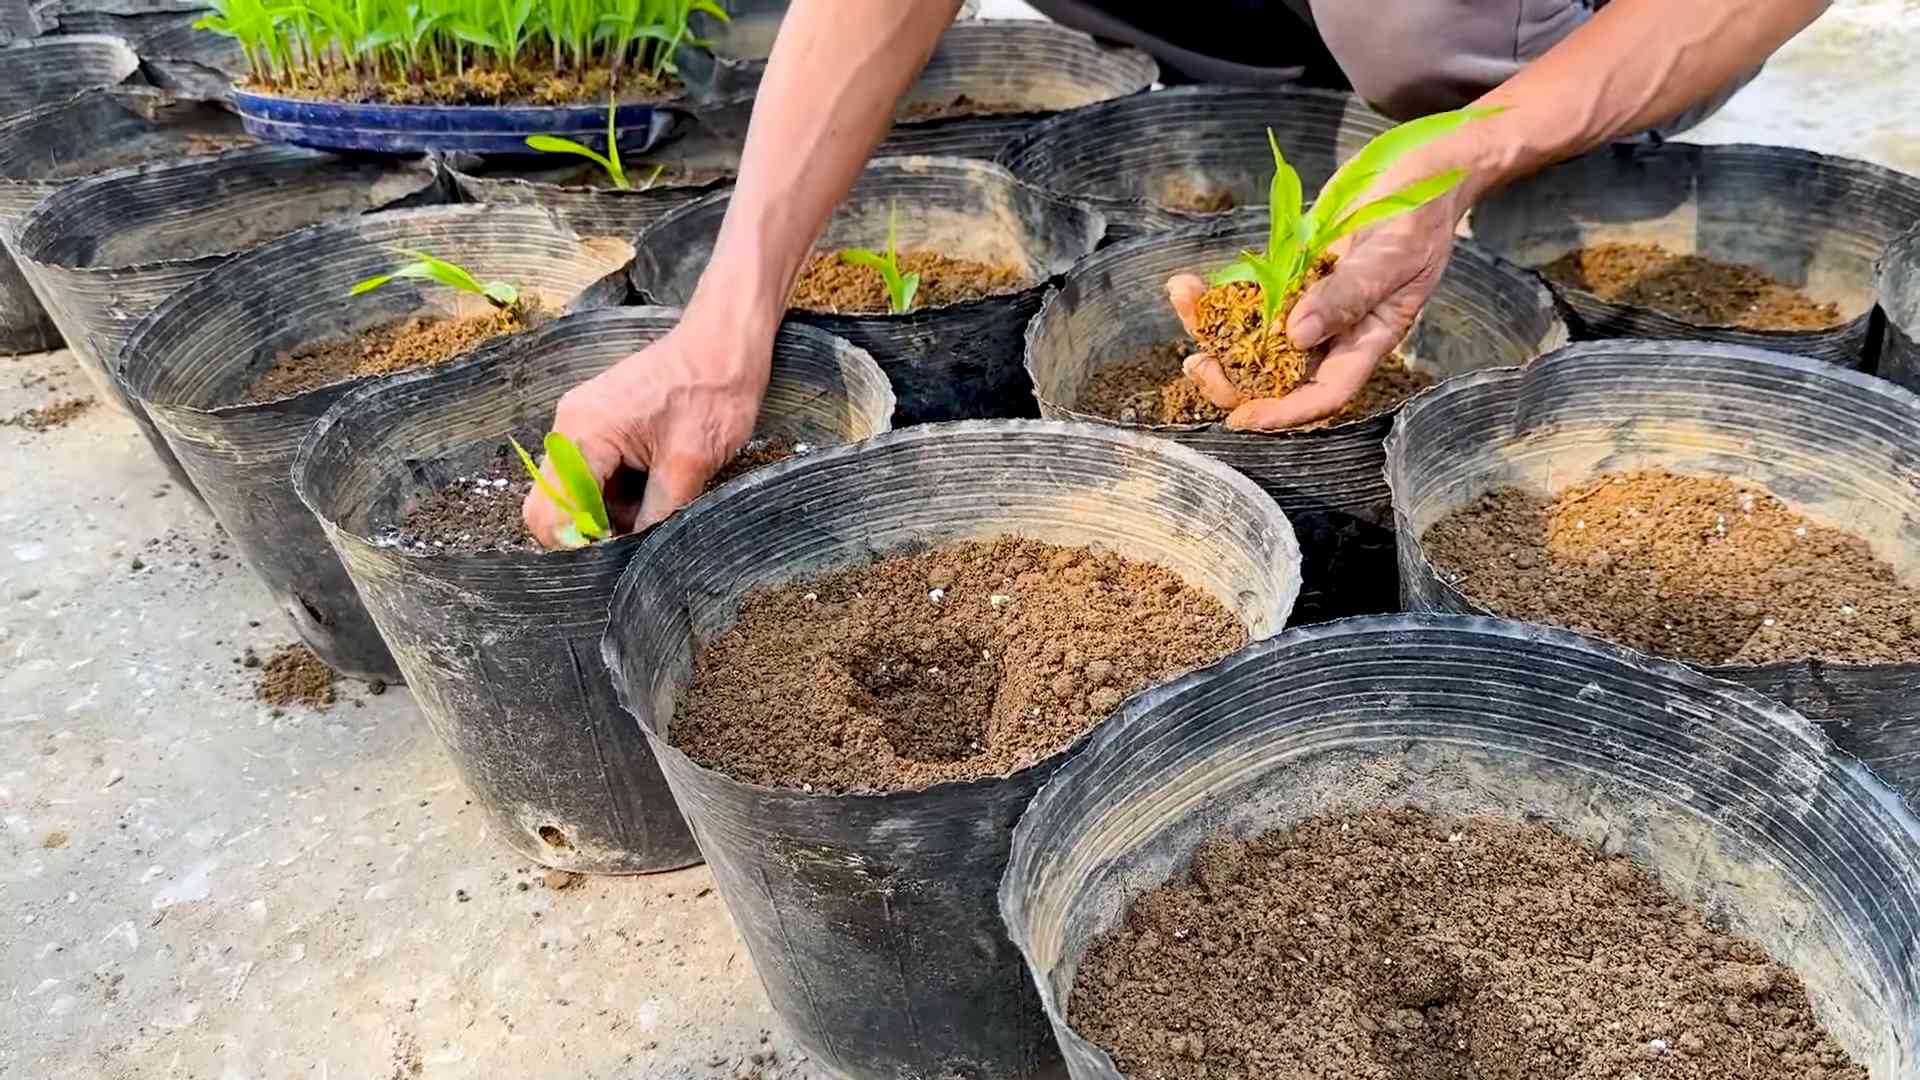
3. Transplanting Your Seedlings
* Gently remove the seedlings: Once your seedlings have developed a few sets of true leaves (usually after about 2-3 weeks), they’re ready to be transplanted into the hydroponic system. Gently remove the seedlings from the germination tray, being careful not to damage the roots.
* Place the seedlings in the net pots: Carefully place each seedling in a net pot, making sure that the roots are surrounded by the growing medium.
* Position the net pots in the system: Place the net pots in the holes in the lids of your containers.
4. Caring for Your Hydroponic Corn
* Monitor the pH: Check the pH of your nutrient solution regularly (at least once a week) using a pH meter. The ideal pH range for corn is 6.0-6.5. Adjust the pH as needed using pH up or pH down solutions.
* Change the nutrient solution: Change the nutrient solution every 2-3 weeks to prevent the buildup of salts and other unwanted substances.
* Watering: The roots should always be submerged in the nutrient solution. Check the water level regularly and add more nutrient solution as needed.
* Provide support: As your corn plants grow taller, they may need some support to prevent them from toppling over. Use stakes, trellises, or even just tie the plants to a sturdy railing.
* Pollination: Corn is wind-pollinated, so you may need to help the process along, especially if your rooftop is sheltered from the wind. You can do this by gently shaking the plants or using a small brush to transfer pollen from the tassels (the male flowers at the top of the plant) to the silks (the female flowers that emerge from the developing ears of corn).
* Pest control: Keep an eye out for pests like aphids, spider mites, and corn earworms. Treat infestations promptly with organic pest control methods.
* Sunlight: Ensure your corn gets at least 6-8 hours of direct sunlight daily.
5. Harvesting Your Corn
* Watch for maturity: Corn is typically ready to harvest about 60-90 days after planting, depending on the variety. The silks will turn brown and dry, and the kernels will be plump and milky when pierced.
* Harvest carefully: To harvest, gently pull the ears of corn downward and twist them off the stalk.
* Enjoy your harvest! Enjoy your homegrown, rooftop corn! You can eat it fresh, grill it, or use it in your favorite recipes.
Troubleshooting Tips: Common Issues and Solutions
Even with the best planning, things can sometimes go wrong. Here are a few common issues you might encounter and how to fix them:
* Yellowing leaves: This could be a sign of nutrient deficiency. Make sure you’re using a balanced nutrient solution and that the pH is within the correct range.
* Slow growth: This could be due to insufficient light, low temperatures, or nutrient deficiencies. Make sure your corn is getting enough sunlight and that the nutrient solution is properly balanced.
* Pest infestations: Treat infestations promptly with organic pest control methods.
* Root rot: This is caused by overwatering or poor drainage. Make sure the roots are not constantly submerged in water and that the nutrient solution is well-oxygenated.
* Lack of pollination: If you’re not getting any ears of corn, it could be due to poor pollination. Help the process along by gently shaking the plants or using a small
Conclusion
So, there you have it! Growing corn on your rooftop without soil might sound like something out of a science fiction novel, but as we’ve explored, it’s a surprisingly accessible and rewarding project. This innovative approach to urban gardening not only allows you to enjoy fresh, homegrown corn even without a traditional garden, but it also offers a sustainable and space-saving solution for food production.
Why is this DIY trick a must-try? Because it’s more than just growing corn; it’s about reclaiming urban spaces, reducing your carbon footprint, and connecting with the food you eat in a profound way. Imagine the satisfaction of harvesting plump, juicy ears of corn from your own rooftop oasis, knowing that you nurtured them from seed to table using a method that minimizes environmental impact. It’s a conversation starter, a learning experience, and a delicious way to contribute to a more sustainable future.
But the beauty of this method lies in its adaptability. Feel free to experiment with different hydroponic systems. Perhaps you’d like to try a deep water culture setup, or maybe a nutrient film technique (NFT) system would better suit your space and resources. Consider adding companion plants like beans or squash to your rooftop garden to create a thriving ecosystem. You can also explore different varieties of corn, choosing those that are best suited for container growing and your local climate. Dwarf varieties are often a great choice for rooftop gardens.
Don’t be afraid to get creative with your growing medium. While we’ve focused on soilless options like coco coir and perlite, you could also experiment with other materials like rockwool or even recycled materials like shredded tires (though be sure to research the safety of using recycled materials for food production). The key is to find a medium that provides adequate support for the corn stalks and allows for proper drainage and aeration.
We understand that venturing into the world of soilless corn cultivation can seem daunting at first. But with a little research, planning, and a willingness to experiment, you can successfully grow corn on your rooftop and enjoy the fruits (or rather, the kernels) of your labor. The initial setup might require some investment, but the long-term benefits – fresh, homegrown corn, reduced grocery bills, and a more sustainable lifestyle – are well worth the effort.
We wholeheartedly encourage you to give this DIY trick a try. Start small, learn as you go, and don’t be discouraged by setbacks. Every gardener, even experienced ones, faces challenges along the way. The important thing is to learn from your mistakes and keep experimenting until you find what works best for you.
And most importantly, we want to hear about your experience! Share your photos, tips, and challenges with us in the comments section below. Let’s create a community of rooftop corn growers and inspire others to embrace this innovative and sustainable approach to urban gardening. Let’s see how you are making **rooftop corn growing no soil** a reality.
Frequently Asked Questions (FAQ)
What are the benefits of growing corn on a rooftop without soil?
Growing corn on a rooftop without soil offers several advantages. Firstly, it allows you to grow corn even if you don’t have a traditional garden or access to land. This is particularly beneficial for urban dwellers with limited space. Secondly, soilless growing methods like hydroponics can be more efficient in terms of water and nutrient usage compared to traditional soil-based gardening. This can lead to faster growth and higher yields. Thirdly, rooftop gardens can help to reduce the urban heat island effect, improve air quality, and provide habitat for pollinators. Finally, growing your own food can reduce your carbon footprint and promote a more sustainable lifestyle.
What kind of hydroponic system is best for growing corn on a rooftop?
The best hydroponic system for growing corn on a rooftop depends on your space, budget, and experience level. Deep water culture (DWC) is a simple and affordable option, where the corn roots are submerged in a nutrient-rich solution. Nutrient film technique (NFT) is another popular choice, where a thin film of nutrient solution flows over the roots. Wick systems are the simplest and most passive, relying on wicks to draw nutrient solution up to the growing medium. Ebb and flow (flood and drain) systems periodically flood the growing medium with nutrient solution and then drain it away. Drip systems deliver nutrient solution directly to the base of each plant. For corn, which is a larger plant, DWC, NFT, or drip systems are generally recommended as they can provide the necessary water and nutrients more efficiently.
What growing medium should I use for rooftop corn without soil?
Several growing mediums are suitable for rooftop corn without soil. Coco coir is a popular choice because it’s lightweight, has good water retention, and provides excellent aeration. Perlite is another common option, known for its excellent drainage and aeration. Vermiculite retains more water than perlite and can help to buffer against nutrient deficiencies. Rockwool is a sterile, inert medium that provides good support for plant roots. You can also use a mix of different mediums, such as coco coir and perlite, to achieve the desired balance of water retention and aeration.
How often should I water and fertilize my rooftop corn?
The frequency of watering and fertilizing depends on the type of hydroponic system you’re using and the environmental conditions. In general, you should monitor the nutrient solution regularly and adjust the pH and nutrient levels as needed. Corn is a heavy feeder, so it requires a nutrient solution that is rich in nitrogen, phosphorus, and potassium. Follow the instructions on your hydroponic nutrient solution for the recommended dosage. In DWC systems, you may need to change the nutrient solution every one to two weeks. In NFT and drip systems, you’ll need to monitor the nutrient solution more frequently and replenish it as needed.
What are some common pests and diseases that affect rooftop corn, and how can I prevent them?
Common pests that can affect rooftop corn include aphids, spider mites, and corn earworms. Diseases that can affect corn include fungal diseases like rust and smut. To prevent pests and diseases, start with healthy seeds or seedlings. Inspect your plants regularly for signs of infestation or disease. Use organic pest control methods like insecticidal soap or neem oil to control pests. Ensure good air circulation to prevent fungal diseases. Remove any infected leaves or plants promptly. Consider using companion planting to deter pests and attract beneficial insects.
How much sunlight does rooftop corn need?
Corn requires at least 6-8 hours of direct sunlight per day to thrive. Choose a location on your rooftop that receives ample sunlight. If you don’t have enough sunlight, you may need to supplement with grow lights.
How do I pollinate my rooftop corn?
Corn is wind-pollinated, but since you’re growing it on a rooftop, you may need to hand-pollinate it to ensure good kernel development. When the tassels (male flowers) start to shed pollen, collect the pollen in a container. Then, gently shake the pollen onto the silks (female flowers) of the developing ears of corn. Repeat this process every day for several days to ensure that all the silks are pollinated.
How long does it take to grow corn on a rooftop without soil?
The time it takes to grow corn on a rooftop without soil depends on the variety of corn you’re growing and the environmental conditions. In general, it takes about 60-100 days from planting to harvest.
What are some tips for success when growing corn on a rooftop without soil?
Start with healthy seeds or seedlings. Choose a location that receives ample sunlight. Use a well-draining growing medium. Provide adequate water and nutrients. Monitor your plants regularly for pests and diseases. Hand-pollinate your corn if necessary. Harvest your corn when the kernels are plump and juicy. Don’t be afraid to experiment and learn from your mistakes.
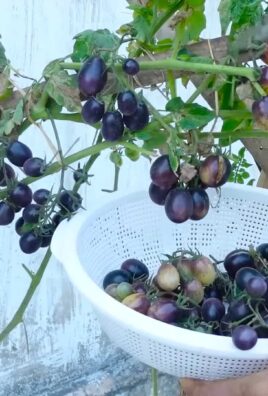
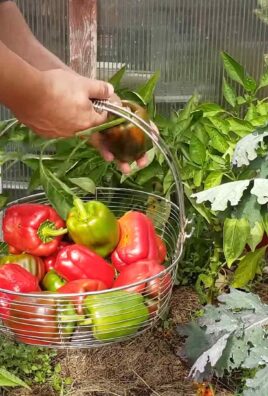
Can I grow other vegetables alongside my rooftop corn?
Yes, you can grow other vegetables alongside your rooftop corn. Companion planting can be beneficial for corn, as some plants can help to deter pests, attract beneficial insects, or improve soil health. Good companion plants for corn include beans, squash, and cucumbers. Avoid planting corn near tomatoes or brassicas (like cabbage and broccoli), as these plants can compete for nutrients.

Leave a Comment