

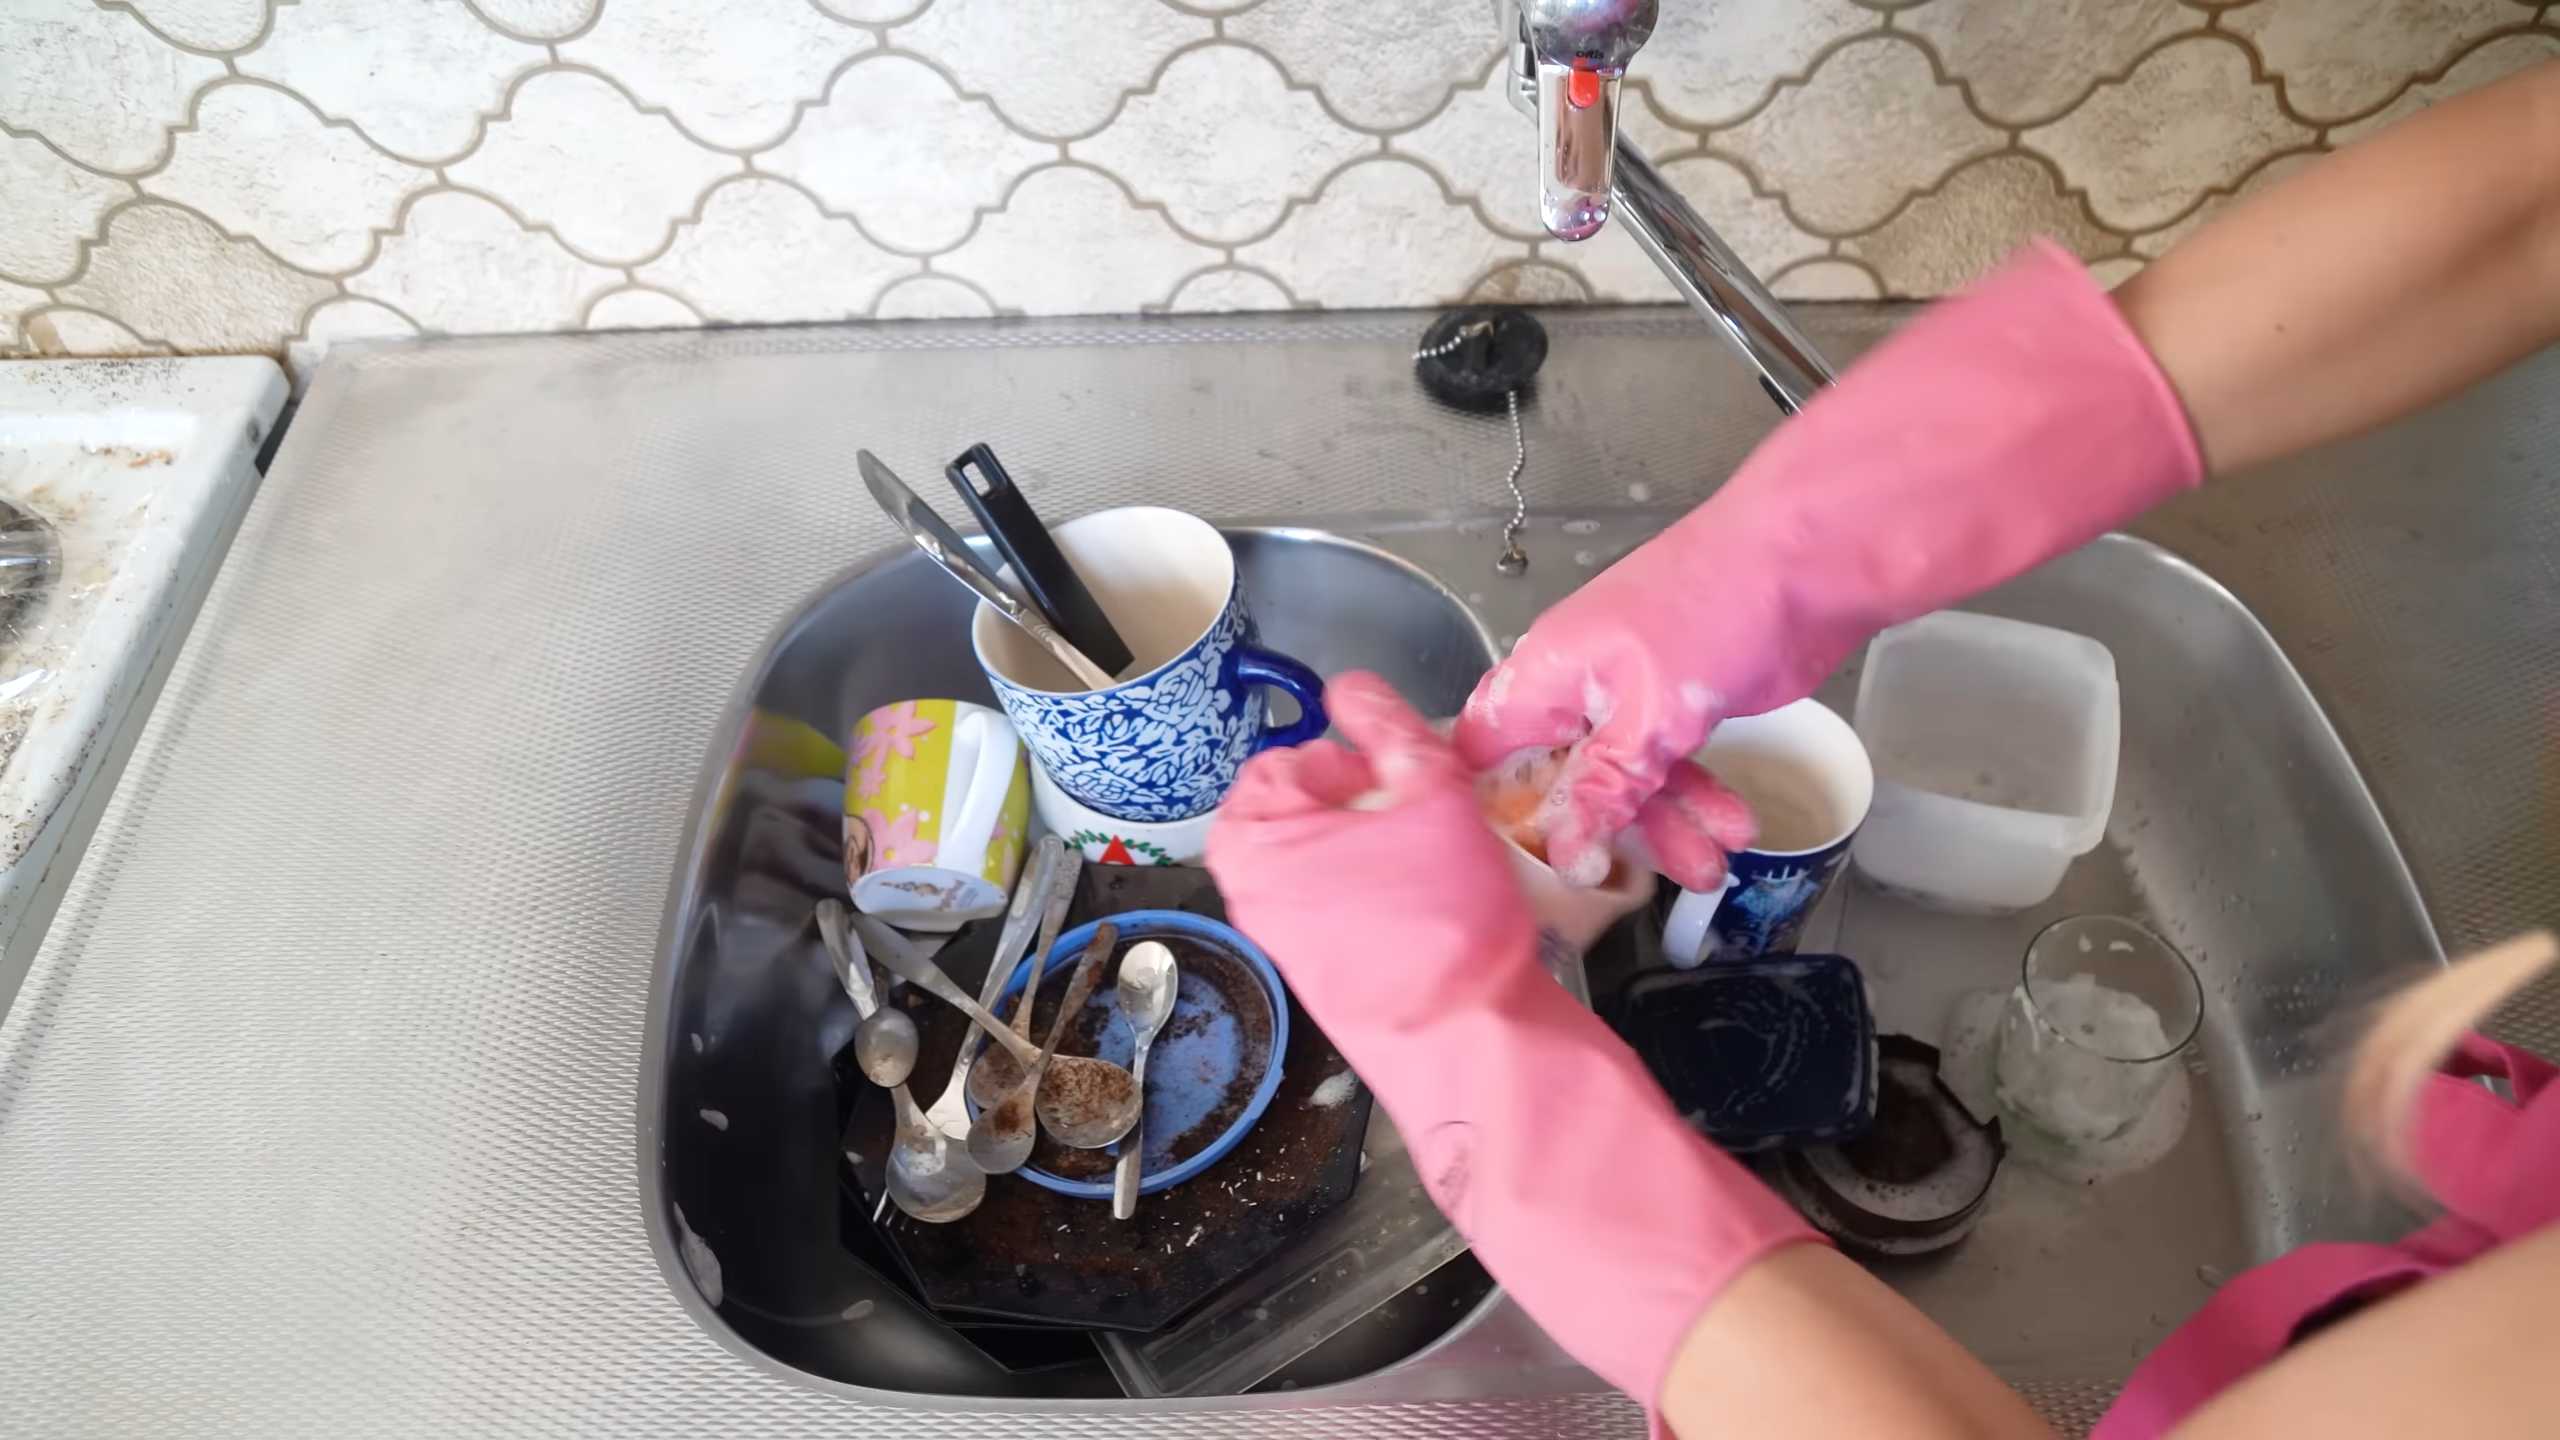
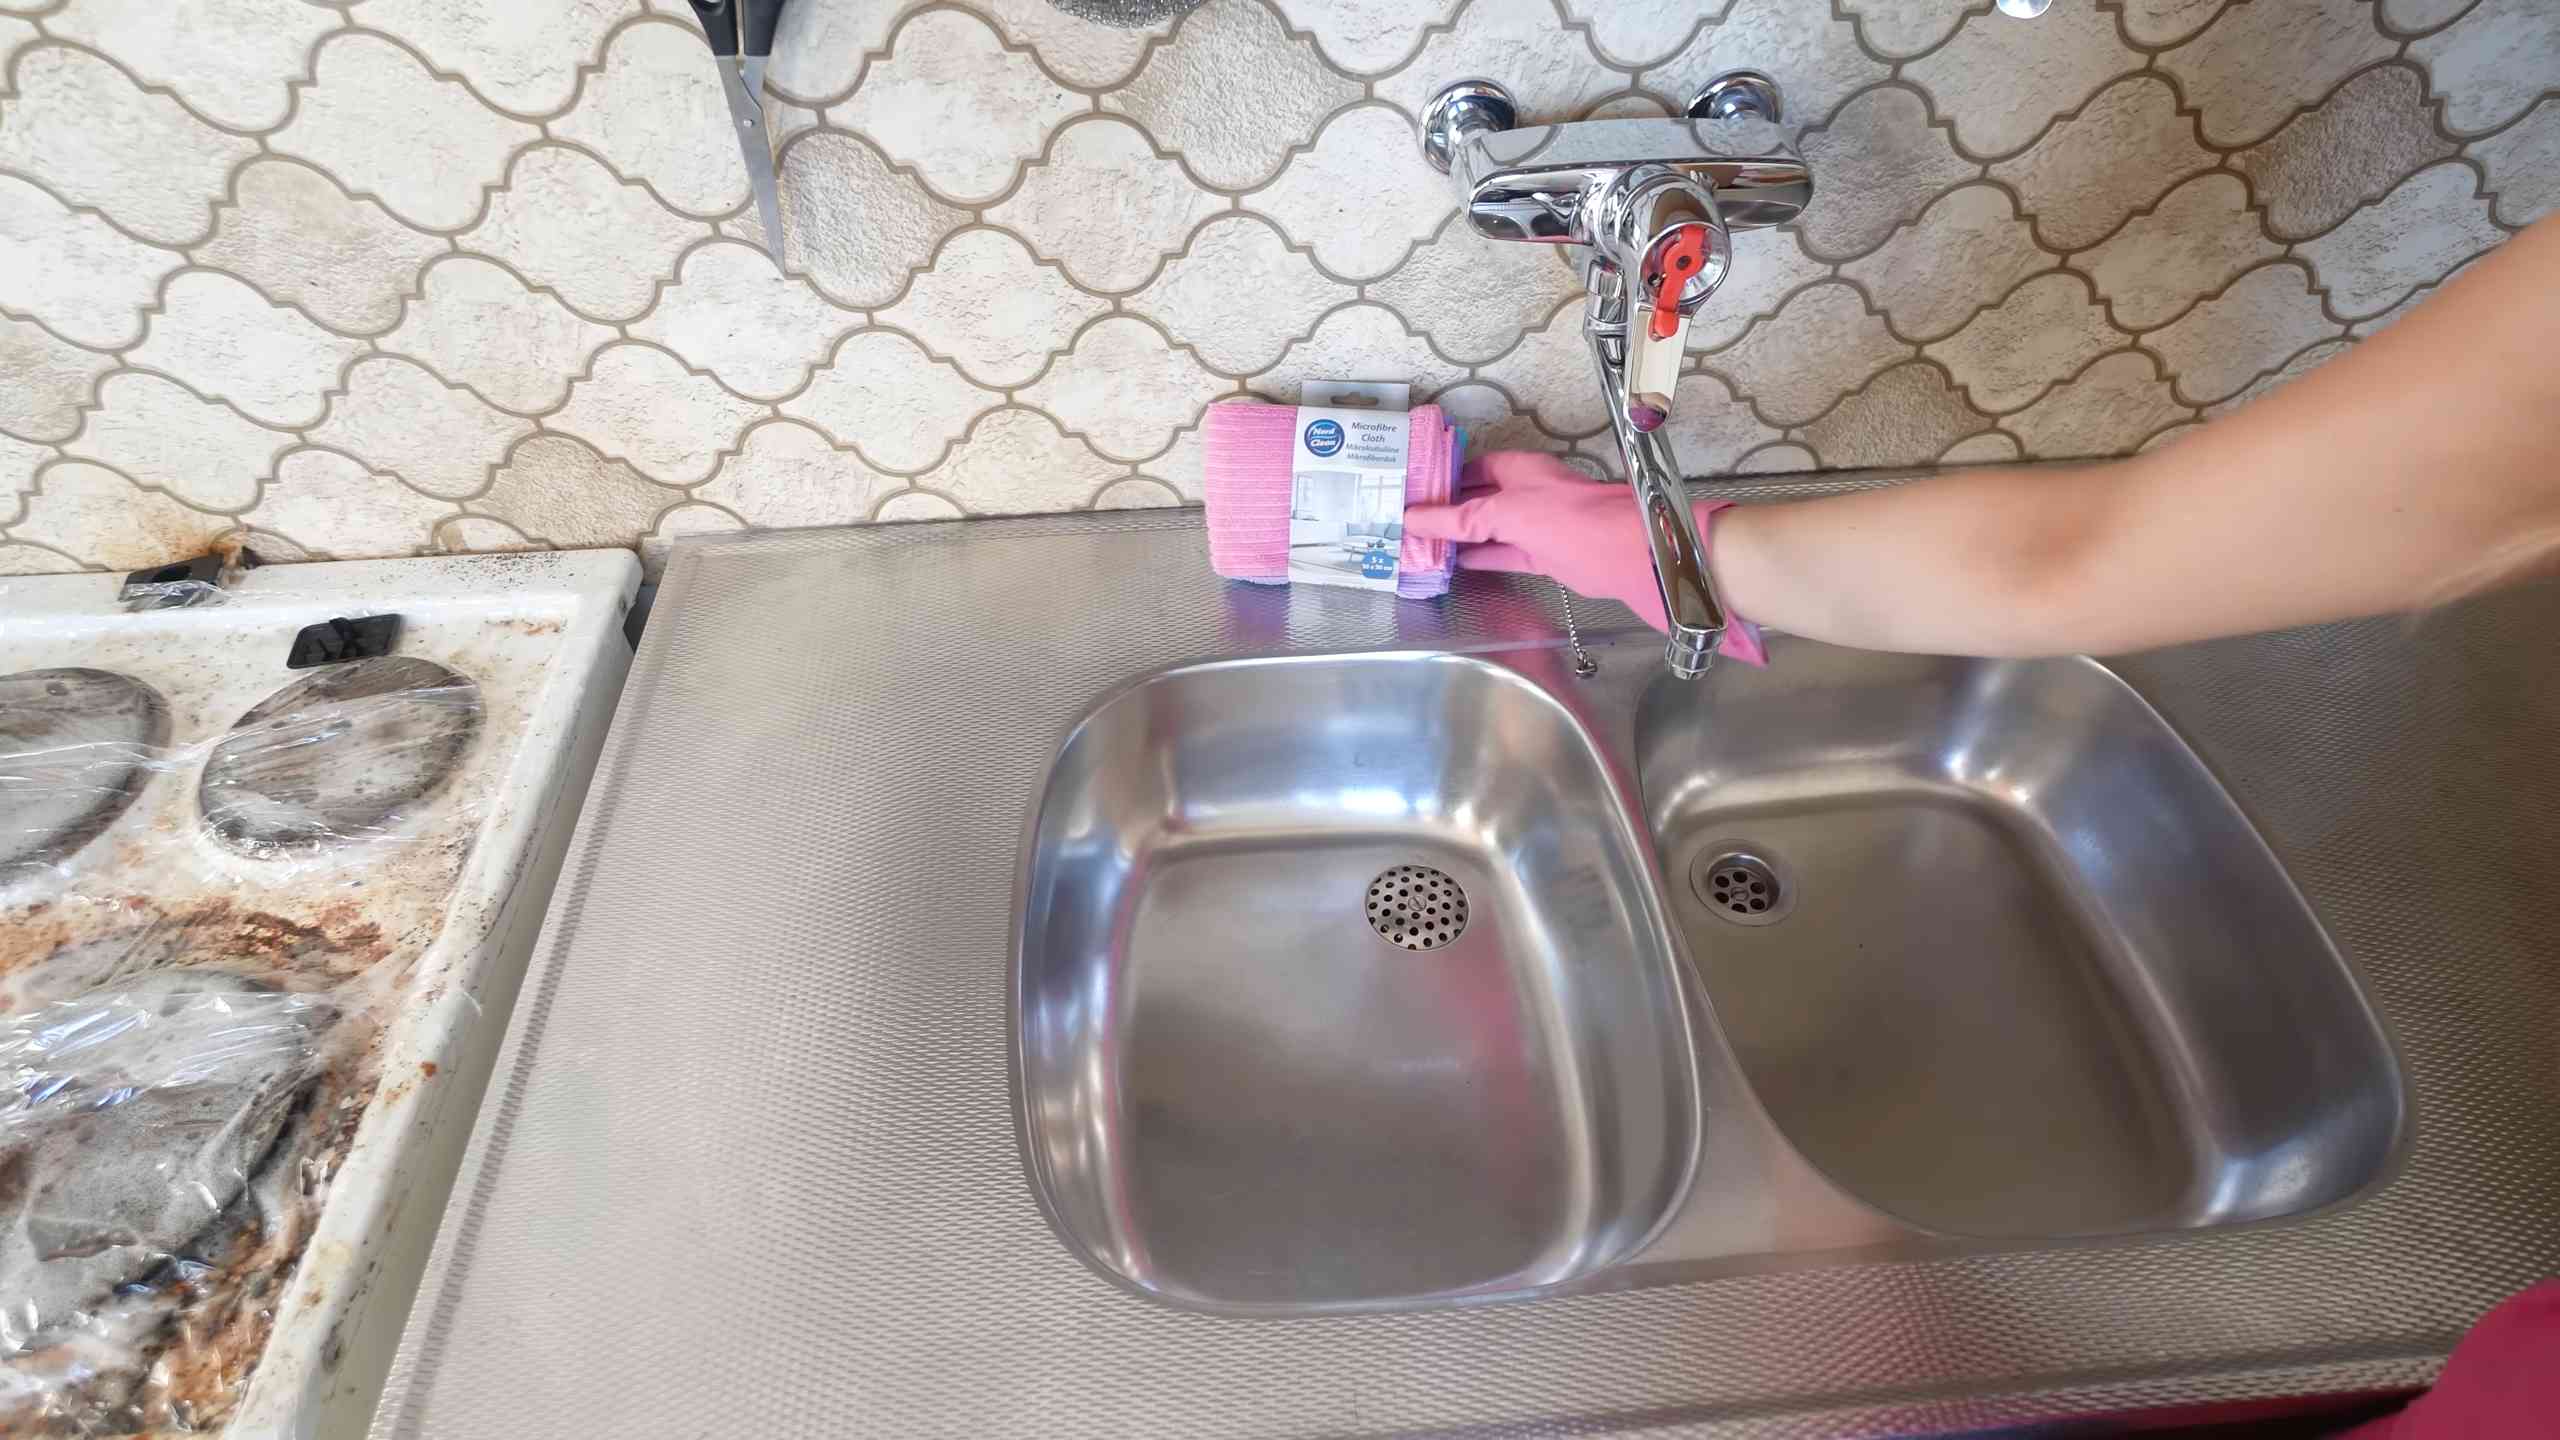
Scrub Daddy Dishwashing Tips: Who knew a smiley-faced sponge could revolutionize your kitchen cleaning routine? I certainly didn’t until I discovered the magic of the Scrub Daddy! For years, I struggled with stubborn food residue and grimy dishes, feeling like I was constantly battling a losing war against grease. But then, I stumbled upon this little cleaning powerhouse, and my dishwashing woes became a thing of the past.
While the Scrub Daddy might seem like a modern invention, the quest for effective dishwashing tools is as old as cooking itself! From using natural abrasives like sand and ash in ancient times to the invention of the first synthetic sponges, people have always sought better ways to keep their cookware clean. The Scrub Daddy, with its unique FlexTexture material, represents the latest evolution in this ongoing pursuit.
Why do you need these Scrub Daddy dishwashing tips? Because this isn’t just about cleaning dishes; it’s about saving time, effort, and even money! With the right techniques, you can maximize the lifespan of your Scrub Daddy, tackle even the toughest cleaning challenges, and keep your kitchen sparkling. I’m going to share my favorite DIY tricks and hacks that will transform your dishwashing experience. Get ready to unlock the full potential of your smiley-faced friend!
Unlock the Scrub Daddy’s Full Potential: Clever Cleaning Hacks You Need to Know!
Hey there, fellow cleaning enthusiasts! I’m always on the lookout for ways to make chores easier and more efficient, and let me tell you, the Scrub Daddy is a total game-changer. But did you know this smiley-faced sponge is capable of so much more than just washing dishes? I’ve compiled a list of my favorite Scrub Daddy hacks that will revolutionize your cleaning routine. Get ready to be amazed!
The Scrub Daddy’s Secret Weapon: Temperature Control
One of the coolest things about the Scrub Daddy is its FlexTexture material. It’s firm in cold water for tough scrubbing and soft in warm water for lighter cleaning. This adaptability is key to many of these hacks.
Hack #1: Microwave Cleaning Powerhouse
Microwaves can get seriously gross, seriously fast. Splatters, spills, and lingering odors are no match for this Scrub Daddy trick.
What you’ll need:
* Scrub Daddy
* Microwave-safe bowl
* 1 cup water
* Lemon juice or vinegar (optional)
Step-by-step instructions:
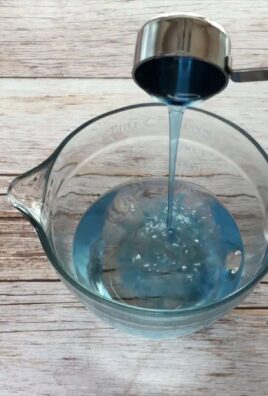
1. Prepare the Cleaning Solution: Fill the microwave-safe bowl with 1 cup of water. Add a tablespoon of lemon juice or vinegar for extra cleaning power and to help neutralize odors. I personally love lemon juice for its fresh scent!
2. Soak the Scrub Daddy: Submerge your Scrub Daddy in the water. Make sure it’s fully saturated.
3. Microwave Magic: Place the bowl with the Scrub Daddy inside the microwave. Heat on high for 2-3 minutes. The water will boil and create steam, loosening the grime.
4. Handle with Care: Carefully remove the bowl from the microwave. It will be hot! Use oven mitts or a towel.
5. Wipe Away the Mess: Using the (now warm and soft) Scrub Daddy, wipe down the interior of the microwave. The steam will have loosened the splatters, making them easy to remove. Pay special attention to the top, sides, and bottom.
6. Rinse and Repeat (if needed): Rinse the Scrub Daddy thoroughly and wring out excess water. If there are any stubborn spots, repeat the wiping process.
7. Final Touches: Use a clean, damp cloth to wipe down the interior one last time to remove any remaining residue.
Hack #2: Grime-Busting Oven Rack Cleaner
Cleaning oven racks is one of those chores everyone dreads. But with the Scrub Daddy, it becomes surprisingly manageable.
What you’ll need:
* Scrub Daddy
* Dish soap
* Large sink or bathtub
* Hot water
* Old towel or newspaper
Step-by-step instructions:
1. Prepare the Soaking Station: Line the bottom of your sink or bathtub with an old towel or newspaper to protect the surface.
2. Fill with Hot Water: Fill the sink or tub with hot water. The hotter the water, the better it will dissolve grease and grime.
3. Add Dish Soap: Add a generous amount of dish soap to the water. I like to use a grease-cutting formula for this task.
4. Soak the Racks: Submerge the oven racks in the soapy water. Make sure they are completely covered. Let them soak for at least 30 minutes, or even longer for heavily soiled racks. I sometimes let mine soak overnight!
5. Scrub-a-Dub-Dub: After soaking, grab your Scrub Daddy (it will be soft from the hot water). Start scrubbing the racks, focusing on areas with baked-on food and grease. The FlexTexture material will help you get into all the nooks and crannies.
6. Rinse Thoroughly: Rinse the racks thoroughly with clean water to remove all traces of soap and grime.
7. Dry Completely: Dry the racks completely with a clean towel before placing them back in the oven. This will prevent rust.
Hack #3: Sparkling Shower Savior
Soap scum and mildew can make your shower look dingy. The Scrub Daddy is perfect for tackling these bathroom woes.
What you’ll need:
* Scrub Daddy
* Bathroom cleaner (spray or liquid)
* Spray bottle (if using liquid cleaner)
* Warm water
Step-by-step instructions:
1. Prepare the Cleaning Solution: If you’re using a liquid bathroom cleaner, dilute it according to the manufacturer’s instructions and pour it into a spray bottle.
2. Spray the Shower: Spray the shower walls, floor, and fixtures with the bathroom cleaner. Let it sit for a few minutes to allow the cleaner to penetrate the grime.
3. Scrub with the Scrub Daddy: Using a warm, wet Scrub Daddy, scrub the shower surfaces. Pay special attention to areas with soap scum, mildew, and hard water stains. The firm texture of the Scrub Daddy (when cold) is great for these tough spots.
4. Rinse Thoroughly: Rinse the shower thoroughly with warm water to remove all traces of cleaner and grime.
5. Dry (Optional): For a truly sparkling shower, you can dry the surfaces with a clean towel or squeegee. This will help prevent water spots.
Hack #4: Revive Your Grout
Grout can be a magnet for dirt and grime, making your tiles look dull. The Scrub Daddy’s shape and texture make it ideal for cleaning grout lines.
What you’ll need:
* Scrub Daddy
* Grout cleaner (store-bought or homemade)
* Old toothbrush (optional, for extra stubborn areas)
* Warm water
* Spray bottle (if using liquid cleaner)
Step-by-step instructions:
1. Prepare the Cleaning Solution: You can use a store-bought grout cleaner or make your own. A simple homemade solution is a paste of baking soda and water.
2. Apply the Cleaner: Apply the grout cleaner to the grout lines. If using a liquid cleaner, spray it directly onto the grout. If using a paste, apply it with your fingers or a small brush.
3. Let it Sit: Allow the cleaner to sit on the grout for a few minutes to loosen the dirt and grime.
4. Scrub with the Scrub Daddy: Using a warm, wet Scrub Daddy, scrub the grout lines. The edges of the Scrub Daddy are perfect for getting into the narrow spaces. For extra stubborn areas, you can use an old toothbrush to scrub the grout lines.
5. Rinse Thoroughly: Rinse the grout thoroughly with warm water to remove all traces of cleaner and grime.
6. Dry (Optional): Dry the grout with a clean towel to prevent water spots.
Hack #5: Degrease Your Grill
Grilling is awesome, but cleaning the grill afterward? Not so much. The Scrub Daddy can help you tackle that greasy mess.
What you’ll need:
* Scrub Daddy
* Grill cleaner (spray or liquid)
* Warm water
* Grill brush (optional)
* Gloves (recommended)
Step-by-step instructions:
1. Safety First: Make sure the grill is cool before you start cleaning. Wear gloves to protect your hands from the cleaner and grime.
2. Prepare the Grill: Remove any large pieces of food debris from the grill grates.
3. Apply the Cleaner: Spray the grill grates with grill cleaner. Let it sit for a few minutes to loosen the grease and grime.
4. Scrub with the Scrub Daddy: Using a warm, wet Scrub Daddy, scrub the grill grates. The firm texture of the Scrub Daddy (when cold) is great for removing baked-on grease. You can also use a grill brush in combination with the Scrub Daddy for extra cleaning power.
5. Rinse Thoroughly: Rinse the grill grates thoroughly with warm water to remove all traces of cleaner and grime.
6. Dry (Optional): Dry the grill grates with a clean towel or let them air dry before using the grill again.
Hack #6: Car Wheel Cleaning Champion
Those brake dust covered wheels can be a pain to clean. The Scrub Daddy’s unique shape and texture make it perfect for getting into all the crevices of your car wheels.
What you’ll need:
* Scrub Daddy
* Wheel cleaner (spray or liquid)
* Hose with spray nozzle
* Bucket of water
* Gloves (recommended)
Step-by-step instructions:
1. Safety First: Make sure the wheels are cool before you start cleaning. Wear gloves to protect your hands from the cleaner and grime.
2. Rinse the Wheels: Rinse the wheels with water from the hose to remove loose dirt and debris.
3. Apply the Cleaner: Spray
Conclusion
So, there you have it! Transforming your everyday Scrub Daddy into a super-powered cleaning tool is not just a clever hack; it’s a game-changer for your dishwashing routine. We’ve explored how simple modifications can unlock a whole new level of cleaning efficiency and versatility. From tackling stubborn baked-on food to gently cleaning delicate glassware, the possibilities are truly endless.
Why is this DIY Scrub Daddy transformation a must-try? Because it saves you time, money, and effort. Instead of reaching for multiple cleaning tools, you can rely on your trusty Scrub Daddy, enhanced with these simple techniques, to handle a wider range of cleaning tasks. Think about it: less clutter under your sink, less time spent scrubbing, and more time enjoying the things you love.
But the benefits don’t stop there. By customizing your Scrub Daddy, you’re also extending its lifespan. Properly cleaning and maintaining your Scrub Daddy, as we’ve discussed, prevents the buildup of bacteria and grime, ensuring it stays fresh and effective for longer. This not only saves you money on replacements but also contributes to a more sustainable lifestyle by reducing waste.
Ready to take your dishwashing game to the next level? Don’t be afraid to experiment! Try different combinations of cleaning solutions and techniques to find what works best for your specific needs. For instance, if you’re dealing with particularly greasy dishes, try adding a few drops of degreasing essential oil, like lemon or grapefruit, to your cleaning solution. Or, if you’re cleaning delicate items, use a gentler soap and a lighter touch.
Here are a few variations to consider:
* For stubborn stains: Create a paste of baking soda and water and apply it directly to the stain before scrubbing with your Scrub Daddy.
* For disinfecting: Soak your Scrub Daddy in a solution of water and white vinegar for a few minutes to kill bacteria.
* For cleaning tight spaces: Cut your Scrub Daddy into smaller pieces to reach those hard-to-reach areas, like around faucets and in corners.
* For outdoor cleaning: Use a separate Scrub Daddy for cleaning outdoor furniture, grills, or even your car. Just be sure to rinse it thoroughly after each use.
We’re confident that once you try these DIY Scrub Daddy tips, you’ll never go back to your old dishwashing routine. It’s a simple, effective, and surprisingly satisfying way to make your life a little bit easier.
So, what are you waiting for? Grab your Scrub Daddy, gather your cleaning supplies, and get ready to transform your dishwashing experience. And don’t forget to share your results with us! We’d love to hear about your favorite tips, tricks, and variations. Share your photos and stories on social media using #DIYScrubDaddy and let’s inspire others to embrace the power of a customized cleaning tool. Your insights could help someone else discover the joy of a sparkling clean kitchen, thanks to the humble, yet mighty, Scrub Daddy.
Frequently Asked Questions (FAQ)
How often should I replace my Scrub Daddy?
This is a common question, and the answer depends on how frequently you use it and how well you maintain it. Generally, a Scrub Daddy should be replaced every 2-3 months. However, if you notice any signs of wear and tear, such as fraying, discoloration, or a persistent odor, it’s time for a new one. Regular cleaning, as mentioned earlier, can significantly extend its lifespan.
Can I put my Scrub Daddy in the dishwasher?
Yes, you can! Placing your Scrub Daddy in the top rack of your dishwasher is a great way to sanitize it and remove any lingering food particles. Just be sure to remove it promptly after the cycle is complete to allow it to air dry thoroughly. This will help prevent the growth of bacteria and keep your Scrub Daddy fresh and clean.
What’s the best way to clean a really greasy pan with my Scrub Daddy?
For tackling extremely greasy pans, pre-soaking is key. Fill the pan with hot, soapy water and let it sit for at least 30 minutes. This will help loosen the grease and make it easier to scrub away. When you’re ready to scrub, use a generous amount of dish soap and apply firm pressure with your Scrub Daddy. You can also try using a degreasing dish soap specifically designed for cutting through grease. For extra stubborn grease, consider using the baking soda paste mentioned earlier.
Is it safe to use my Scrub Daddy on non-stick cookware?
Yes, the Scrub Daddy is generally safe to use on non-stick cookware, but it’s important to be gentle. Avoid using excessive pressure or abrasive cleaning solutions, as this could damage the non-stick coating. Always test a small, inconspicuous area first to ensure that the Scrub Daddy doesn’t scratch the surface. When in doubt, err on the side of caution and use a softer sponge or cloth for cleaning your non-stick cookware.
Can I use my Scrub Daddy to clean other surfaces besides dishes?
Absolutely! The Scrub Daddy is a versatile cleaning tool that can be used on a variety of surfaces, including countertops, sinks, stovetops, and even bathroom tiles. Just be sure to use a separate Scrub Daddy for each area to prevent cross-contamination. For example, you wouldn’t want to use the same Scrub Daddy that you use for cleaning your toilet to clean your dishes.
How do I prevent my Scrub Daddy from smelling?
The best way to prevent your Scrub Daddy from developing an unpleasant odor is to rinse it thoroughly after each use and allow it to air dry completely. You can also sanitize it regularly by placing it in the dishwasher or soaking it in a solution of water and white vinegar. Avoid leaving your Scrub Daddy in a damp or enclosed space, as this can promote the growth of bacteria and mold.
What type of cleaning solutions work best with a Scrub Daddy?
The type of cleaning solution you use with your Scrub Daddy will depend on the task at hand. For general dishwashing, a standard dish soap is usually sufficient. For tougher cleaning jobs, you may want to use a degreasing dish soap or a cleaning solution specifically designed for the surface you’re cleaning. Always follow the manufacturer’s instructions when using any cleaning solution.
Can I use my Scrub Daddy to clean my car?
Yes, you can use a Scrub Daddy to clean your car, but it’s important to use a separate Scrub Daddy specifically for this purpose. Avoid using the same Scrub Daddy that you use for cleaning your dishes, as it may contain food particles or other contaminants that could scratch your car’s paint. When cleaning your car, use a gentle car wash soap and rinse thoroughly after each use.
Where can I buy a Scrub Daddy?
Scrub Daddies are widely available at most major retailers, including grocery stores, department stores, and online retailers. You can also purchase them directly from the Scrub Daddy website.
What makes the Scrub Daddy unique compared to other sponges?
The Scrub Daddy’s unique FlexTexture material is what sets it apart from other sponges. This material changes texture based on water temperature. In cold water, it’s firm for scrubbing power, and in warm water, it’s soft for gentle cleaning. This versatility makes it ideal for a wide range of cleaning tasks. Plus, its smiley face design is not just for looks; the eyes provide a comfortable grip, and the mouth can be used to clean utensils. The Scrub Daddy truly is a revolutionary cleaning tool!
Leave a Comment