

Sparkling sink cleaning tips – who doesn’t dream of a kitchen sink so clean it practically gleams? I know I do! But let’s be honest, between daily dishes, food prep, and the occasional forgotten coffee cup, our sinks can quickly become a breeding ground for grime and stubborn stains.
For generations, keeping a clean and tidy home, including a sparkling sink, has been a sign of good housekeeping and a source of pride. Think back to your grandmother’s kitchen – I bet her sink was spotless! While she might have relied on elbow grease and simple ingredients, we’ve got some clever DIY tricks up our sleeves to make the process easier and more effective.
Why is a clean sink so important? Beyond the obvious aesthetic appeal, a sparkling sink is crucial for hygiene. It prevents the build-up of harmful bacteria and odors, creating a healthier environment for you and your family. Plus, let’s face it, a clean sink just makes doing dishes a little less dreadful! This article is packed with easy-to-follow sparkling sink cleaning tips and DIY solutions that will transform your sink from drab to fab in no time. Get ready to say goodbye to stubborn stains and hello to a gleaming, hygienic kitchen sink!
DIY Sparkling Sink Cleaning: From Grimy to Gleaming!
Okay, let’s face it, our sinks take a beating. From food scraps to toothpaste splatters, they’re constantly bombarded with grime. But don’t despair! I’m going to walk you through a super effective DIY cleaning routine that will leave your sink sparkling like new. We’re talking seriously shiny!
What You’ll Need: Your Cleaning Arsenal
Before we dive in, let’s gather our supplies. This is a pretty straightforward process, and you probably already have most of these items lying around.
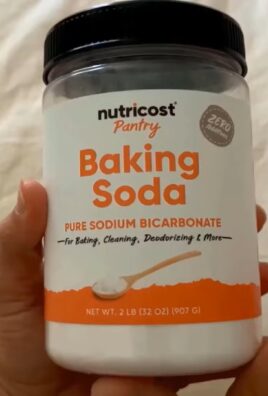
* Baking Soda: This is our gentle abrasive. It’s fantastic for scrubbing away stubborn stains without scratching.
* White Vinegar: The acid in vinegar helps dissolve hard water stains and soap scum. Plus, it’s a natural disinfectant!
* Dish Soap: Good old dish soap is great for cutting through grease and grime.
* Lemon (Optional): For extra cleaning power and a fresh scent!
* Salt (Optional): Another gentle abrasive that can boost the cleaning power.
* Hydrogen Peroxide (Optional): For tackling tough stains and disinfecting.
* Soft Cloths or Sponges: Microfiber cloths are my personal favorite.
* Old Toothbrush: Perfect for getting into those hard-to-reach crevices around the faucet and drain.
* Spray Bottle: For easy application of vinegar.
* Rubber Gloves (Optional): If you have sensitive skin, gloves are a good idea.
* Boiling Water: For flushing out the drain.
Cleaning a Stainless Steel Sink: The Step-by-Step Guide
Stainless steel sinks are super common, so let’s start there. Here’s how to get yours gleaming:
1. Rinse the Sink: Start by rinsing the entire sink with warm water to remove any loose debris.
2. Baking Soda Power: Sprinkle a generous amount of baking soda all over the sink surface. Don’t be shy!
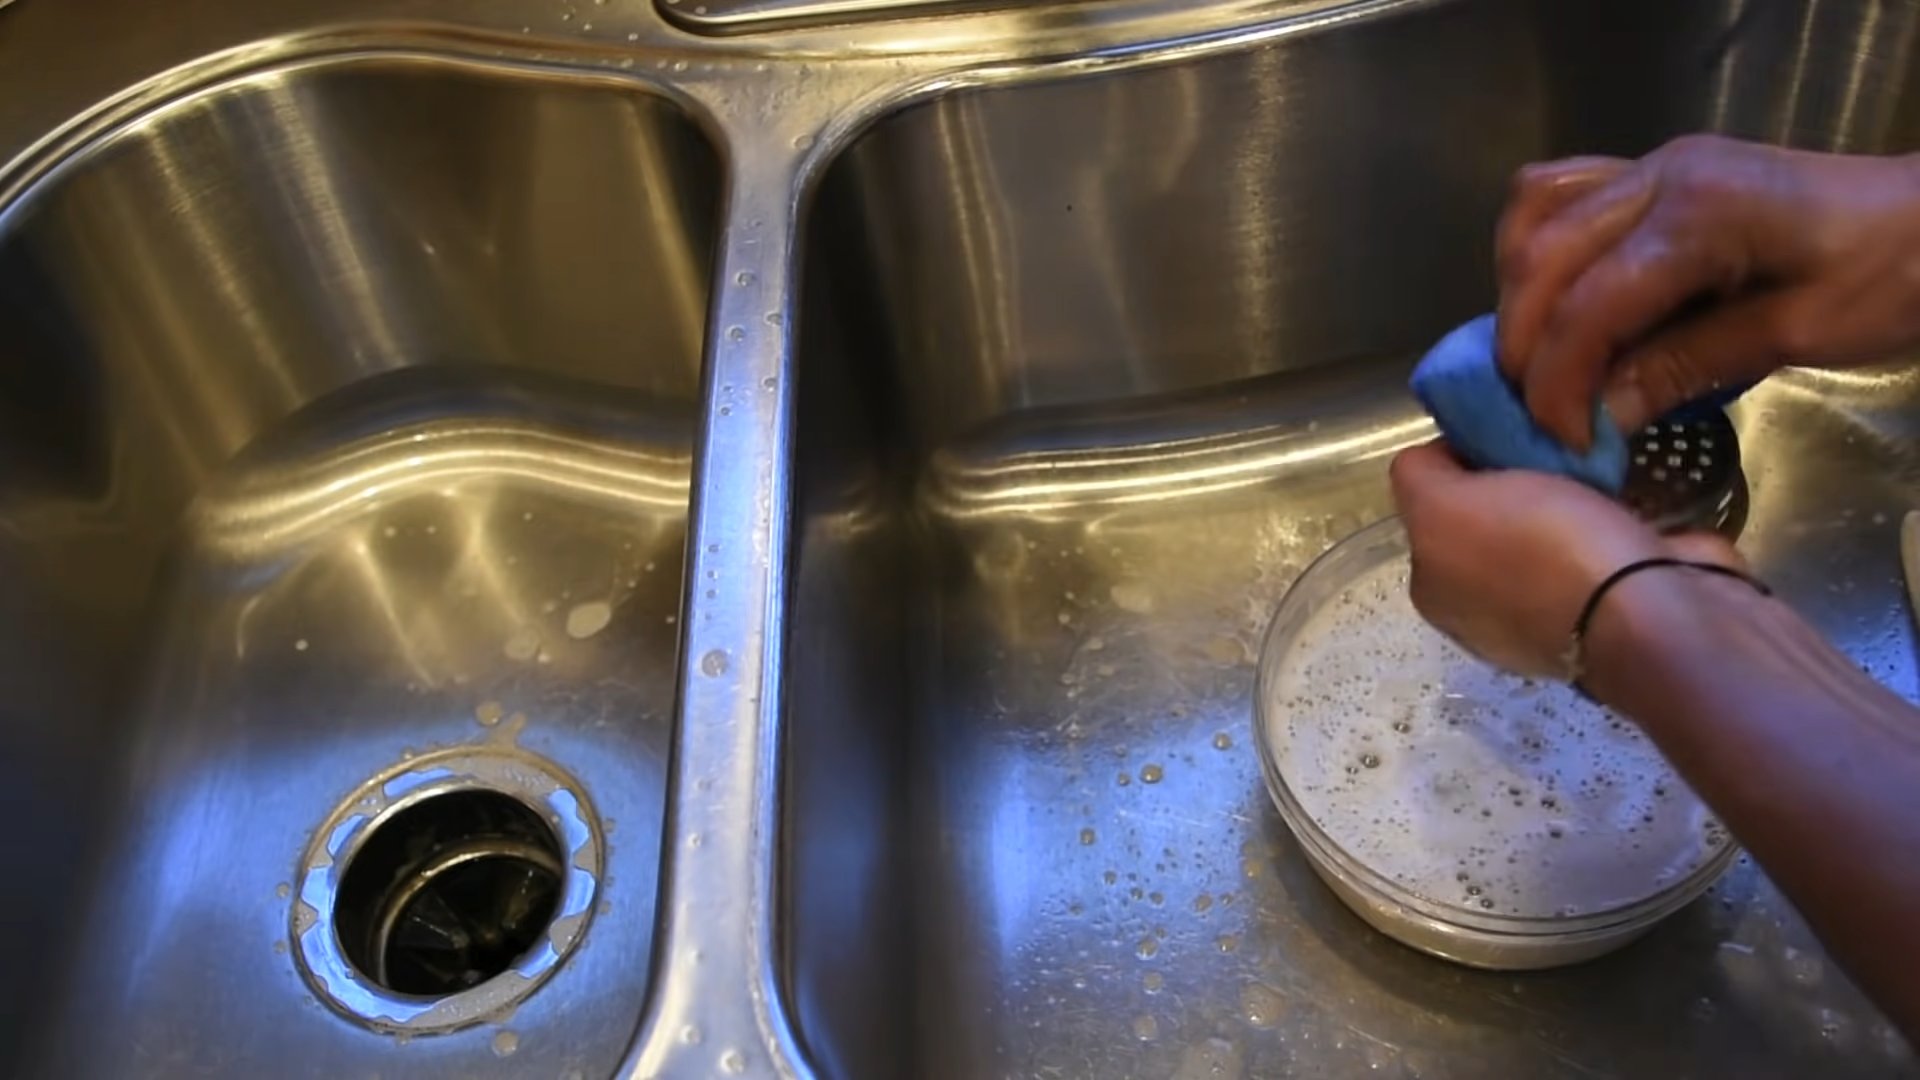
3. Gentle Scrubbing: Using a damp sponge or cloth, gently scrub the baking soda into the sink. Focus on areas with stains or grime. For tougher spots, let the baking soda sit for a few minutes before scrubbing.
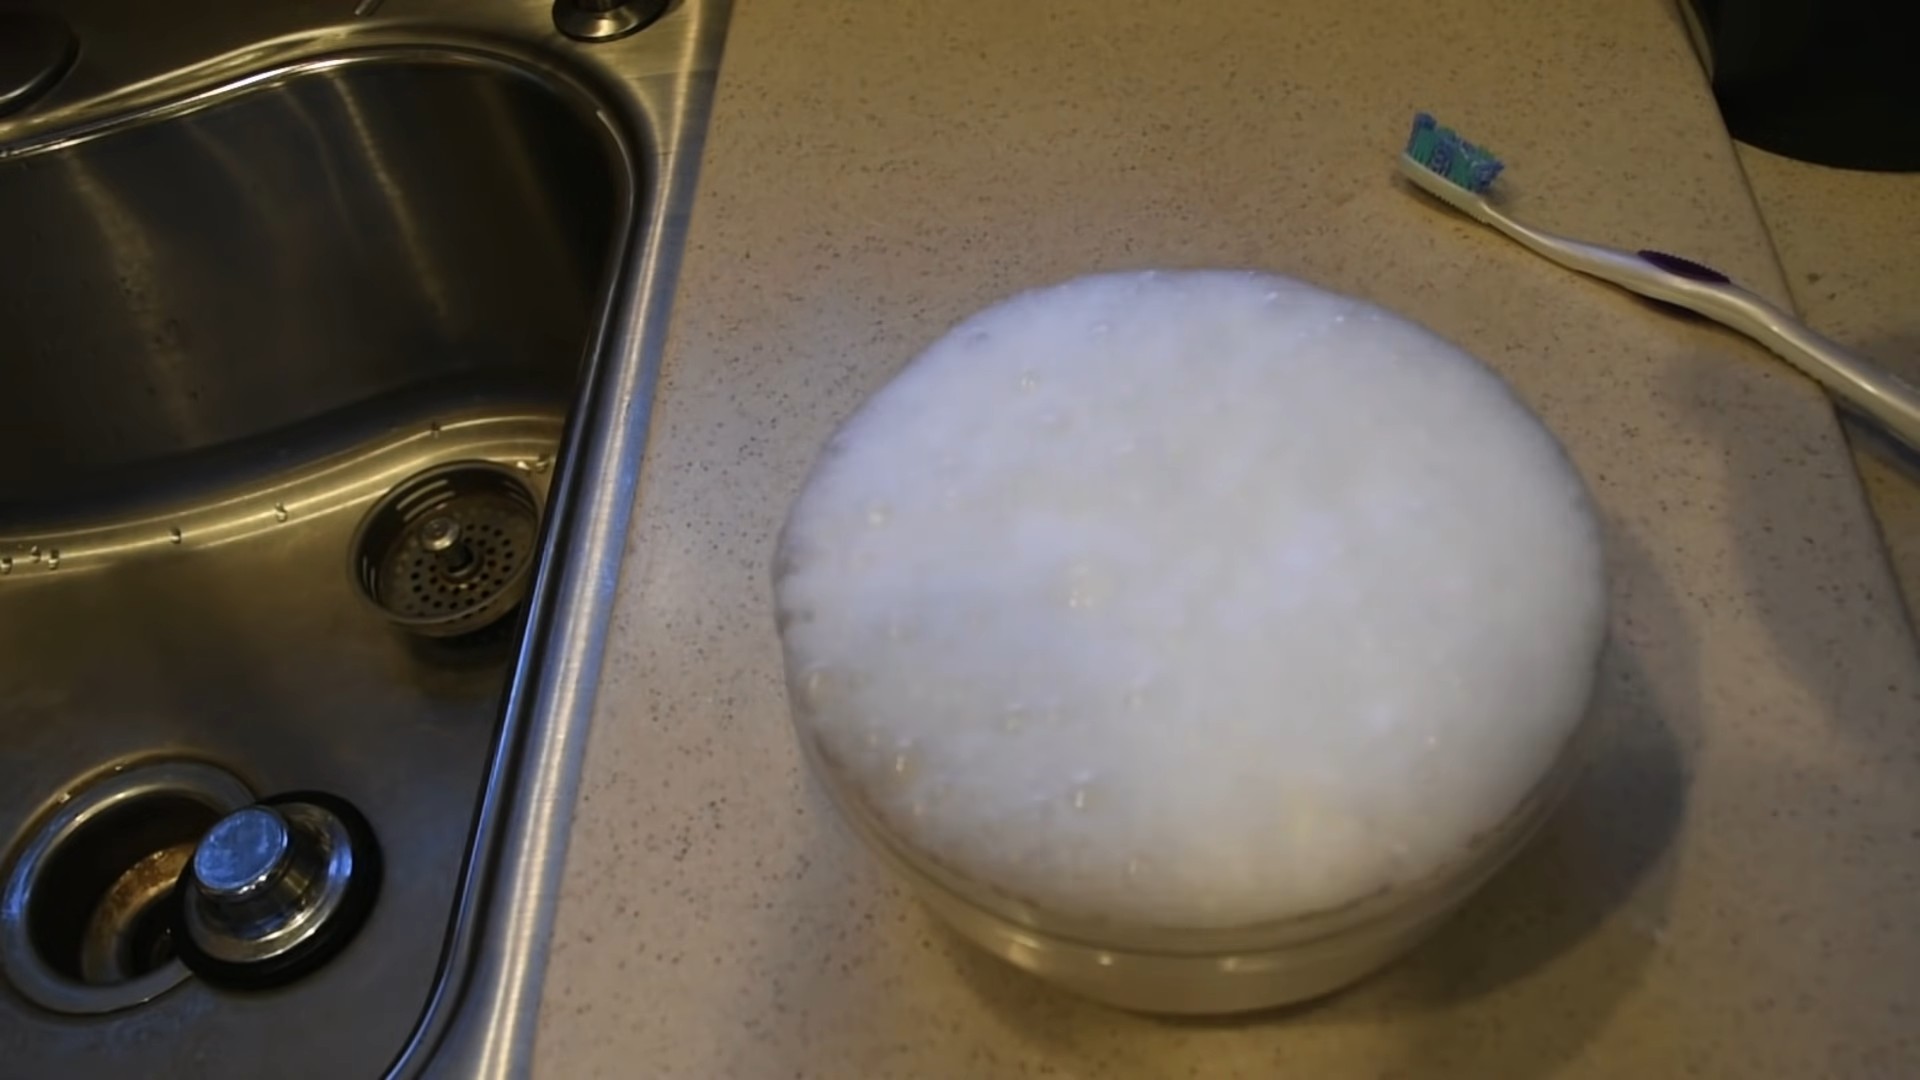
4. Vinegar Time: Fill your spray bottle with white vinegar. Spray the vinegar all over the baking soda-covered sink. You’ll notice it starts to fizz – that’s the magic happening!
5. Let it Sit: Allow the vinegar and baking soda mixture to sit for about 5-10 minutes. This gives the vinegar time to dissolve any hard water stains and soap scum.
6. Rinse Thoroughly: Rinse the sink thoroughly with warm water, making sure to remove all traces of baking soda and vinegar.
7. Dish Soap Wash: Squirt a small amount of dish soap onto a clean sponge or cloth. Wash the entire sink, paying attention to the faucet and drain area.
8. Rinse Again: Rinse the sink again with warm water.
9. Dry and Shine: Use a clean, dry microfiber cloth to dry the sink completely. This is key to preventing water spots and achieving that sparkling shine!
10. Lemon Boost (Optional): Cut a lemon in half and rub it all over the sink. The lemon juice will help remove any lingering odors and leave your sink smelling fresh. Rinse and dry again.
Cleaning a Porcelain Sink: Handle with Care
Porcelain sinks are beautiful, but they can be prone to scratching. So, we need to be a little more gentle.
1. Rinse and Inspect: Rinse the sink with warm water and inspect it for any chips or cracks. Be extra careful around these areas.
2. Baking Soda Paste: Mix baking soda with a small amount of water to create a paste.
3. Gentle Application: Apply the baking soda paste to stained areas using a soft cloth or sponge. Avoid using abrasive scrubbers, as they can scratch the porcelain.
4. Let it Sit (Briefly): Let the paste sit for only a few minutes. Don’t let it dry completely.
5. Rinse and Repeat: Rinse the paste away with warm water. If the stain persists, repeat the process.
6. Dish Soap Wash: Wash the entire sink with dish soap and a soft cloth.
7. Rinse Thoroughly: Rinse the sink thoroughly with warm water.
8. Dry Carefully: Dry the sink carefully with a soft, clean cloth.
9. Hydrogen Peroxide for Stains (Optional): For stubborn stains, you can try applying a small amount of hydrogen peroxide to a cotton ball and dabbing it on the stain. Let it sit for a few minutes, then rinse thoroughly.
Cleaning the Faucet and Drain: Don’t Forget the Details!
The faucet and drain are often overlooked, but they can accumulate a lot of grime.
1. Vinegar Soak (Faucet): Soak a cloth in white vinegar and wrap it around the base of the faucet. Let it sit for about 30 minutes to dissolve any mineral deposits.
2. Toothbrush Time: Use an old toothbrush to scrub around the base of the faucet, the handles, and any other hard-to-reach areas.
3. Rinse and Dry (Faucet): Rinse the faucet thoroughly with warm water and dry it with a clean cloth.
4. Baking Soda and Vinegar (Drain): Pour about 1/2 cup of baking soda down the drain, followed by 1 cup of white vinegar.
5. Fizzing Action: Let the mixture fizz for about 30 minutes. This will help loosen any buildup in the drain.
6. Boiling Water Flush: Pour a kettle of boiling water down the drain to flush away the loosened debris.
7. Salt Boost (Optional): For extra cleaning power, you can add 1/2 cup of salt to the baking soda before adding the vinegar.
Preventative Measures: Keeping Your Sink Sparkling Longer
Okay, so now your sink is sparkling. Let’s talk about how to keep it that way!
* Rinse After Use: Make it a habit to rinse your sink after each use to prevent food particles and soap scum from building up.
* Wipe Down Regularly: Wipe down your sink with a damp cloth or sponge every day to remove any spills or splatters.
* Avoid Harsh Chemicals: Harsh chemicals can damage your sink’s finish. Stick to gentle cleaning solutions like baking soda and vinegar.
* Don’t Let Food Sit: Avoid letting food scraps sit in the sink for long periods of time.
* Use a Sink Strainer: A sink strainer will catch food particles and prevent them from clogging your drain.
* Dry After Cleaning: Always dry your sink after cleaning to prevent water spots.
* Weekly Deep Clean: Schedule a weekly deep clean using the methods I’ve described above to keep your sink in tip-top shape.
Troubleshooting: Tackling Stubborn Stains
Sometimes, you’ll encounter stains that are particularly stubborn. Here are a few tips for dealing with them:
* Hard Water Stains: For hard water stains, try soaking a cloth in white vinegar and placing it directly on the stain for several hours.
* Rust Stains: For rust stains, try using a commercial rust remover or a paste of lemon juice and salt.
* Food Stains: For food stains, try using a paste of baking soda and water or a solution of hydrogen peroxide.
* Scratches: While you can’t completely remove scratches from a stainless steel sink, you can minimize their appearance by using a stainless steel cleaner and polish.
Safety First: A Few Important Reminders
* Always test cleaning solutions in an inconspicuous area first to make sure they don’t damage your sink’s finish.
* Wear rubber gloves if you have sensitive skin.
* Avoid mixing bleach with other cleaning products, as this can create dangerous fumes.
* Be careful when pouring boiling water down the drain.
* Keep cleaning products out of reach of children and pets.
So there you have it! With a little elbow grease and these simple DIY cleaning tips, you can keep your sink sparkling clean and looking its best. Happy cleaning!
Conclusion
So, there you have it! This simple, yet incredibly effective DIY trick for achieving a sparkling sink is a game-changer for anyone who wants a gleaming kitchen without resorting to harsh chemicals or spending a fortune on specialized cleaning products. We’ve shown you how easy it is to transform your dull, stained sink into a shining centerpiece with just a few common household ingredients.
Why is this a must-try? Because it’s not just about aesthetics. A clean sink is a more hygienic sink. By banishing grime, soap scum, and hard water stains, you’re also reducing the potential for bacteria and mold growth. This is especially important in a space where you prepare food and wash dishes. Plus, the satisfaction of seeing your sink sparkle after just a few minutes of effort is incredibly rewarding!
But the best part? This method is incredibly versatile. Feel free to experiment with variations to suit your specific needs and preferences. For instance, if you have a particularly stubborn stain, you can create a paste of baking soda and water and let it sit on the affected area for a longer period before scrubbing. For an extra boost of freshness, add a few drops of your favorite essential oil, like lemon or tea tree, to the baking soda mixture. This will not only leave your sink smelling amazing but also provide additional antibacterial benefits.
If you have a stainless steel sink, you can follow up the cleaning process with a stainless steel cleaner and polisher to further enhance the shine and protect the surface from future stains. For porcelain sinks, be gentle with your scrubbing to avoid scratching the surface. A soft sponge or cloth is your best bet.
Don’t be afraid to adapt this DIY trick to other areas of your kitchen or bathroom. The same principles can be applied to clean faucets, countertops, and even shower tiles. The power of baking soda and vinegar is truly remarkable!
We are confident that once you try this method, you’ll be amazed by the results. It’s a cost-effective, eco-friendly, and incredibly satisfying way to keep your sink looking its best.
Now, it’s your turn! We encourage you to give this DIY trick a try and see the difference it makes in your own kitchen. And most importantly, we want to hear about your experience! Share your before-and-after photos, your tips and tricks, and any variations you’ve discovered in the comments below. Let’s create a community of sparkling sink enthusiasts! We are eager to learn from your experiences and share our collective knowledge to make this DIY trick even better. Your feedback is invaluable, and we can’t wait to see your sinks shine!
Frequently Asked Questions (FAQ)
What kind of baking soda should I use?
Plain, ordinary baking soda (sodium bicarbonate) is all you need. There’s no need to buy anything fancy or specialized. The baking soda you find in the baking aisle of your grocery store will work perfectly. Make sure it’s fresh and hasn’t expired for optimal cleaning power. Expired baking soda might not be as effective at absorbing odors and lifting stains.
Can I use this method on all types of sinks?
This method is generally safe for most types of sinks, including stainless steel, porcelain, and enamel. However, it’s always a good idea to test a small, inconspicuous area first, especially if you have a more delicate or unusual sink material. Avoid using abrasive scrub brushes on porcelain or enamel sinks, as they can scratch the surface. For natural stone sinks like granite or marble, consult the manufacturer’s recommendations before using any cleaning products, as some ingredients may damage the stone.
How often should I clean my sink using this method?
The frequency of cleaning depends on how often you use your sink and how quickly it gets dirty. For most households, cleaning your sink once or twice a week is sufficient to maintain a sparkling appearance. If you notice stains or buildup more frequently, you may need to clean it more often. Regular cleaning will prevent grime and stains from becoming too difficult to remove.
What if I don’t have vinegar? Can I use something else?
White vinegar is the preferred choice due to its acidity and cleaning properties. However, if you don’t have vinegar on hand, you can try using lemon juice as a substitute. Lemon juice is also acidic and has natural antibacterial properties. Simply squeeze the juice of one or two lemons onto the baking soda and proceed with the cleaning process as described. Keep in mind that lemon juice may not be as effective as vinegar for removing stubborn stains.
The baking soda and vinegar mixture fizzes a lot. Is that normal?
Yes, the fizzing is perfectly normal and is a result of the chemical reaction between baking soda (a base) and vinegar (an acid). This reaction helps to loosen dirt and grime, making it easier to scrub away. The fizzing will subside after a few minutes.
How do I get rid of hard water stains on my sink?
Hard water stains can be particularly stubborn. For hard water stains, try soaking a paper towel in vinegar and placing it directly on the stained area for 30 minutes to an hour. The vinegar will help to dissolve the mineral deposits. After soaking, scrub the area with baking soda and rinse thoroughly. You may need to repeat this process several times for heavily stained areas. You can also purchase specialized hard water stain removers from your local hardware store.
My sink has a bad odor. Will this method help?
Yes, this method can help to eliminate odors in your sink. Baking soda is a natural odor absorber, and the vinegar helps to disinfect and kill odor-causing bacteria. For persistent odors, you can pour a cup of baking soda down the drain, followed by a cup of vinegar. Let it fizz for 30 minutes, then flush with hot water. This will help to clean and deodorize the drainpipe as well.
Can I use this method to clean my garbage disposal?
Yes, this method is also effective for cleaning your garbage disposal. Simply pour the baking soda and vinegar mixture down the disposal and let it fizz for a few minutes. Then, turn on the disposal and run cold water for a minute or two to flush away any debris. You can also add a few lemon or orange peels to the disposal to freshen the scent.
Is this method safe for septic systems?
Yes, this method is generally considered safe for septic systems. The amounts of baking soda and vinegar used are relatively small and will not disrupt the balance of bacteria in your septic tank. However, it’s always a good idea to consult with a septic system professional if you have any concerns.
What if the stains are really stubborn and won’t come off?
For extremely stubborn stains, you can try making a paste of baking soda and hydrogen peroxide. Apply the paste to the stained area and let it sit for several hours or even overnight. Then, scrub the area with a non-abrasive sponge and rinse thoroughly. You can also try using a commercial cleaner specifically designed for removing tough stains, but be sure to follow the manufacturer’s instructions carefully.
Leave a Comment