

Waterless Mint Growing: Imagine harvesting fresh, fragrant mint leaves without the constant worry of watering! Sounds like a dream, right? Well, get ready to wake up because I’m about to share some incredible DIY tricks that will revolutionize your mint-growing game. For centuries, mint has been cherished not only for its refreshing flavor but also for its medicinal properties, playing a vital role in various cultures around the globe. From ancient Rome, where it was used to freshen breath and flavor sauces, to traditional Moroccan tea ceremonies, mint’s versatility is undeniable.
But let’s face it, growing mint can sometimes feel like a chore, especially when it comes to keeping it adequately watered. Overwatering can lead to root rot, while underwatering results in sad, droopy leaves. That’s where these ingenious DIY hacks come in! I’m going to show you how to achieve thriving, vibrant mint plants with minimal water, saving you time, effort, and precious resources. Whether you’re a seasoned gardener or just starting out, these simple yet effective techniques for waterless mint growing will empower you to enjoy a bountiful harvest of this delightful herb, all while being kind to the environment. Get ready to ditch the watering can and embrace a more sustainable and effortless way to grow your own mint!
Growing Mint Without Soil: A Fun DIY Hydroponic Project
Hey there, fellow plant enthusiasts! Ever wanted to grow fresh mint indoors without the mess of soil? Well, you’ve come to the right place! I’m going to walk you through a super cool DIY project: growing mint hydroponically. It’s easier than you think, and the results are incredibly rewarding. Imagine having fresh mint on hand for your mojitos, teas, or culinary creations, all year round! Let’s dive in!
What You’ll Need
Before we get started, let’s gather our supplies. Don’t worry, most of these are easily accessible and probably already lying around your house!
* **Mint Cuttings:** You can either take cuttings from an existing mint plant (a friend’s garden, perhaps?) or buy a small pot of mint from a local nursery.
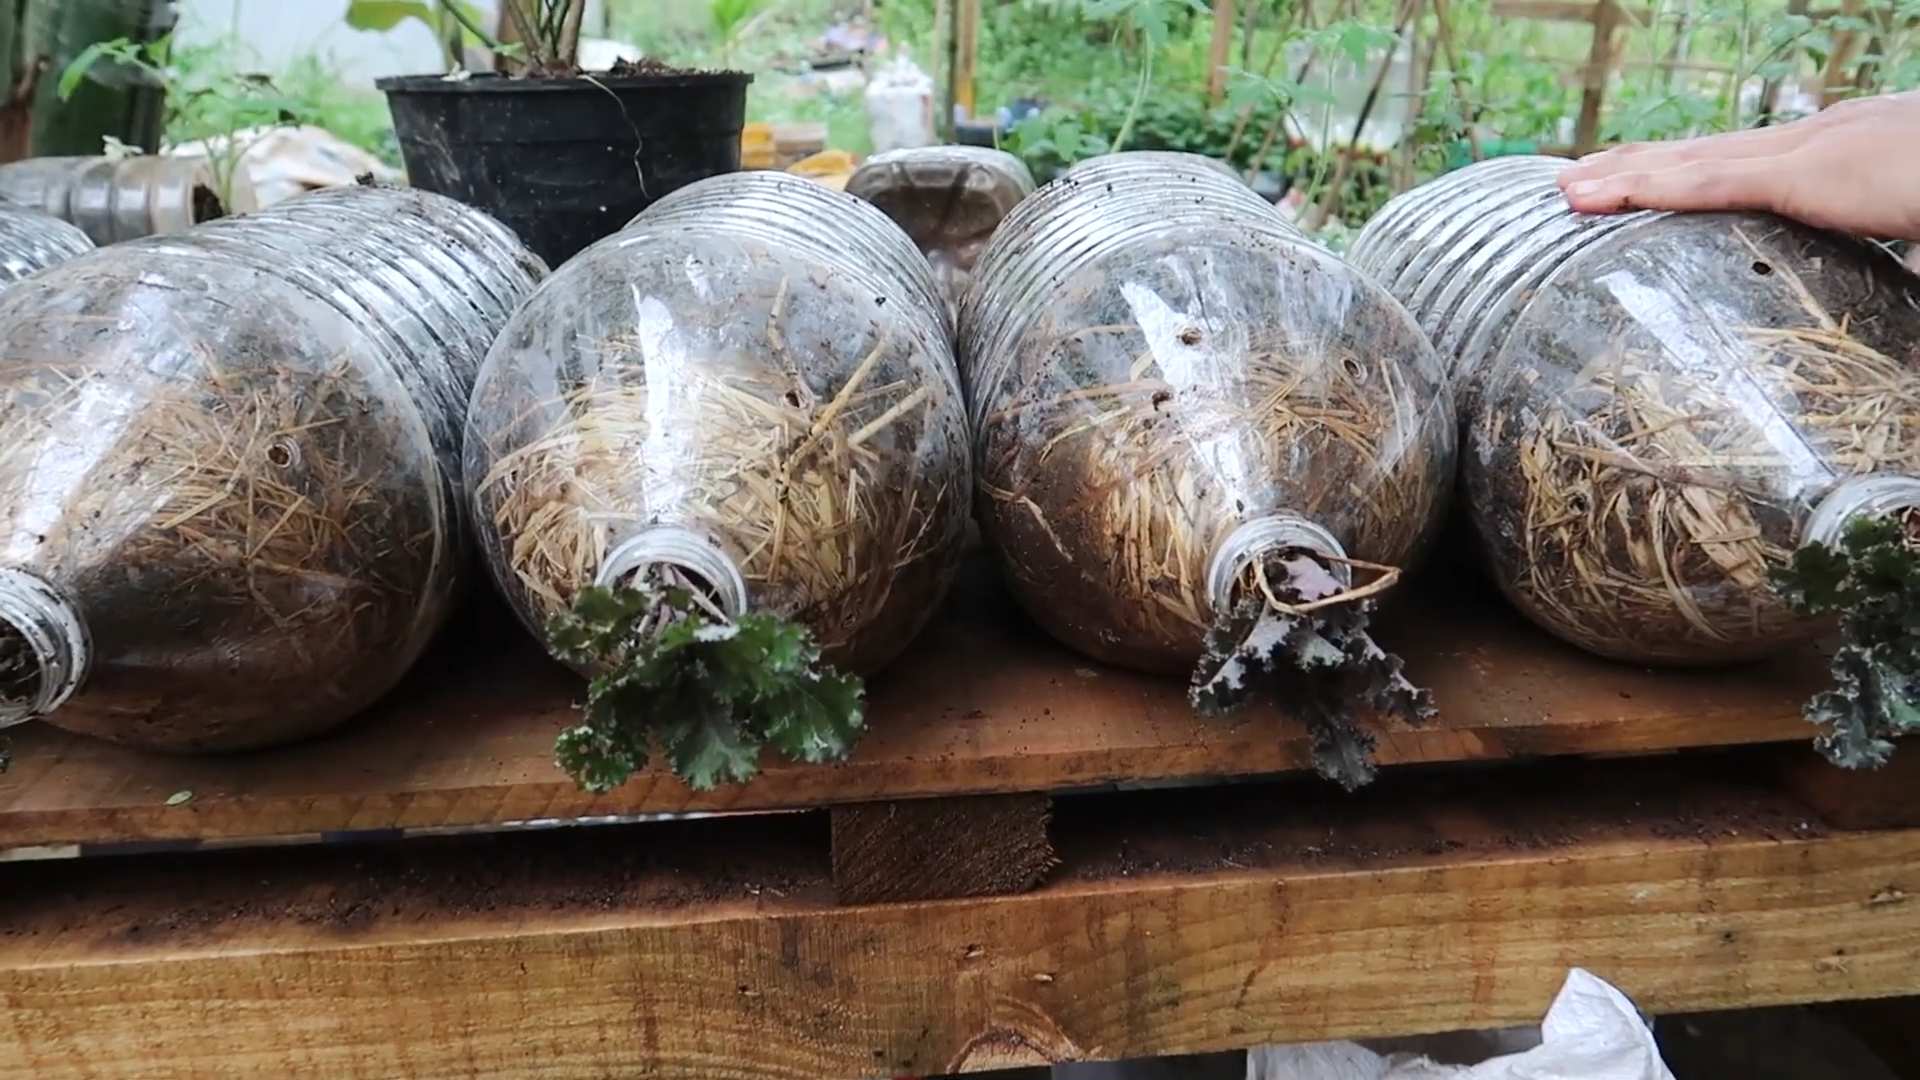
* **Clear Plastic Bottles:** Think soda bottles, water bottles, or even juice bottles. We’ll be using these as our hydroponic containers.
* **Net Cups or Small Plastic Cups:** These will hold the mint cuttings and allow the roots to access the nutrient solution. You can find these online or at hydroponic supply stores. If you’re using regular plastic cups, you’ll need to poke holes in the bottom.
* **Hydroponic Nutrients:** This is crucial! You’ll need a balanced nutrient solution specifically formulated for hydroponics. You can find these at garden centers or online.
* **Clay Pebbles or Rockwool Cubes:** These will provide support for the mint cuttings in the net cups. Clay pebbles are reusable and environmentally friendly.
* **Air Pump and Air Stone (Optional but Recommended):** An air pump and air stone will oxygenate the nutrient solution, promoting healthy root growth.
* **pH Meter or pH Test Strips:** Monitoring the pH of your nutrient solution is important for optimal nutrient absorption.
* **Scissors or a Sharp Knife:** For taking mint cuttings and modifying the plastic bottles.
* **Water:** Tap water is fine, but filtered water is even better.
* **Measuring Cups and Spoons:** For accurately mixing the nutrient solution.
* **Marker:** For labeling your bottles.
Taking Mint Cuttings
This is the first crucial step. Getting healthy cuttings is key to a successful hydroponic mint garden.
1. **Choose Healthy Stems:** Select healthy, vigorous stems from your mint plant. Look for stems that are green, upright, and free from any signs of disease or pests.
2. **Cut Below a Node:** Using clean scissors or a sharp knife, cut the stems about 4-6 inches long, just below a node (the point where leaves grow from the stem).
3. **Remove Lower Leaves:** Gently remove the leaves from the bottom 1-2 inches of the stem. This will prevent them from rotting when submerged in the water.
4. **Prepare the Cuttings:** Place the cuttings in a glass of water. This will help prevent them from drying out while you prepare the hydroponic setup.
Preparing the Hydroponic Containers
Now, let’s get our containers ready for the mint cuttings.
1. **Clean the Plastic Bottles:** Thoroughly wash the plastic bottles with soap and water to remove any residue. Rinse them well.
2. **Cut the Bottles:** Cut the bottles in half. You’ll be using the bottom half to hold the nutrient solution and the top half (inverted) to support the net cup.
3. **Create a Hole for the Net Cup:** Invert the top half of the bottle and place the net cup on top. Trace the outline of the net cup onto the bottle. Carefully cut out the circle, making sure the net cup fits snugly.
4. **(Optional) Drill a Hole for the Air Line:** If you’re using an air pump and air stone, drill a small hole in the side of the bottom half of the bottle, near the top. This will allow you to run the air line into the nutrient solution.
Setting Up the Hydroponic System
Alright, time to assemble our hydroponic mint garden!
1. **Place the Net Cup:** Insert the net cup into the hole you cut in the inverted top half of the bottle.
2. **Add Clay Pebbles or Rockwool:** Fill the net cup with clay pebbles or rockwool cubes. This will provide support for the mint cutting and allow the roots to access the nutrient solution.
3. **Insert the Mint Cutting:** Gently insert the mint cutting into the clay pebbles or rockwool, making sure the bottom of the stem is in contact with the pebbles or rockwool.
4. **Prepare the Nutrient Solution:** Follow the instructions on the hydroponic nutrient package to mix the nutrient solution. Use the measuring cups and spoons to ensure accurate measurements.
5. **Fill the Bottom Half of the Bottle:** Pour the nutrient solution into the bottom half of the bottle, filling it to just below the bottom of the net cup. You want the roots to be able to reach the solution.
6. **Assemble the System:** Place the inverted top half of the bottle (with the net cup and mint cutting) onto the bottom half of the bottle.
7. **(Optional) Add the Air Stone:** If you’re using an air pump and air stone, connect the air line to the air stone and place the air stone in the nutrient solution. Run the air line through the hole you drilled in the bottle.
8. **Label the Bottle:** Use the marker to label the bottle with the date you planted the mint cutting.
Caring for Your Hydroponic Mint
Now that your hydroponic mint garden is set up, it’s time to provide the proper care to ensure healthy growth.
1. **Light:** Mint needs plenty of light to thrive. Place your hydroponic system in a location that receives at least 6 hours of direct sunlight per day. If you don’t have enough natural light, you can supplement with a grow light.
2. **Nutrient Solution:** Monitor the nutrient solution regularly. Check the pH using a pH meter or pH test strips. The ideal pH range for mint is between 6.0 and 7.0. Adjust the pH as needed using pH up or pH down solutions.
3. **Water Level:** Check the water level in the bottom half of the bottle regularly and add more nutrient solution as needed. The roots should always be in contact with the solution.
4. **Change the Nutrient Solution:** Replace the nutrient solution every 1-2 weeks to prevent the buildup of salts and maintain optimal nutrient levels.
5. **Pruning:** Prune your mint regularly to encourage bushier growth. Simply pinch off the top leaves of the stems. You can use these leaves for cooking or tea!
6. **Air Circulation:** Good air circulation is important to prevent fungal diseases. Make sure there is adequate airflow around your hydroponic system.
7. **Pest Control:** Keep an eye out for pests, such as aphids or spider mites. If you notice any pests, treat them with an appropriate organic insecticide.
Troubleshooting
Even with the best care, you might encounter some challenges along the way. Here are a few common problems and how to address them:
* **Yellowing Leaves:** This could be a sign of nutrient deficiency. Make sure you’re using a balanced hydroponic nutrient solution and that the pH is within the optimal range.
* **Slow Growth:** This could be due to insufficient light or nutrient deficiency. Make sure your mint is getting enough light and that you’re changing the nutrient solution regularly.
* **Root Rot:** This is caused by overwatering or poor aeration. Make sure the roots are not constantly submerged in water and that you’re using an air pump and air stone to oxygenate the nutrient solution.
* **Pests:** Inspect your plants regularly for pests and treat them promptly with an appropriate insecticide.
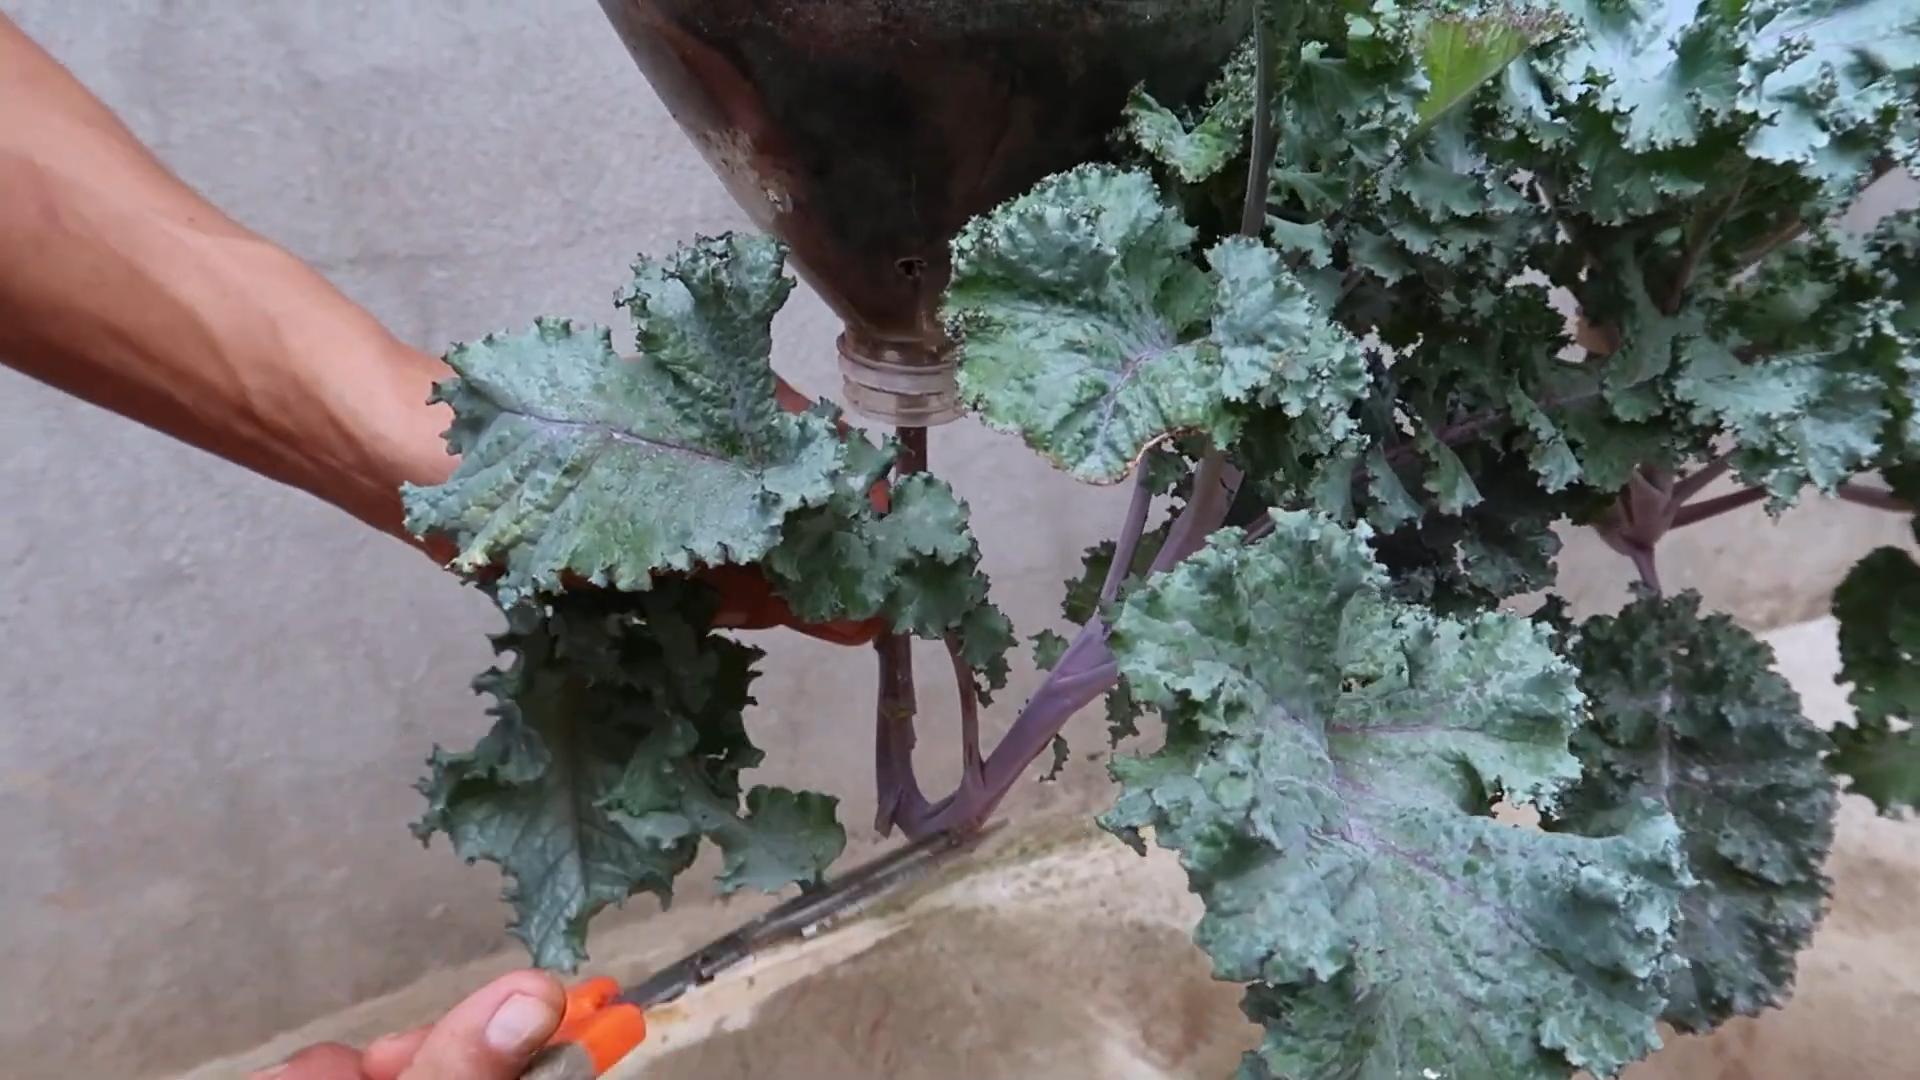
Harvesting Your Mint
The best part! You can start harvesting your mint as soon as it’s large enough to use. Simply snip off the leaves or stems as needed. Regular harvesting will encourage bushier growth and keep your mint plant healthy.
Enjoy Your Fresh Mint!
And there you have it! You’ve successfully grown mint hydroponically. Now you can enjoy fresh, flavorful mint whenever you want. Use it in your favorite recipes, teas, or cocktails. The possibilities are endless!
This project is not only fun and rewarding, but it’s also a great way to learn about hydroponics and sustainable gardening. So, go ahead and give it a try. I’m sure you’ll be amazed at how easy and enjoyable it is to grow your own mint without soil! Happy growing!
Conclusion
So, there you have it! Growing mint without soil, using the waterless method, is not just a quirky experiment; it’s a game-changer for anyone who loves fresh herbs but struggles with traditional gardening. We’ve walked you through the simple steps, highlighting how easy it is to propagate mint cuttings and nurture them to thriving little plants, all without the mess and fuss of soil.
Why is this a must-try? Because it’s incredibly convenient, space-saving, and surprisingly effective. Imagine having a constant supply of fresh, fragrant mint right on your windowsill, ready to be plucked for your tea, cocktails, or culinary creations. No more last-minute trips to the grocery store or dealing with wilted, sad-looking herbs. This method is also fantastic for those with limited space, making it perfect for apartment dwellers or anyone looking to maximize their herb-growing potential.
But the benefits don’t stop there. This waterless method is also a great way to recycle plastic bottles and reduce your environmental footprint. It’s a win-win situation for you and the planet!
Now, let’s talk about variations. While we’ve focused on mint, this technique can be adapted for other herbs as well. Try experimenting with basil, oregano, or even rosemary. The key is to ensure the cuttings have access to moisture and indirect sunlight. You can also get creative with your containers. Instead of plastic bottles, consider using glass jars or even repurposed tin cans. Just make sure they are clean and have adequate drainage holes.
Another fun variation is to add a touch of fertilizer to the water every few weeks. This will provide your mint plants with an extra boost of nutrients and encourage even more vigorous growth. Just be sure to dilute the fertilizer properly to avoid burning the roots.
We’ve also found that using filtered water can sometimes lead to better results, as it eliminates any potential contaminants that might be present in tap water. However, tap water works just fine in most cases.
Ultimately, the best way to discover what works best for you is to experiment and have fun with it. Don’t be afraid to try different techniques and variations until you find the perfect formula for your waterless mint garden.
We are confident that once you try this method, you’ll be amazed at how easy and rewarding it is. So, grab some mint cuttings, gather your supplies, and get ready to embark on a new and exciting gardening adventure.
We encourage you to try this DIY trick and share your experience with us! Post photos of your waterless mint gardens on social media using #WaterlessMint and tag us so we can see your creations. We’d love to hear your tips, tricks, and any variations you’ve discovered along the way. Let’s build a community of waterless mint growers and share our knowledge and experiences with each other. Happy growing!
Frequently Asked Questions (FAQs)
What exactly is the waterless method of growing mint, and how does it differ from traditional methods?
The waterless method of growing mint, as described in this article, refers to propagating and nurturing mint cuttings without directly planting them in soil. Instead, the cuttings are suspended in a moist environment, typically within a container that maintains humidity and provides support, allowing them to develop roots and thrive. This differs significantly from traditional methods, which involve planting mint in soil, either in pots or directly in the ground. Traditional methods require regular watering, fertilization, and often involve dealing with pests and diseases associated with soil-borne organisms. The waterless method minimizes these issues, offering a cleaner, more controlled environment for mint growth.
What are the specific advantages of growing mint using the waterless method?
There are several key advantages to using the waterless method for growing mint:
* Space-saving: This method is ideal for small spaces, such as apartments or balconies, as it doesn’t require large pots or garden beds.
* Cleanliness: Eliminating soil reduces the risk of pests, diseases, and mess associated with traditional gardening.
* Convenience: The waterless method requires less frequent watering and maintenance compared to soil-based gardening.
* Recycling: You can repurpose plastic bottles or other containers, promoting sustainability.
* Easy propagation: Mint cuttings readily root in a moist environment, making propagation simple and efficient.
* Controlled environment: You have more control over the humidity and light levels, optimizing growing conditions.
* Reduced risk of overwatering: Overwatering is a common problem with soil-based gardening, but the waterless method minimizes this risk.
What type of mint is best suited for the waterless growing method?
Generally, most varieties of mint, including peppermint, spearmint, chocolate mint, and apple mint, are well-suited for the waterless growing method. The key is to ensure that the cuttings are healthy and have multiple nodes (the points where leaves grow) for successful root development. Some varieties might exhibit slightly faster or more vigorous growth than others, but overall, the waterless method is adaptable to a wide ran
So, there you have it! Growing mint without soil, using the waterless method, is not just a quirky experiment; it’s a game-changer for anyone who loves fresh herbs but struggles with traditional gardening. We’ve walked you through the simple steps, highlighting how easy it is to propagate mint cuttings and nurture them to thriving little plants, all without the mess and fuss of soil.
Why is this a must-try? Because it’s incredibly convenient, space-saving, and surprisingly effective. Imagine having a constant supply of fresh, fragrant mint right on your windowsill, ready to be plucked for your tea, cocktails, or culinary creations. No more last-minute trips to the grocery store or dealing with wilted, sad-looking herbs. This method is also fantastic for those with limited space, making it perfect for apartment dwellers or anyone looking to maximize their herb-growing potential.
But the benefits don’t stop there. This waterless method is also a great way to recycle plastic bottles and reduce your environmental footprint. It’s a win-win situation for you and the planet!
Now, let’s talk about variations. While we’ve focused on mint, this technique can be adapted for other herbs as well. Try experimenting with basil, oregano, or even rosemary. The key is to ensure the cuttings have access to moisture and indirect sunlight. You can also get creative with your containers. Instead of plastic bottles, consider using glass jars or even repurposed tin cans. Just make sure they are clean and have adequate drainage holes.
Another fun variation is to add a touch of fertilizer to the water every few weeks. This will provide your mint plants with an extra boost of nutrients and encourage even more vigorous growth. Just be sure to dilute the fertilizer properly to avoid burning the roots.
We’ve also found that using filtered water can sometimes lead to better results, as it eliminates any potential contaminants that might be present in tap water. However, tap water works just fine in most cases.
Ultimately, the best way to discover what works best for you is to experiment and have fun with it. Don’t be afraid to try different techniques and variations until you find the perfect formula for your waterless mint garden.
We are confident that once you try this method, you’ll be amazed at how easy and rewarding it is. So, grab some mint cuttings, gather your supplies, and get ready to embark on a new and exciting gardening adventure.
We encourage you to try this DIY trick and share your experience with us! Post photos of your waterless mint gardens on social media using #WaterlessMint and tag us so we can see your creations. We’d love to hear your tips, tricks, and any variations you’ve discovered along the way. Let’s build a community of waterless mint growers and share our knowledge and experiences with each other. Happy growing!
Frequently Asked Questions (FAQs)
What exactly is the waterless method of growing mint, and how does it differ from traditional methods?
The waterless method of growing mint, as described in this article, refers to propagating and nurturing mint cuttings without directly planting them in soil. Instead, the cuttings are suspended in a moist environment, typically within a container that maintains humidity and provides support, allowing them to develop roots and thrive. This differs significantly from traditional methods, which involve planting mint in soil, either in pots or directly in the ground. Traditional methods require regular watering, fertilization, and often involve dealing with pests and diseases associated with soil-borne organisms. The waterless method minimizes these issues, offering a cleaner, more controlled environment for mint growth.
What are the specific advantages of growing mint using the waterless method?
There are several key advantages to using the waterless method for growing mint:
* Space-saving: This method is ideal for small spaces, such as apartments or balconies, as it doesn’t require large pots or garden beds.
* Cleanliness: Eliminating soil reduces the risk of pests, diseases, and mess associated with traditional gardening.
* Convenience: The waterless method requires less frequent watering and maintenance compared to soil-based gardening.
* Recycling: You can repurpose plastic bottles or other containers, promoting sustainability.
* Easy propagation: Mint cuttings readily root in a moist environment, making propagation simple and efficient.
* Controlled environment: You have more control over the humidity and light levels, optimizing growing conditions.
* Reduced risk of overwatering: Overwatering is a common problem with soil-based gardening, but the waterless method minimizes this risk.
What type of mint is best suited for the waterless growing method?
Generally, most varieties of mint, including peppermint, spearmint, chocolate mint, and apple mint, are well-suited for the waterless growing method. The key is to ensure that the cuttings are healthy and have multiple nodes (the points where leaves grow) for successful root development. Some varieties might exhibit slightly faster or more vigorous growth than others, but overall, the waterless method is adaptable to a wide range of mint types. Experimenting with different varieties can be a fun way to discover which ones thrive best in your specific environment.
How often should I change the water in the container, and what type of water is recommended?
It’s generally recommended to change the water in the container every 1-2 weeks. This helps prevent the buildup of algae and bacteria, ensuring a clean and healthy environment for your mint cuttings. As for the type of water, filtered water is often preferred, as it eliminates potential contaminants that might be present in tap water. However, tap water that has been left to sit for 24 hours to allow chlorine to dissipate is also a viable option. Avoid using distilled water, as it lacks essential minerals that can benefit plant growth.
How much sunlight does waterless mint need, and what are the signs of too much or too little light?
Waterless mint thrives in bright, indirect sunlight. Direct sunlight can scorch the leaves, while insufficient light can lead to leggy growth and pale foliage. Aim for a location that receives several hours of filtered sunlight each day.
Signs of too much light include:
* Scorched or yellowing leaves
* Dry or brittle foliage
Signs of too little light include:
* Leggy growth (long, thin stems with sparse leaves)
* Pale or yellowing leaves
* Slow growth
If you notice any of these signs, adjust the location of your mint accordingly.
Can I add fertilizer to the water, and if so, what type and how often?
Yes, you can add fertilizer to the water to provide your mint plants with an extra boost of nutrients. Use a balanced liquid fertilizer diluted to half strength. A general-purpose fertilizer with an NPK ratio of 10-10-10 or 20-20-20 is a good option. Fertilize every 2-4 weeks, depending on the growth rate of your mint. Be careful not to over-fertilize, as this can lead to nutrient burn.
How long does it take for mint cuttings to root using the waterless method?
Typically, mint cuttings will start to develop roots within 1-2 weeks using the waterless method. The exact time can vary depending on factors such as the variety of mint, the temperature, and the humidity levels. Once the roots are a few inches long, you can either continue growing the mint in the water or transplant it into a small pot with soil.
What are some common problems I might encounter when growing mint waterless, and how can I address them?
Some common problems you might encounter include:
* Algae growth: Algae can grow in the water, especially if the container is exposed to direct sunlight. To prevent this, use an opaque container or cover the container with dark paper. Change the water regularly to remove any algae that does form.
* Root rot: Root rot can occur if the water is stagnant or if the cuttings are overcrowded. Ensure good air circulation and change the water frequently.
* Pests: While the waterless method reduces the risk of soil-borne pests, mint can still be susceptible to aphids or spider mites. Inspect your plants regularly and treat any infestations with insecticidal soap or neem oil.
* Yellowing leaves: Yellowing leaves can be a sign of nutrient deficiency, overwatering, or insufficient light. Adjust your watering and fertilization schedule, and ensure that your mint is receiving adequate light.
Can I transplant my waterless mint into soil later on?
Yes, absolutely! Once your mint cuttings have developed a healthy root system (typically a few inches long), you can transplant them into a small pot with well-draining soil. Gently remove the cuttings from the water, being careful not to damage the roots. Plant them in the soil, water thoroughly, and keep the soil moist but not soggy. Gradually acclimate the plants to their new environment by placing them in a location with indirect sunlight for a few days before moving them to a sunnier spot.
How do I harvest mint grown using the waterless method?
Harvesting mint grown using the waterless method is simple. Just snip off the stems and leaves as needed, using scissors or pruning shears. Avoid removing more than one-third of the plant at a time, as this can stunt its growth. Regular harvesting will encourage the plant to produce more leaves
Leave a Comment