

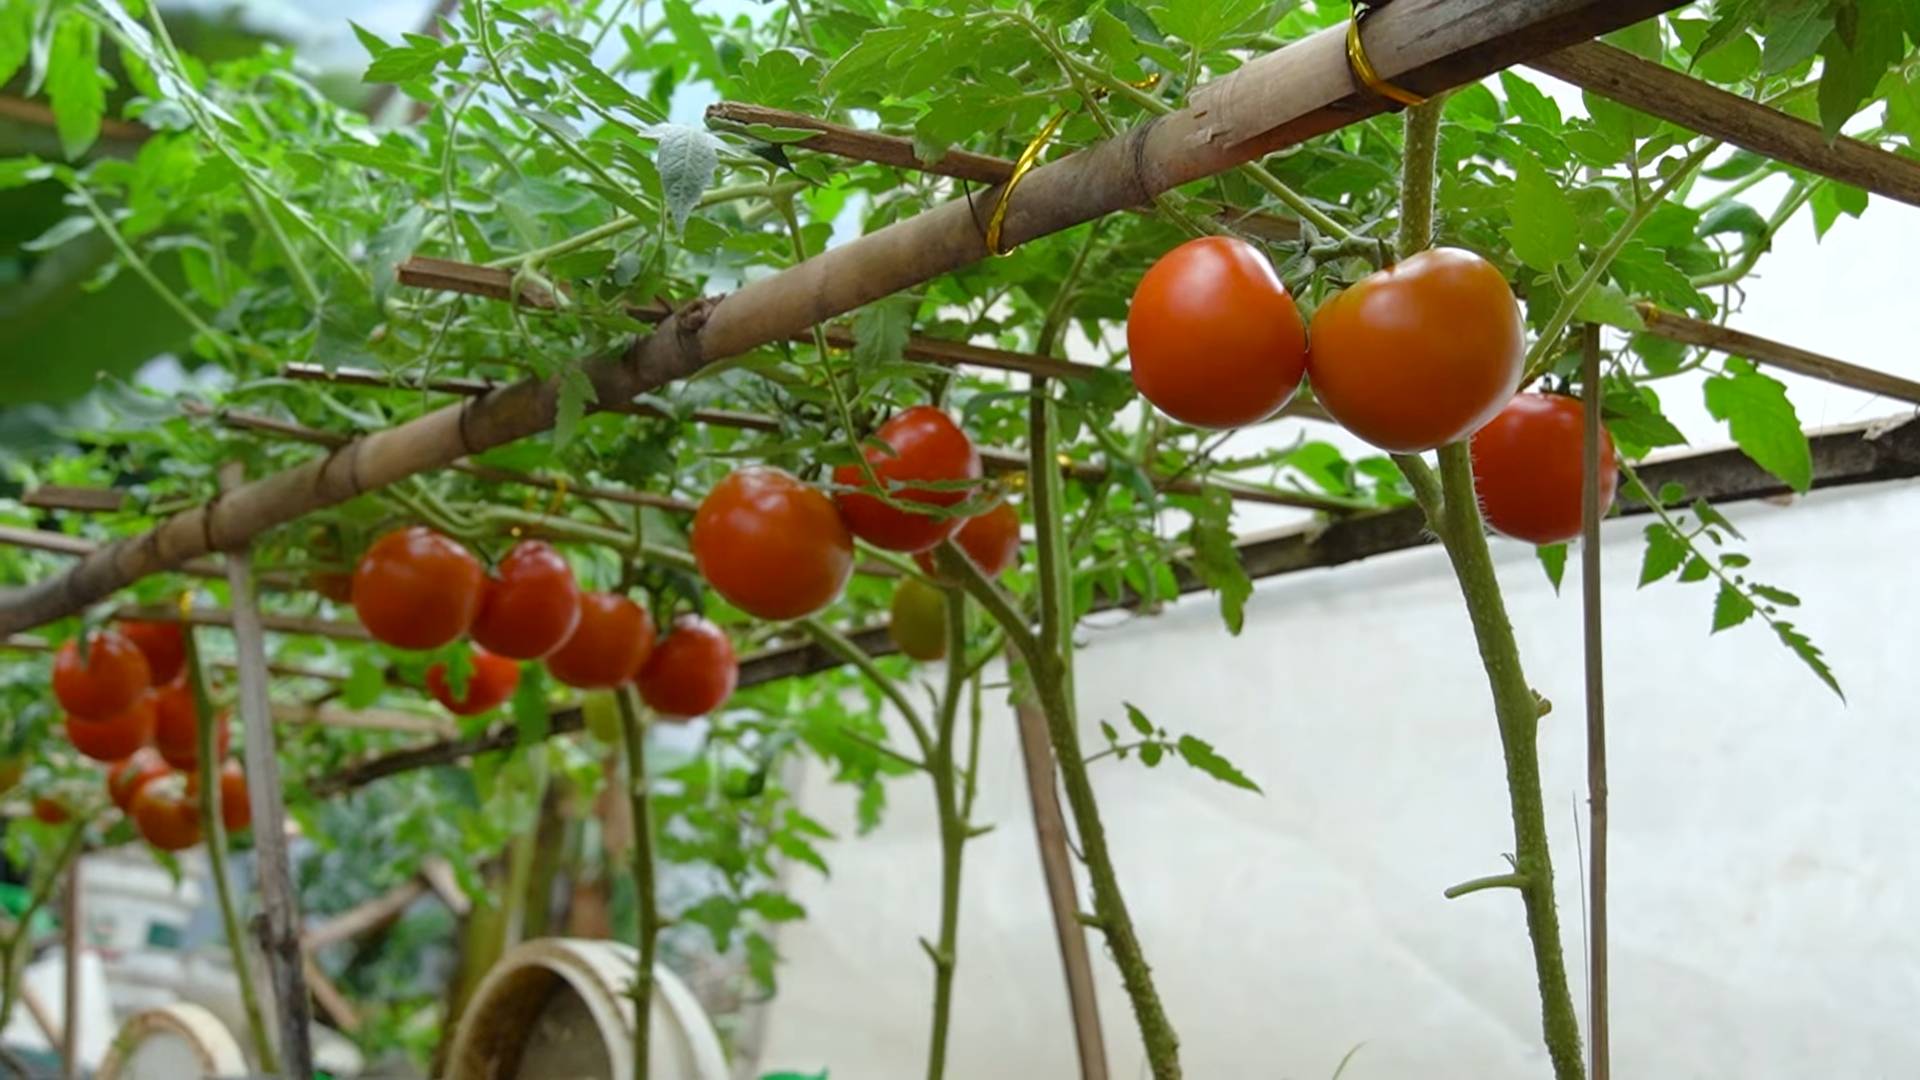
Grow tomatoes at home, and you’ll unlock a world of flavor far beyond anything you can find in the supermarket! Imagine biting into a sun-warmed, juicy tomato, bursting with sweetness – a taste you cultivated yourself. That’s the magic of home gardening, and it’s easier than you think. For centuries, cultures around the globe have cherished the tomato, from its origins in South America to its adoption as a staple in Italian cuisine. It’s a symbol of summer, freshness, and the simple pleasures of life.
But let’s be honest, sometimes growing your own food can feel intimidating. That’s where this DIY guide comes in! I’m here to share some simple, effective tricks and hacks that will help you grow tomatoes at home, even if you have limited space or experience. We’ll cover everything from choosing the right varieties to troubleshooting common problems, ensuring you have a bountiful harvest. Why spend money on bland, store-bought tomatoes when you can enjoy the unparalleled taste of homegrown goodness? Let’s get our hands dirty and start growing!
DIY Plastic Bottle Vertical Garden: A Thrifty and Green Project
Hey there, fellow DIY enthusiasts! Are you looking for a creative and eco-friendly way to add some greenery to your space, especially if you’re short on room? I’ve got just the project for you: a vertical garden made entirely from recycled plastic bottles! It’s a fantastic way to repurpose those bottles that would otherwise end up in the landfill, and it’s surprisingly easy to build. Plus, it looks absolutely stunning! Let’s dive in!
Materials You’ll Need
Before we get started, let’s gather all the necessary materials. Trust me, having everything ready beforehand will make the process much smoother.
* Plastic Bottles: This is the star of the show! Aim for bottles of similar size and shape for a more uniform look. I recommend using bottles that are at least 1.5 liters in size. The number of bottles you’ll need depends on the size of your desired vertical garden. I used about 15 for mine, which is a decent size for a balcony.
* Scissors or Utility Knife: For cutting the plastic bottles. Be careful when using these tools!
* Strong Cord or Rope: To hang the bottles. I prefer using nylon rope because it’s durable and weather-resistant. You could also use thick twine or even metal wire, depending on the look you’re going for.
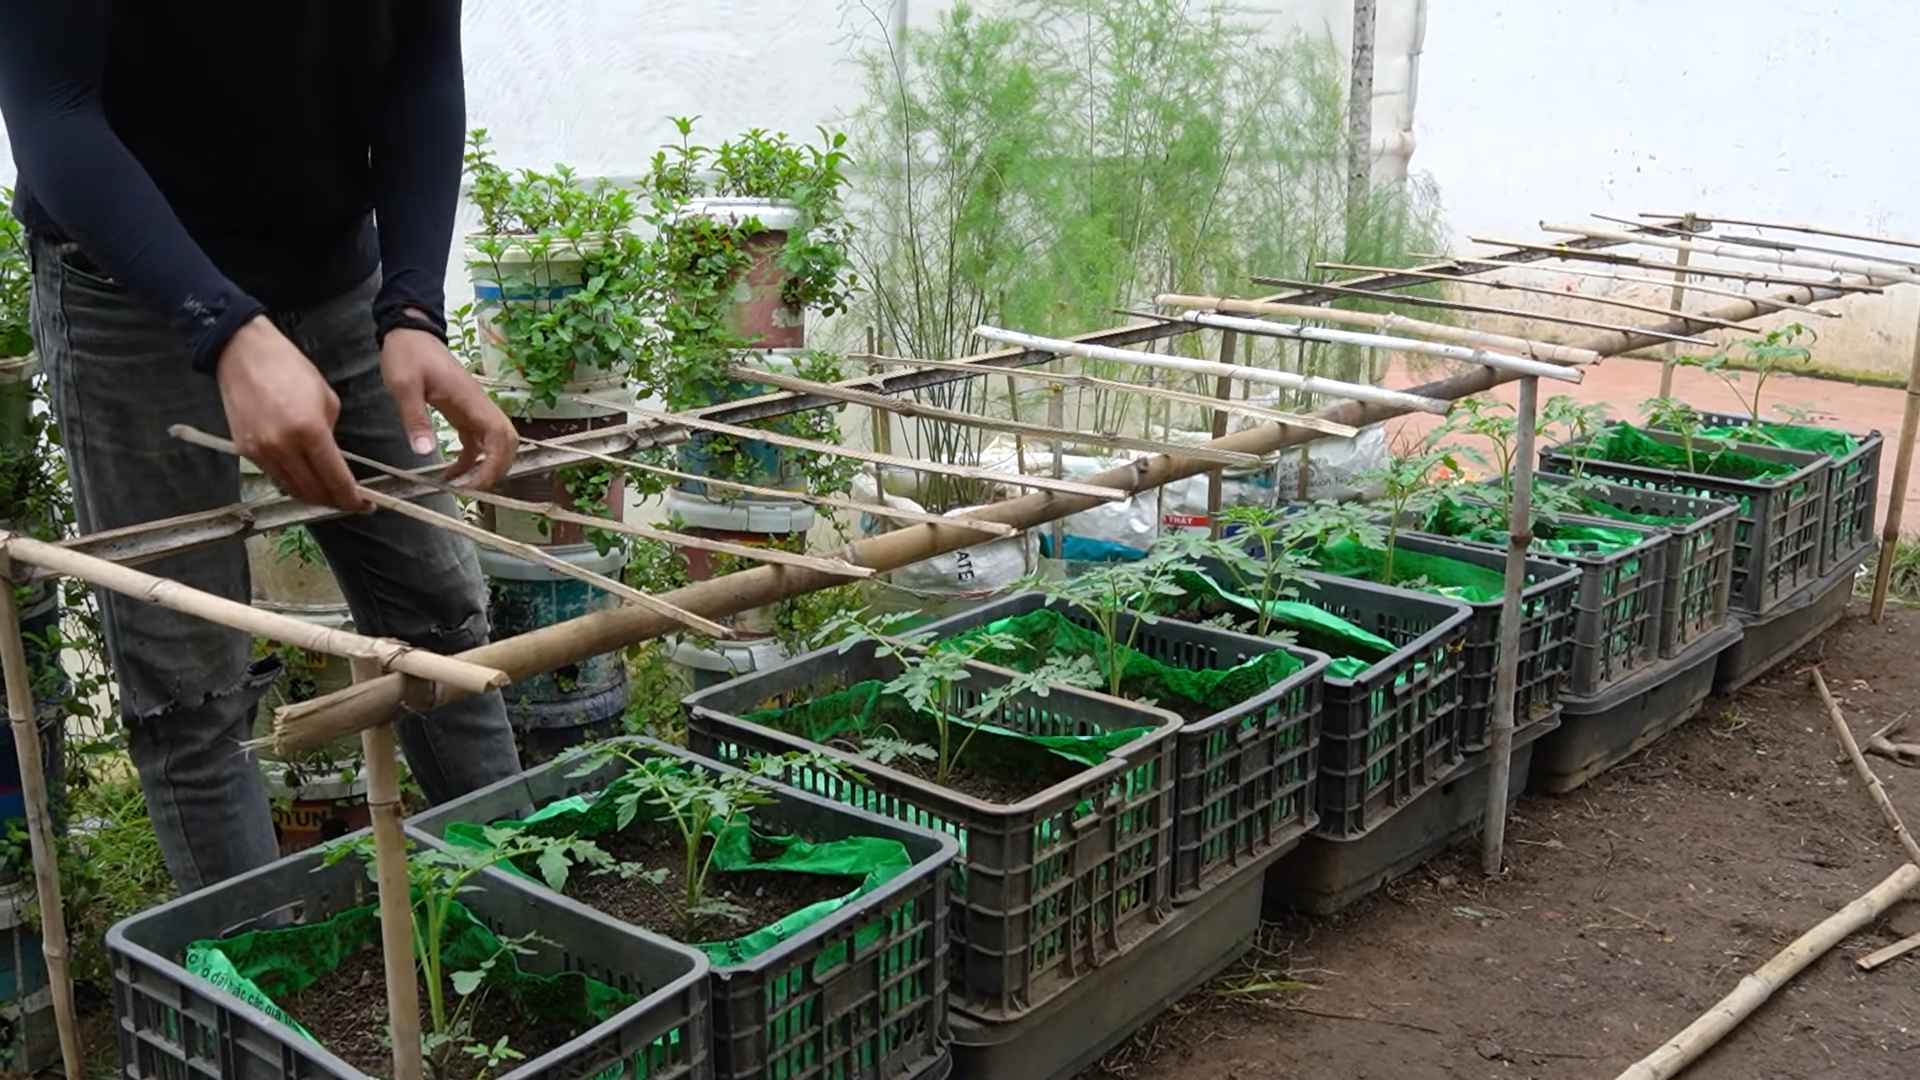
* Soil: Choose a good quality potting mix that’s suitable for the plants you intend to grow.
* Plants: Select plants that are appropriate for the amount of sunlight your vertical garden will receive. Herbs, strawberries, succulents, and small flowering plants are all great options.
* Drill or Awl: To create drainage holes in the bottles.
* Measuring Tape or Ruler: To ensure consistent spacing between the bottles.
* Marker: To mark cutting lines on the bottles.
* Gloves: To protect your hands while working with soil and plastic.
* Watering Can or Spray Bottle: For watering your plants.
* Optional: Spray Paint: If you want to customize the look of your bottles, grab some spray paint in your favorite colors.
Preparing the Plastic Bottles
This is where the magic begins! We’re going to transform those ordinary plastic bottles into mini planters.
1. Clean the Bottles: Thoroughly wash each bottle with soap and water to remove any residue. Remove the labels as well. This will ensure that the soil and plants have a clean environment. Let them dry completely before moving on to the next step.
2. Cut the Bottles: This is a crucial step, so pay close attention. You have a couple of options here, depending on the look you want to achieve.
* Option 1 (Horizontal Cut): This is the method I used. Using your marker and ruler, draw a horizontal line around each bottle, about two-thirds of the way up from the bottom. Carefully cut along this line using your scissors or utility knife. This will create a larger opening for planting.
* Option 2 (Oval Cut): Draw an oval shape on one side of the bottle, again about two-thirds of the way up. Cut along this oval line to create an opening. This option might be better for smaller plants or if you want a more enclosed look.
Safety Tip: Always cut away from yourself and use a stable surface. If you’re using a utility knife, be extra cautious.
3. Create Drainage Holes: This is essential for preventing waterlogging and root rot. Use your drill or awl to create several small holes in the bottom of each bottle. I usually make about 4-5 holes per bottle.
4. (Optional) Paint the Bottles: If you want to add a pop of color to your vertical garden, now’s the time to spray paint the bottles. Choose colors that complement your plants and your outdoor space. Make sure to use spray paint that’s designed for plastic. Apply several thin coats, allowing each coat to dry completely before applying the next. This will prevent drips and ensure a smooth finish. Let the paint dry completely before moving on.
Assembling the Vertical Garden
Now for the fun part – putting everything together!
1. Decide on Your Hanging Method: There are a few different ways you can hang your vertical garden.
* Option 1 (Single Strand): This is the simplest method. You’ll create a single strand of bottles, hanging one below the other.
* Option 2 (Multiple Strands): This method involves creating multiple strands of bottles, hanging side by side. This will create a wider, more visually appealing garden.
I chose the single strand method for my balcony because it’s narrow.
2. Cut the Cord or Rope: Measure the desired length of your cord or rope, taking into account the height of your bottles and the spacing you want between them. Add some extra length at the top for hanging. Cut the cord or rope to the desired length. For multiple strands, cut multiple pieces of cord or rope, all the same length.
3. Attach the Bottles: This is where things get a little tricky, but don’t worry, I’ll walk you through it.
* For Horizontal Cut Bottles: Carefully thread the cord or rope through the drainage holes at the bottom of the bottle. Then, thread it through the top of the bottle, creating a loop. Repeat this process for each bottle, spacing them evenly along the cord or rope. You can use knots to secure the bottles in place and prevent them from sliding down.
* For Oval Cut Bottles: You’ll need to create small holes near the top of the bottle, on either side of the oval opening. Thread the cord or rope through these holes, creating a loop. Repeat this process for each bottle, spacing them evenly along the cord or rope. Again, use knots to secure the bottles.
Tip: Before you start attaching the bottles, lay them out on the ground in the order you want them to appear in your vertical garden. This will help you visualize the final product and make sure you’re happy with the arrangement.
4. Secure the Top: Once all the bottles are attached, create a loop at the top of the cord or rope for hanging. Make sure the loop is strong and secure, as it will be supporting the weight of the entire vertical garden.
Planting Your Vertical Garden
Almost there! Now it’s time to add the plants and bring your vertical garden to life.
1. Add Soil: Carefully fill each bottle with potting mix, leaving some space at the top. Don’t pack the soil too tightly, as this can restrict root growth.
2. Plant Your Plants: Gently remove your plants from their containers and loosen the roots slightly. Plant them in the bottles, making sure the roots are well covered with soil.
3. Water Thoroughly: Water your plants thoroughly after planting. This will help settle the soil and encourage root growth.
Hanging and Maintaining Your Vertical Garden
Congratulations! You’ve successfully created your own DIY plastic bottle vertical garden. Now it’s time to hang it up and enjoy the fruits (or vegetables, or flowers!) of your labor.
1. Choose a Location: Select a location that receives the appropriate amount of sunlight for your chosen plants. Make sure the location is also easily accessible for watering and maintenance.
2. Hang Your Garden: Hang your vertical garden from a sturdy hook or support. Make sure the support is strong enough to hold the weight of the garden, especially when the soil is wet.
3. Water Regularly: Water your plants regularly, especially during hot weather. Check the soil moisture by sticking your finger into the soil. If the soil feels dry, it’s time to water.
4. Fertilize as Needed: Fertilize your plants every few weeks with a balanced liquid fertilizer. This will provide them with the nutrients they need to thrive.
5. Prune and Maintain: Prune your plants regularly to keep them healthy and encourage growth. Remove any dead or yellowing leaves.
6. Watch for Pests: Keep an eye out for pests and diseases. If you notice any problems, take action immediately to prevent them from spreading.
Tips and Tricks for Success
Here are a few extra tips to help you create a thriving vertical garden:
* Choose the Right Plants: Select plants that are well-suited to the growing conditions in your area. Consider factors such as sunlight, temperature, and humidity.
* Use Good Quality Soil: Invest in a good quality potting mix that provides adequate drainage and nutrients.
* Don’t Overwater: Overwatering is a common mistake that can lead to root rot. Allow the soil to dry out slightly between waterings.
* Provide Adequate Support: Make sure your vertical garden is securely supported to prevent it from falling.
* Get Creative with Design: Experiment with different bottle sizes, shapes, and colors to create a unique and visually appealing garden.
*
Conclusion
So, there you have it! Growing tomatoes at home, especially with these simple DIY tricks, is not just a gardening project; it’s an investment in flavor, health, and a deeper connection with your food. Forget those bland, store-bought tomatoes that lack the vibrant taste of sunshine and soil. With a little effort and these easy-to-follow steps, you can cultivate a thriving tomato patch right in your backyard, balcony, or even on a sunny windowsill.
Why is this a must-try? Because the difference between a commercially grown tomato and a homegrown one is like night and day. The taste is richer, the texture is firmer, and the satisfaction of harvesting something you nurtured from seed to fruit is unparalleled. Plus, you have complete control over what goes into your tomatoes, ensuring they are free from harmful pesticides and chemicals. You’re not just growing tomatoes; you’re growing peace of mind.
But the beauty of this DIY approach is its adaptability. Feel free to experiment with different tomato varieties. From the classic beefsteak to the sweet cherry tomato, the possibilities are endless. Consider companion planting to enhance growth and deter pests. Basil, marigolds, and carrots are excellent choices to plant alongside your tomatoes. You can also explore different growing methods, such as container gardening, raised beds, or even hydroponics, depending on your space and resources.
Don’t be afraid to get your hands dirty and embrace the learning process. Gardening is a journey, and there will be successes and setbacks along the way. But with each tomato you harvest, you’ll gain valuable experience and a deeper appreciation for the natural world.
We wholeheartedly encourage you to try growing tomatoes at home using these DIY techniques. It’s a rewarding experience that will transform your meals and connect you with the earth. And most importantly, we want to hear about your journey! Share your successes, your challenges, and your tips with us in the comments below. Let’s build a community of tomato enthusiasts and learn from each other. What varieties did you choose? What challenges did you face, and how did you overcome them? Your experiences can inspire and guide others who are just starting out.
So, grab your seeds, prepare your soil, and get ready to enjoy the delicious taste of homegrown tomatoes. Happy gardening!
Frequently Asked Questions (FAQs)
Q: What is the best time to start growing tomatoes from seed?
A: The best time to start growing tomatoes from seed depends on your local climate and the last expected frost date. Generally, you should start seeds indoors about 6-8 weeks before the last frost. This allows the seedlings to develop a strong root system before being transplanted outdoors. Check your local weather forecasts and gardening resources for specific recommendations for your area. If you live in a warmer climate with a longer growing season, you can start seeds earlier. Conversely, if you have a shorter growing season, you may need to start seeds a bit later or consider purchasing starter plants from a local nursery.
Q: What kind of soil is best for growing tomatoes?
A: Tomatoes thrive in well-draining, nutrient-rich soil with a slightly acidic pH (around 6.0-6.8). Amend your garden soil with compost, aged manure, or other organic matter to improve its fertility and drainage. If you’re growing tomatoes in containers, use a high-quality potting mix specifically formulated for vegetables. Avoid using garden soil in containers, as it can become compacted and hinder drainage. You can also add slow-release fertilizer to the soil at planting time to provide a steady supply of nutrients throughout the growing season. Regular soil testing can help you determine if your soil is lacking any essential nutrients and guide your fertilization strategy.
Q: How often should I water my tomato plants?
A: Tomato plants need consistent watering, especially during hot, dry weather. Water deeply and regularly, aiming to keep the soil consistently moist but not waterlogged. The frequency of watering will depend on factors such as the weather, soil type, and size of the plant. As a general rule, water deeply about 2-3 times per week, or more often if the soil dries out quickly. Check the soil moisture by sticking your finger about an inch into the soil. If it feels dry, it’s time to water. Avoid overhead watering, as this can promote fungal diseases. Instead, water at the base of the plant, using a soaker hose or drip irrigation system if possible.
Q: How much sunlight do tomato plants need?
A: Tomato plants need at least 6-8 hours of direct sunlight per day to thrive. Choose a location in your garden that receives plenty of sunlight throughout the day. If you’re growing tomatoes in containers, make sure to place them in a sunny spot. If you live in a very hot climate, you may need to provide some afternoon shade to protect the plants from scorching. Insufficient sunlight can lead to leggy growth, reduced fruit production, and increased susceptibility to diseases.
Q: What are some common tomato pests and diseases, and how can I prevent them?
A: Tomatoes are susceptible to a variety of pests and diseases, including aphids, whiteflies, tomato hornworms, blight, and blossom end rot. To prevent these problems, practice good gardening hygiene, such as removing weeds and debris from around the plants. Use organic pest control methods, such as insecticidal soap or neem oil, to control pests. Choose disease-resistant tomato varieties. Ensure proper air circulation around the plants by spacing them adequately and pruning excess foliage. Blossom end rot is caused by calcium deficiency, so ensure your soil has adequate calcium levels and water consistently to prevent this problem. Regularly inspect your plants for signs of pests or diseases and take action promptly to prevent them from spreading.
Q: How do I prune tomato plants?
A: Pruning tomato plants can help improve air circulation, reduce disease, and encourage fruit production. The specific pruning techniques will depend on the type of tomato plant you’re growing. Determinate tomato plants, which grow to a fixed size and produce all their fruit at once, require minimal pruning. Simply remove any suckers (small shoots that grow between the main stem and branches) below the first flower cluster. Indeterminate tomato plants, which continue to grow and produce fruit throughout the season, require more extensive pruning. Remove suckers regularly to encourage the plant to focus its energy on fruit production. You can also prune some of the lower leaves to improve air circulation and prevent diseases.
Q: How do I know when my tomatoes are ripe?
A: The best way to tell if a tomato is ripe is by its color and firmness. Ripe tomatoes will have a deep, even color and will be slightly soft to the touch. The exact color will depend on the variety of tomato. Gently squeeze the tomato; it should give slightly but not be mushy. You can also smell the tomato; ripe tomatoes will have a sweet, fragrant aroma. Avoid picking tomatoes that are still green or hard, as they will not ripen properly off the vine.
Q: Can I grow tomatoes indoors?
A: Yes, you can grow tomatoes indoors, but it requires some extra effort. Choose a sunny location near a window that receives at least 6-8 hours of direct sunlight per day. You may also need to supplement with grow lights to provide adequate light. Use a large container with well-draining potting mix. Water regularly and fertilize as needed. Choose compact or dwarf tomato varieties that are well-suited for indoor growing. Pollinate the flowers manually by gently shaking the plants or using a small brush to transfer pollen from one flower to another.
Q: What are some good companion plants for tomatoes?
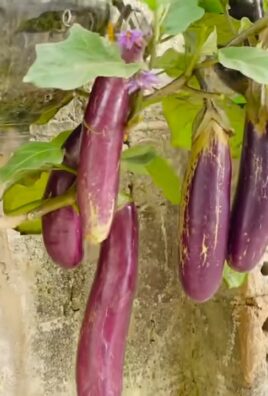
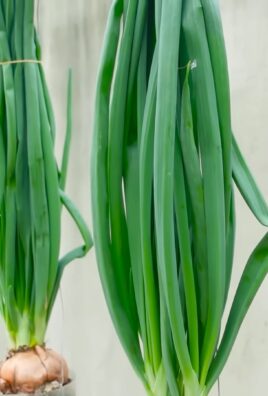
A: Companion planting can help improve the health and productivity of your tomato plants. Some good companion plants for tomatoes include basil, marigolds, carrots, onions, garlic, and parsley. Basil helps repel pests and improve the flavor of tomatoes. Marigolds also repel pests and attract beneficial insects. Carrots help improve soil drainage. Onions and garlic deter pests and fungal diseases. Parsley attracts beneficial insects and improves soil fertility. Avoid planting tomatoes near brassicas (such as cabbage, broccoli, and cauliflower) or fennel, as these plants can inhibit tomato growth.
Leave a Comment