

Winter Kale Container Gardening: sounds intimidating, right? But trust me, it’s not! Imagine stepping outside on a crisp winter morning and harvesting fresh, vibrant kale right from your patio. No more sad, wilted greens from the grocery store! This isn’t just about having access to healthy food; it’s about connecting with nature, even in the coldest months.
For centuries, cultures around the world have relied on hardy winter vegetables like kale to sustain them through harsh seasons. From the hearty stews of Scotland to the vibrant salads of the Mediterranean, kale has been a nutritional powerhouse and a symbol of resilience. Now, you can tap into that same tradition, even if you only have a small balcony or porch.
This DIY guide is your key to unlocking the secrets of successful winter kale container gardening. We’ll walk you through everything from choosing the right container and soil to protecting your plants from frost and pests. I know what you’re thinking: “I don’t have a green thumb!” But that’s okay! These tricks and hacks are designed for beginners, and I’m confident that you’ll be amazed at how easy and rewarding it is to grow your own delicious winter kale. Let’s get started and transform your outdoor space into a thriving winter garden!

DIY Winter Kale Container Gardening: A Bountiful Harvest, Even in the Cold!
Okay, let’s get our hands dirty! I’m going to walk you through creating a thriving winter kale container garden. Don’t let the cold weather scare you; kale is surprisingly resilient and can provide you with fresh greens all winter long. This guide will cover everything from choosing the right container to protecting your kale from the harshest elements.
Choosing Your Container and Soil
First things first, we need a home for our kale!
* Container Size: Opt for a container that’s at least 12 inches deep and 12 inches wide. Kale needs room for its roots to spread. Bigger is generally better, especially if you plan on growing multiple kale plants in the same container. A 5-gallon bucket or a large planter pot works perfectly.
* Drainage: This is crucial! Make sure your container has drainage holes. Kale hates sitting in soggy soil, which can lead to root rot. If your container doesn’t have drainage, you can drill some holes in the bottom.
* Material: Plastic, terracotta, or even repurposed containers can work. Just ensure they’re clean and free of any harmful chemicals. I personally love using plastic containers because they retain moisture better, which is helpful during the drier winter months.
* Soil: Don’t skimp on the soil! Use a high-quality potting mix specifically formulated for vegetables. Avoid using garden soil, as it can be too heavy and doesn’t drain well in containers. I like to amend my potting mix with compost for added nutrients and drainage. A good mix is roughly 70% potting mix and 30% compost.
Selecting Your Kale Varieties
Kale comes in many shapes, sizes, and colors! Choosing the right variety can impact your winter harvest.
* Cold Hardiness: Look for kale varieties known for their cold hardiness. Some excellent choices include:
* Lacinato (Dinosaur) Kale: This variety is known for its dark, almost black-green leaves and its ability to withstand freezing temperatures. It has a slightly nutty flavor.
* Red Russian Kale: This kale has beautiful red-veined leaves and a milder, sweeter flavor than other varieties. It’s also very cold-hardy.
* Winterbor Kale: As the name suggests, Winterbor is specifically bred for winter growing. It’s extremely cold-tolerant and produces large, frilly leaves.
* Dwarf Blue Curled Vates Kale: A compact variety perfect for containers, offering good cold tolerance and a classic kale flavor.
* Flavor Preference: Consider your taste preferences. Some kale varieties are more bitter than others. Red Russian and Lacinato tend to be milder.
* Availability: Check your local garden center or online seed suppliers to see what varieties are available in your area.
Planting Your Kale
Now for the fun part – planting!
1. Fill the Container: Fill your chosen container with the potting mix and compost mixture, leaving about an inch or two of space at the top.
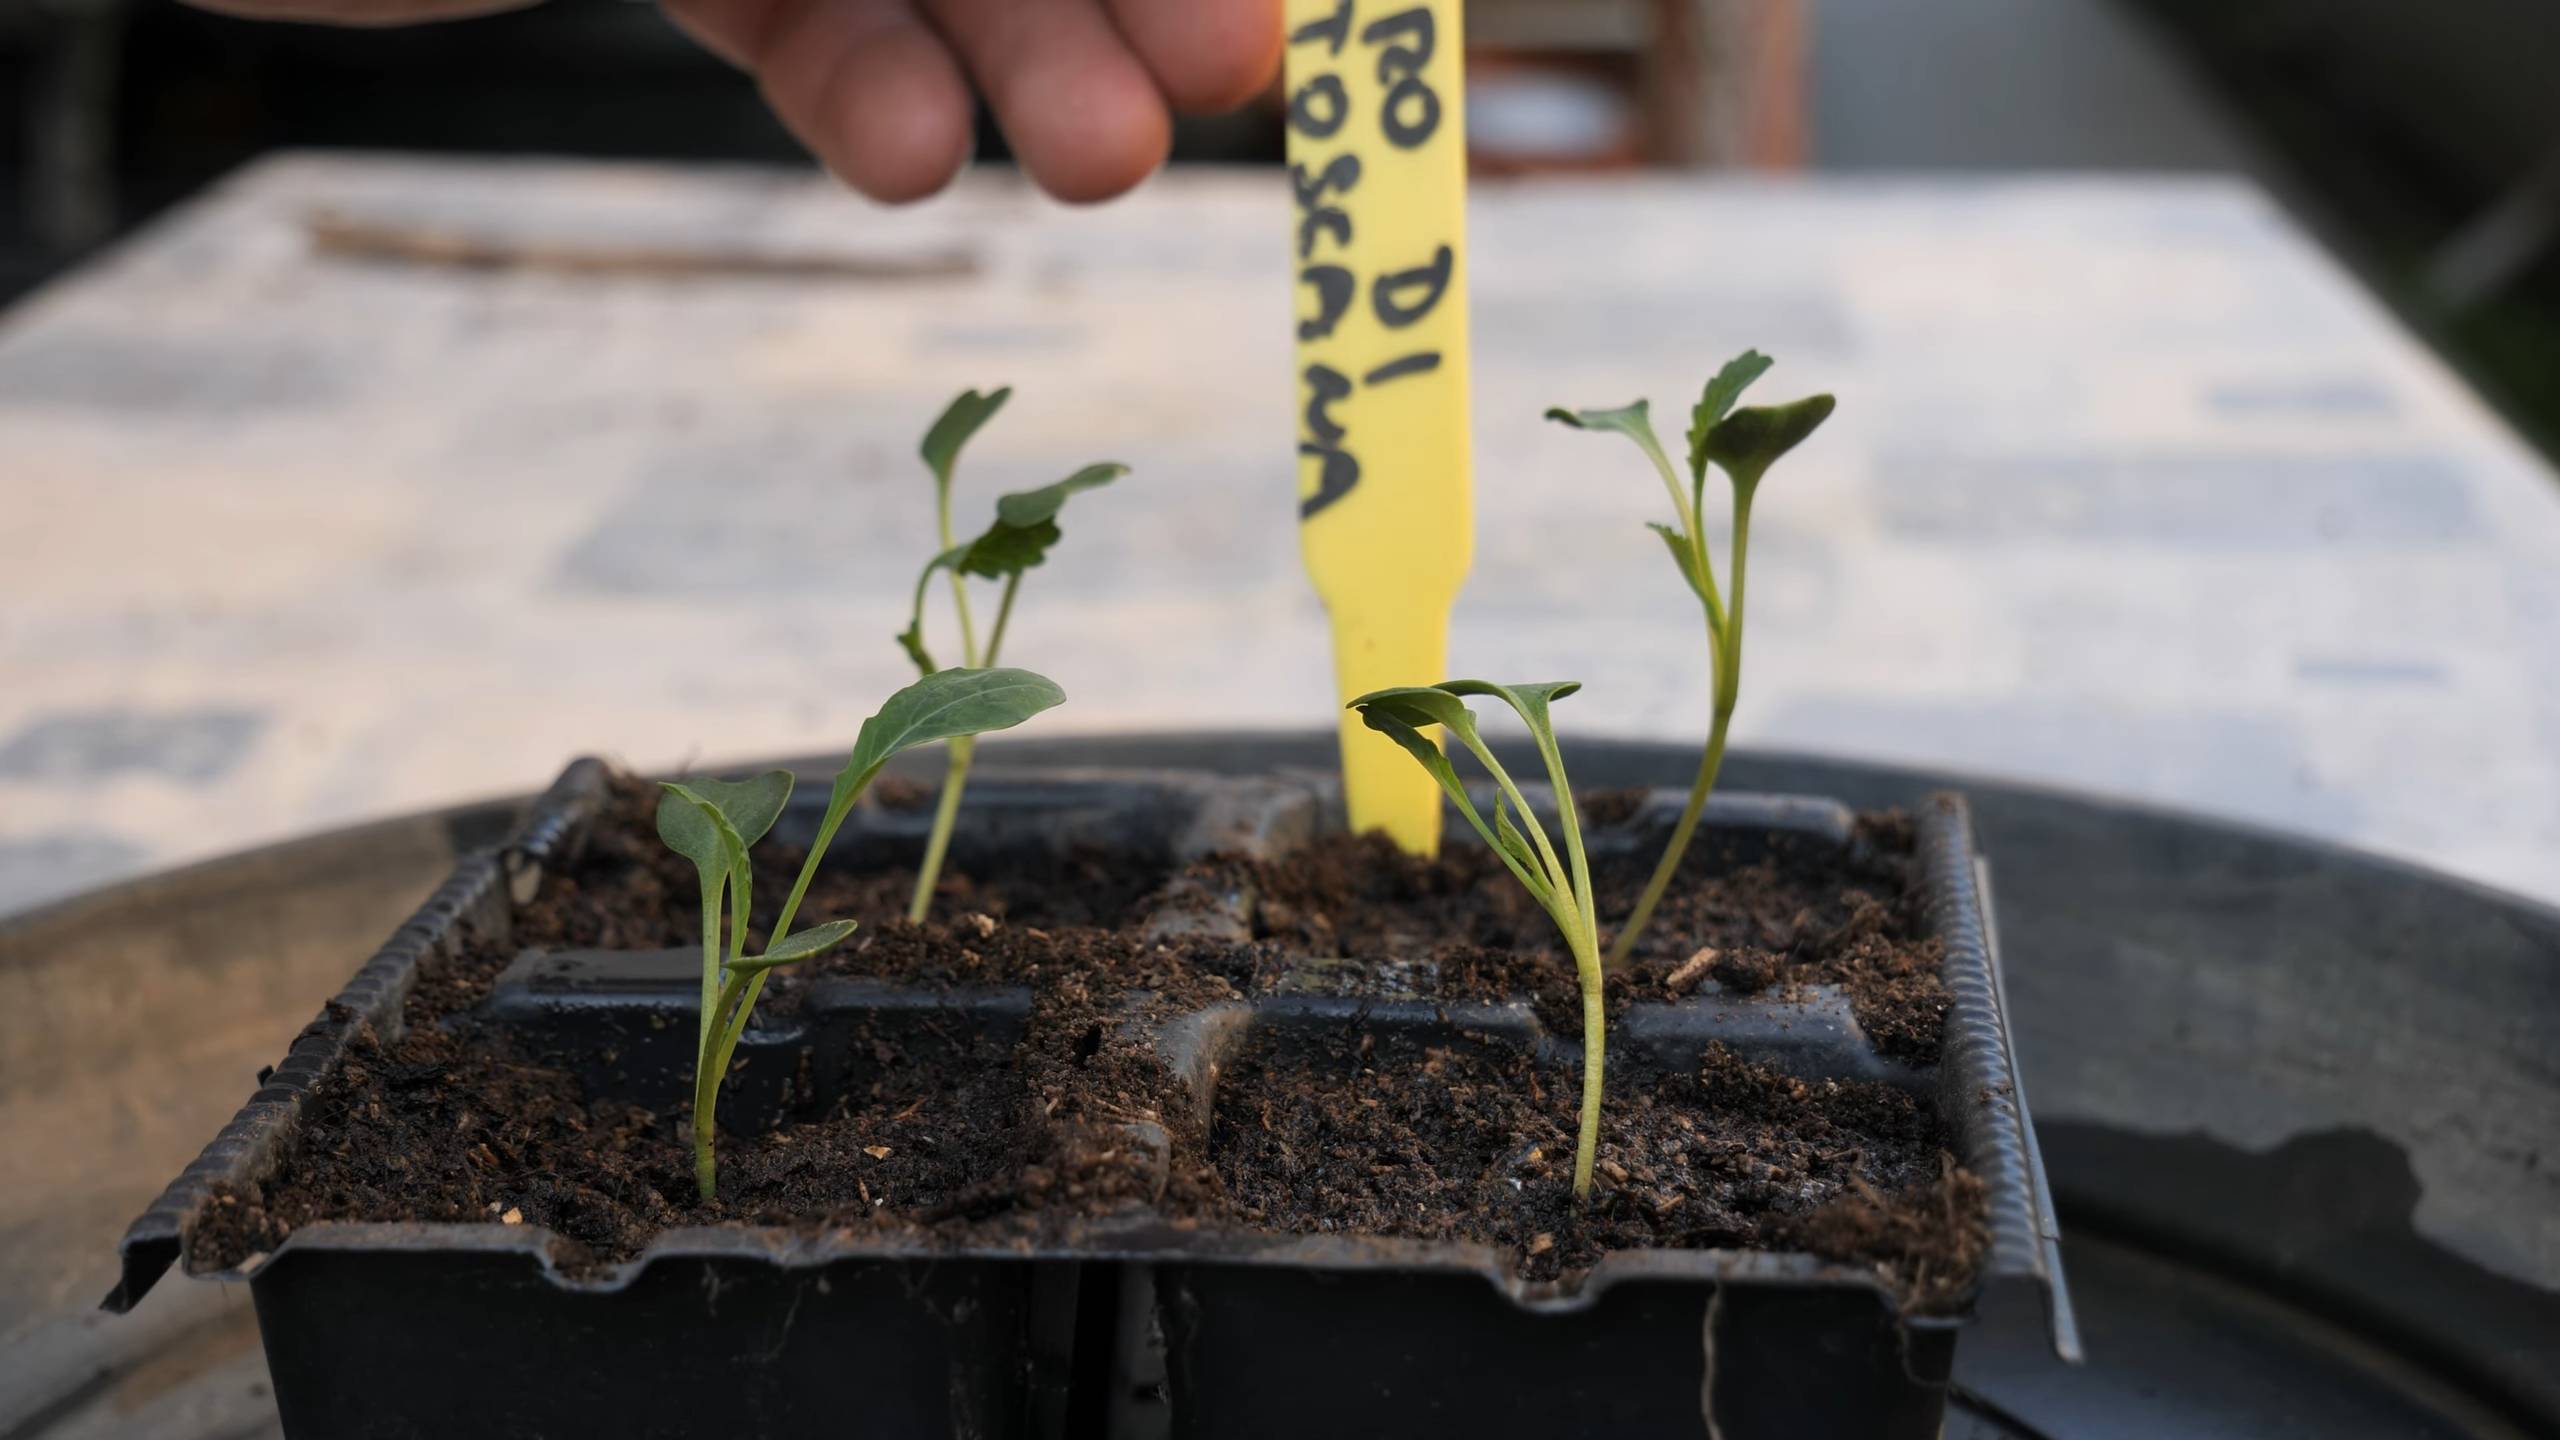
2. Planting Seeds or Seedlings: You have two options: starting from seeds or using seedlings.
* From Seeds: Sow seeds about ½ inch deep and 1-2 inches apart. Gently water the soil. Keep the soil consistently moist until the seeds germinate, which usually takes about 5-10 days. Once the seedlings have a few true leaves, thin them out to about 6-8 inches apart.
* From Seedlings: Dig a hole large enough to accommodate the root ball of the seedling. Gently remove the seedling from its container and place it in the hole. Backfill with soil and gently firm it around the base of the plant. Space seedlings about 6-8 inches apart.
3. Water Thoroughly: After planting, water the kale thoroughly until water drains out of the drainage holes. This helps settle the soil and ensures the roots are well-hydrated.
4. Sunlight: Place your container in a location that receives at least 6 hours of sunlight per day. Even in winter, sunlight is essential for kale growth. If you don’t have a sunny spot, consider using grow lights.
Caring for Your Winter Kale
Winter kale requires a bit of extra care to thrive in the cold.
1. Watering: Water your kale regularly, but be careful not to overwater. The soil should be consistently moist, but not soggy. Check the soil moisture by sticking your finger about an inch into the soil. If it feels dry, it’s time to water. During the winter, you may need to water less frequently than during the warmer months.
2. Fertilizing: Kale is a heavy feeder, so it needs regular fertilization. Use a balanced liquid fertilizer every 2-3 weeks. Follow the instructions on the fertilizer label. You can also amend the soil with compost tea for an organic boost.
3. Mulching: Apply a layer of mulch around the base of the kale plants to help retain moisture, suppress weeds, and insulate the soil. Straw, shredded leaves, or wood chips work well.
4. Pest Control: Keep an eye out for pests like aphids, cabbage worms, and slugs. Handpick any pests you see. You can also use insecticidal soap or neem oil to control infestations.
5. Protection from Extreme Cold: While kale is cold-hardy, it can still be damaged by extreme cold snaps. If temperatures are expected to drop below freezing for an extended period, protect your kale by covering it with a frost blanket, burlap sack, or even an old sheet. You can also move the container to a more sheltered location, such as a garage or shed, during the coldest nights.
6. Snow Removal: If you live in an area with heavy snowfall, be sure to brush off any snow that accumulates on the kale plants. Heavy snow can weigh down the leaves and damage them.
Harvesting Your Kale
The best part – enjoying the fruits (or rather, leaves!) of your labor!
1. When to Harvest: You can start harvesting kale leaves as soon as they are large enough to eat, typically when they are about 4-6 inches long.
2. How to Harvest: Harvest the outer leaves first, leaving the inner leaves to continue growing. Use a sharp knife or scissors to cut the leaves off at the base of the stem. Avoid tearing the leaves, as this can damage the plant.
3. Continuous Harvest: Kale is a cut-and-come-again crop, meaning you can harvest leaves continuously throughout the winter. The more you harvest, the more the plant will produce.
4. Post-Harvest Care: After harvesting, wash the kale leaves thoroughly and store them in the refrigerator. They will keep for several days.
Troubleshooting Common Problems
Even with the best care, you might encounter some challenges. Here are a few common problems and how to address them:
* Yellowing Leaves: This can be a sign of overwatering, underwatering, or nutrient deficiency. Check the soil moisture and adjust your watering schedule accordingly. Fertilize with a balanced fertilizer to provide essential nutrients.
* Stunted Growth: This can be caused by insufficient sunlight, poor soil, or pest infestations. Ensure your kale is getting enough sunlight and fertilize regularly. Check for pests and treat them accordingly.
* Holes in Leaves: This is usually caused by cabbage worms or slugs. Handpick any pests you see. You can also use insecticidal soap or diatomaceous earth to control infestations.
* Root Rot: This is caused by overwatering and poor drainage. Ensure your container has adequate drainage holes and avoid overwatering. If you suspect root rot, you may need to repot the kale in fresh soil.
Extending Your Harvest
Want to keep the kale party going even longer? Here are a few tips:
* Succession Planting: Plant new kale seeds or seedlings every few weeks to ensure a continuous harvest throughout the winter.
* Cold Frames or Greenhouses: If you live in an area with extremely cold winters, consider using a cold frame or greenhouse to protect your kale from the elements.
* Overwintering: With proper care, kale can survive the winter and continue to produce leaves in the spring. In the spring, you can let some of your kale plants bolt (flower) and collect the seeds for future planting.
Additional Tips for Success
* Choose the Right Location: Select a location that receives at least 6 hours of sunlight per day. A south-facing location is ideal.
* Use a Soil Thermometer: Monitor the soil temperature to ensure it doesn’t get too cold. If the soil temperature drops below freezing, protect your kale with a frost blanket or move it to a more sheltered location.
* Rotate Your Crops: Avoid planting kale in the same container year after year. Crop rotation helps prevent soilborne diseases and pests.
* Observe Your Plants: Pay attention to your kale plants and watch for any signs of problems
Conclusion
So, there you have it! Mastering Winter Kale Container Gardening is not only achievable, but it’s also incredibly rewarding. Imagine stepping outside on a crisp winter morning and harvesting fresh, vibrant kale right from your own patio or balcony. No more bland, store-bought greens lacking in flavor and nutrients. This DIY approach empowers you to control the quality of your food, reduce your carbon footprint, and enjoy the satisfaction of nurturing life even during the coldest months.
But why is this a must-try? Beyond the obvious benefits of fresh, organic produce, winter kale container gardening offers a unique opportunity to extend your growing season. While other plants are dormant, kale thrives in the cool temperatures, providing a continuous supply of essential vitamins and minerals when you need them most. It’s a fantastic way to combat the winter blues with a burst of green and a healthy dose of homegrown goodness.
Don’t be afraid to experiment! Consider different kale varieties like Lacinato (dinosaur kale) for its unique texture and slightly sweeter flavor, or Red Russian kale for its beautiful purple stems and mild taste. You can also companion plant with other cool-season herbs like thyme or rosemary to create a fragrant and productive container garden. For those in particularly cold climates, consider adding a layer of mulch around the base of your kale plants to provide extra insulation and protect the roots from freezing. You can also use row covers or a mini greenhouse to extend the growing season even further.
Remember, success in winter kale container gardening hinges on a few key factors: choosing the right container size, providing well-draining soil, ensuring adequate sunlight (even in winter), and protecting your plants from extreme cold. But with a little planning and effort, you can enjoy a bountiful harvest of fresh kale throughout the winter months.
We wholeheartedly encourage you to give this DIY trick a try. It’s a simple, cost-effective, and incredibly satisfying way to enjoy fresh, healthy greens all winter long. And most importantly, don’t forget to share your experiences! We’d love to hear about your successes, challenges, and any variations you’ve tried. Post pictures of your thriving winter kale containers on social media using #WinterKaleContainerGardening and inspire others to join the movement. Let’s transform our balconies and patios into vibrant winter gardens, one kale plant at a time!
Frequently Asked Questions (FAQ)
What is the best type of container to use for winter kale container gardening?
The ideal container for winter kale should be at least 12 inches in diameter and 12 inches deep. This provides ample space for the roots to grow and allows for proper drainage. You can use plastic, terracotta, or even repurposed containers, as long as they have drainage holes. Dark-colored containers tend to absorb more heat, which can be beneficial in colder climates, but be mindful of overheating on sunny days. Consider using fabric pots, as they promote air pruning of the roots, leading to healthier and more vigorous plants.
What type of soil is best for winter kale container gardening?
Kale prefers well-draining, fertile soil with a slightly acidic to neutral pH (around 6.0 to 7.0). A good potting mix specifically formulated for vegetables is ideal. Avoid using garden soil, as it can be too heavy and may not drain properly in a container. You can also amend your potting mix with compost or other organic matter to improve its fertility and drainage. Adding perlite or vermiculite can further enhance drainage and aeration.
How much sunlight does winter kale need?
Kale needs at least 6 hours of sunlight per day to thrive, even in winter. Choose a location for your container garden that receives ample sunlight. If you live in a particularly cloudy area, you may need to supplement with grow lights. Rotate your containers regularly to ensure that all sides of the plants receive adequate sunlight. Consider using reflective surfaces, such as white walls or aluminum foil, to bounce sunlight onto your plants.
How often should I water my winter kale?
Water your kale regularly, especially during dry spells. The frequency of watering will depend on the weather conditions and the type of container you are using. Check the soil moisture regularly by sticking your finger into the soil. If the top inch of soil feels dry, it’s time to water. Avoid overwatering, as this can lead to root rot. Water deeply, allowing the water to drain out of the drainage holes. Water in the morning to allow the foliage to dry before nightfall, which can help prevent fungal diseases.
How do I protect my winter kale from frost and freezing temperatures?
Kale is relatively cold-hardy, but it can still be damaged by severe frost and freezing temperatures. There are several ways to protect your plants:
* Move containers indoors: If possible, move your containers to a sheltered location, such as a garage or shed, during periods of extreme cold.
* Use row covers: Cover your plants with row covers or horticultural fleece to provide insulation and protect them from frost.
* Apply mulch: Add a layer of mulch around the base of your plants to insulate the roots and help retain moisture.
* Wrap containers: Wrap your containers with burlap or bubble wrap to provide extra insulation.
* Water before a freeze: Watering the soil before a freeze can help protect the roots from damage.
What are some common pests and diseases that affect winter kale?
Common pests that can affect winter kale include aphids, cabbage worms, and slugs. Check your plants regularly for signs of infestation and take action promptly. You can use insecticidal soap or neem oil to control aphids and cabbage worms. Handpick slugs or use slug bait. Common diseases that can affect winter kale include fungal diseases such as powdery mildew and downy mildew. Ensure good air circulation around your plants and avoid overwatering to prevent these diseases. If you notice signs of disease, remove affected leaves and treat with a fungicide.
When is the best time to harvest winter kale?
You can start harvesting kale leaves as soon as they are large enough to eat. Harvest the outer leaves first, leaving the inner leaves to continue growing. Avoid harvesting more than one-third of the plant at a time. Kale leaves are typically sweeter and more tender after a frost. Harvest kale in the morning, after the dew has dried. Store kale leaves in the refrigerator for up to a week.
Can I grow other vegetables in the same container as my winter kale?
Yes, you can companion plant with other cool-season vegetables and herbs in the same container as your winter kale. Good companions include thyme, rosemary, garlic, onions, and radishes. Avoid planting kale with members of the brassica family, such as broccoli, cauliflower, and cabbage, as they can compete for nutrients and attract similar pests.
How do I fertilize my winter kale in containers?
Kale is a heavy feeder and benefits from regular fertilization. Use a balanced fertilizer specifically formulated for vegetables. Follow the instructions on the fertilizer label. You can also amend your soil with compost or other organic matter to provide slow-release nutrients. Fertilize your kale every few weeks, especially during periods of active growth. Avoid over-fertilizing, as this can lead to excessive foliage growth and reduced flavor.
Is winter kale container gardening worth the effort?
Absolutely! The rewards of fresh, homegrown kale during the winter months far outweigh the effort involved. Not only will you enjoy delicious and nutritious greens, but you’ll also gain a sense of accomplishment and connection to nature. Plus, it’s a great way to extend your growing season and enjoy fresh produce year-round. Give Winter Kale Container Gardening a try and experience the joy of harvesting your own winter bounty!
Leave a Comment